


- Web templates
- E-commerce Templates
- CMS & Blog Templates
- Facebook Templates
- Website Builders
FAQs
General Tutorials
Featured templates
MonsterONE Subscrioption


This tutorial will show how to add custom classes to shortcodes and assign custom CSS rules to them in CherryFramework 3.
CherryFramework 3. How to add custom classes to the shortcodes and assign custom CSS rules to themLet’s create a new shortcode with custom class:
Create a new post/page:
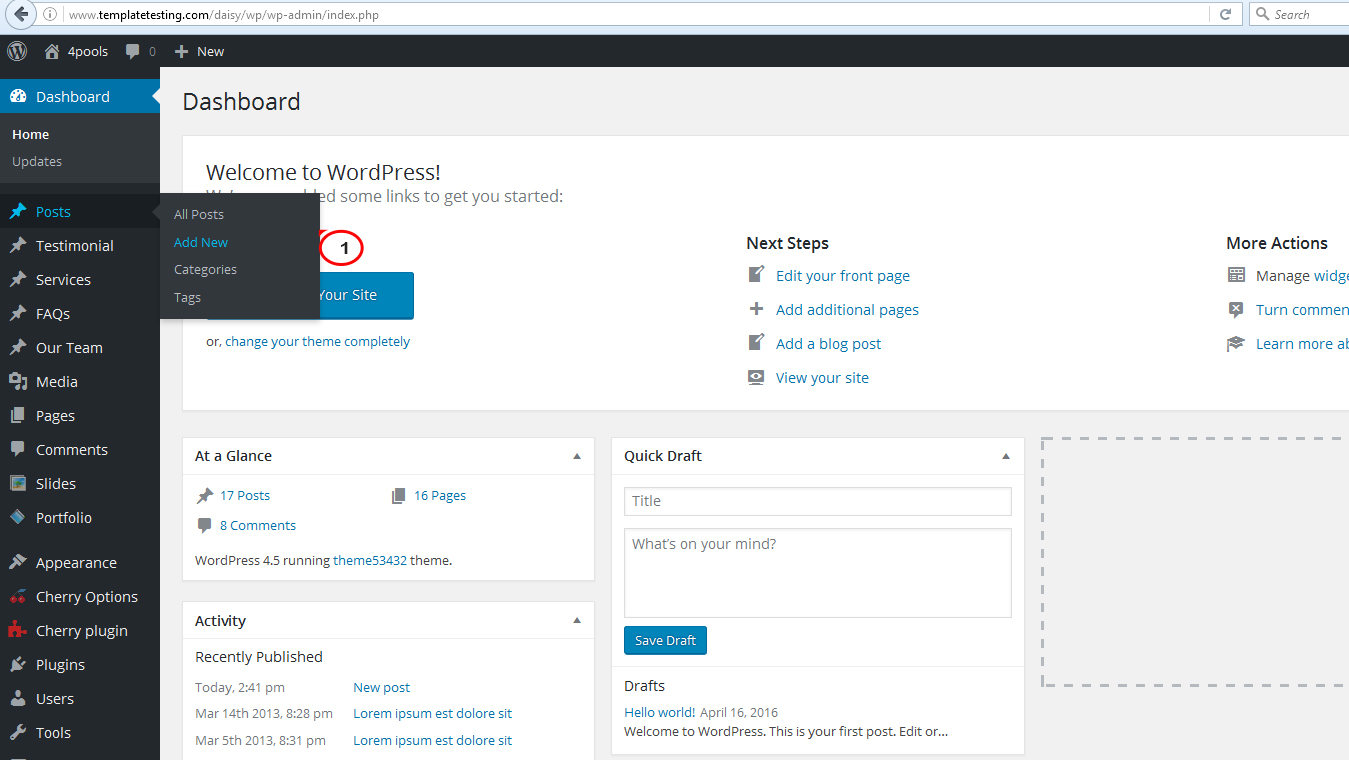
Select any desired shortcode. We will insert ‘Posts Grid’ shortcode as an example:

Adjust shortcode parameters to your needs. Scroll down and locate ‘Custom class’ box.
Create custom style class for the shortcode, e.g. ‘new_class’. Click ‘Insert’ button:

Custom class has been successfully added to your shortcode:

We’ve successfully added new shortcode with custom class ‘new_class’. Let’s see how to assign custom css rules to this class:
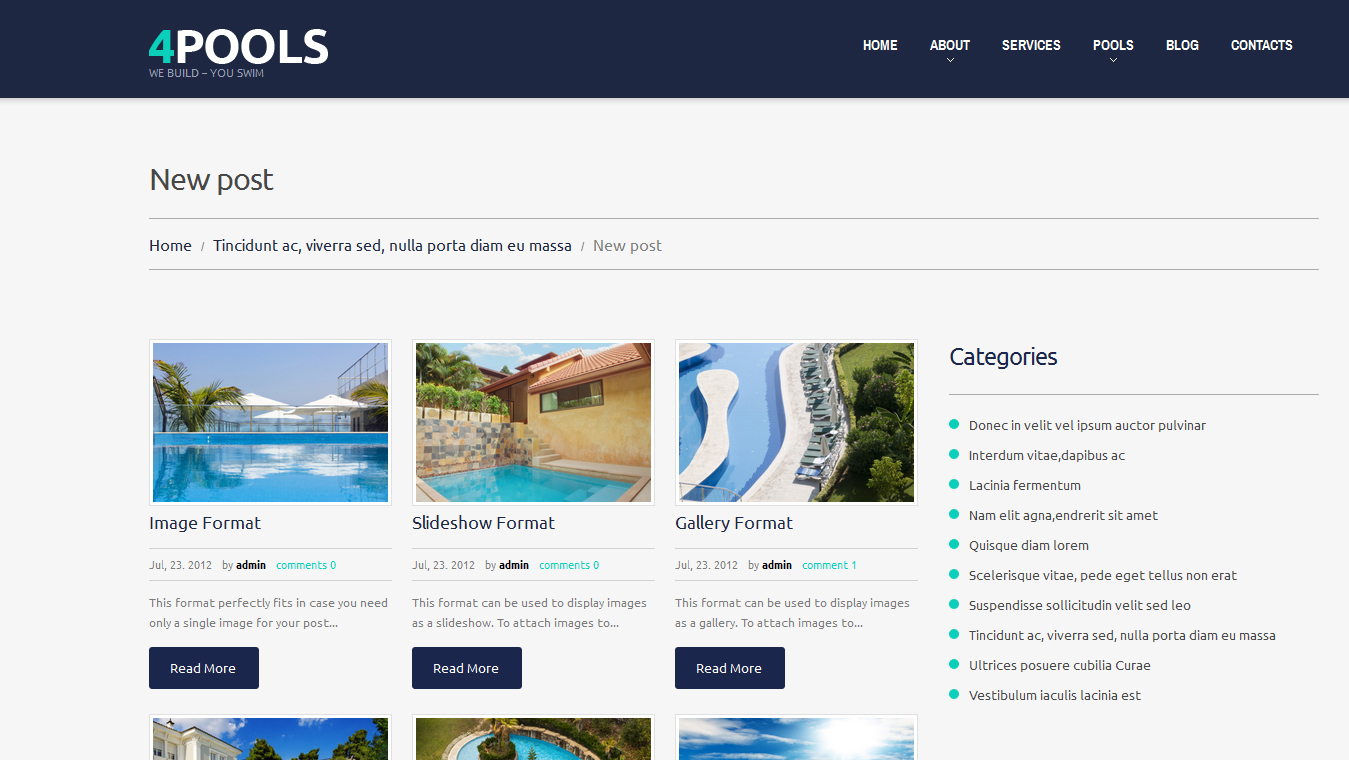
Open the post/page with the shortcode you’ve previously created:
We will use FireBug plugin for Firefox browser to inspect elements.
Inspect the element you want to edit. Locate the needed style class:
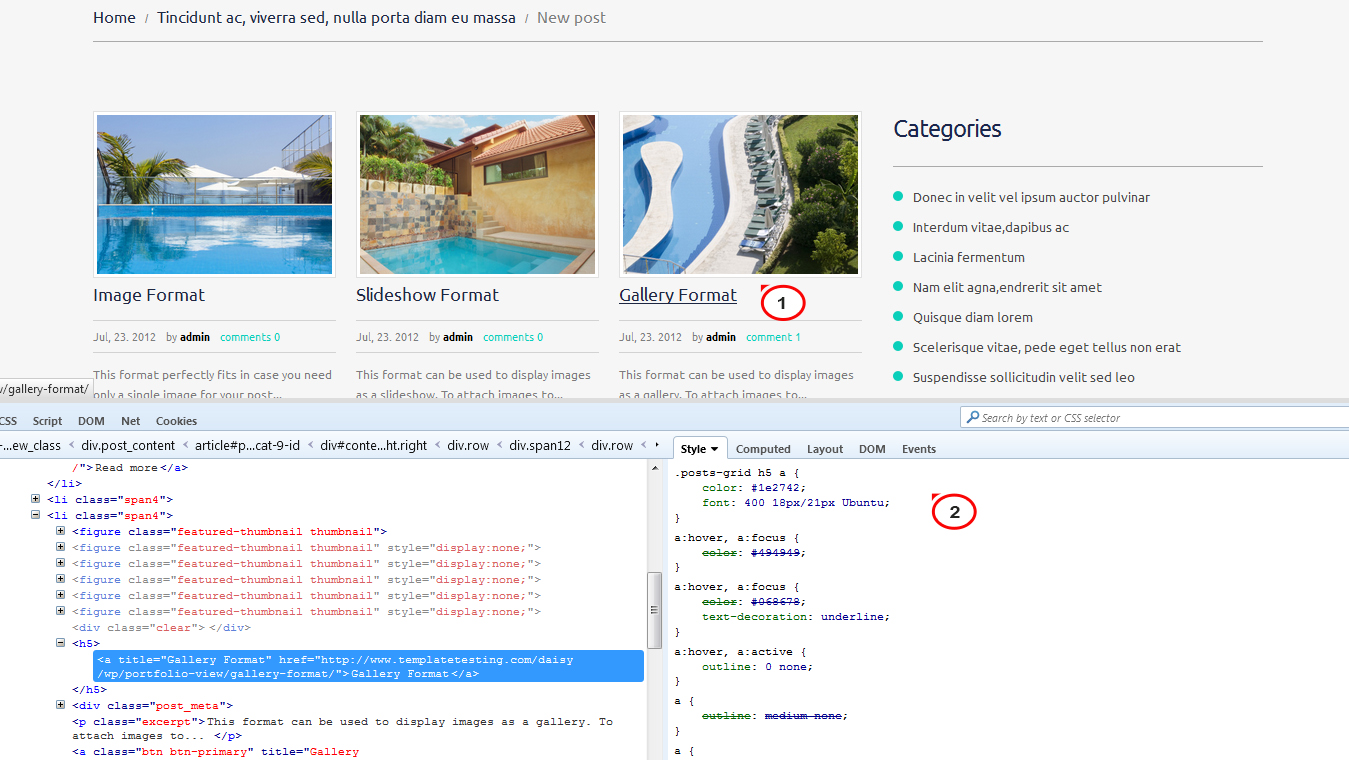
Add your custom class before the common one, add/adjust any desired CSS properties:

Now, the changes will be applied to the custom class only and will not affect the common style class.
Right-click the CSS class and choose ‘Copy Rule Declaration’ option to copy it to the clipboard:
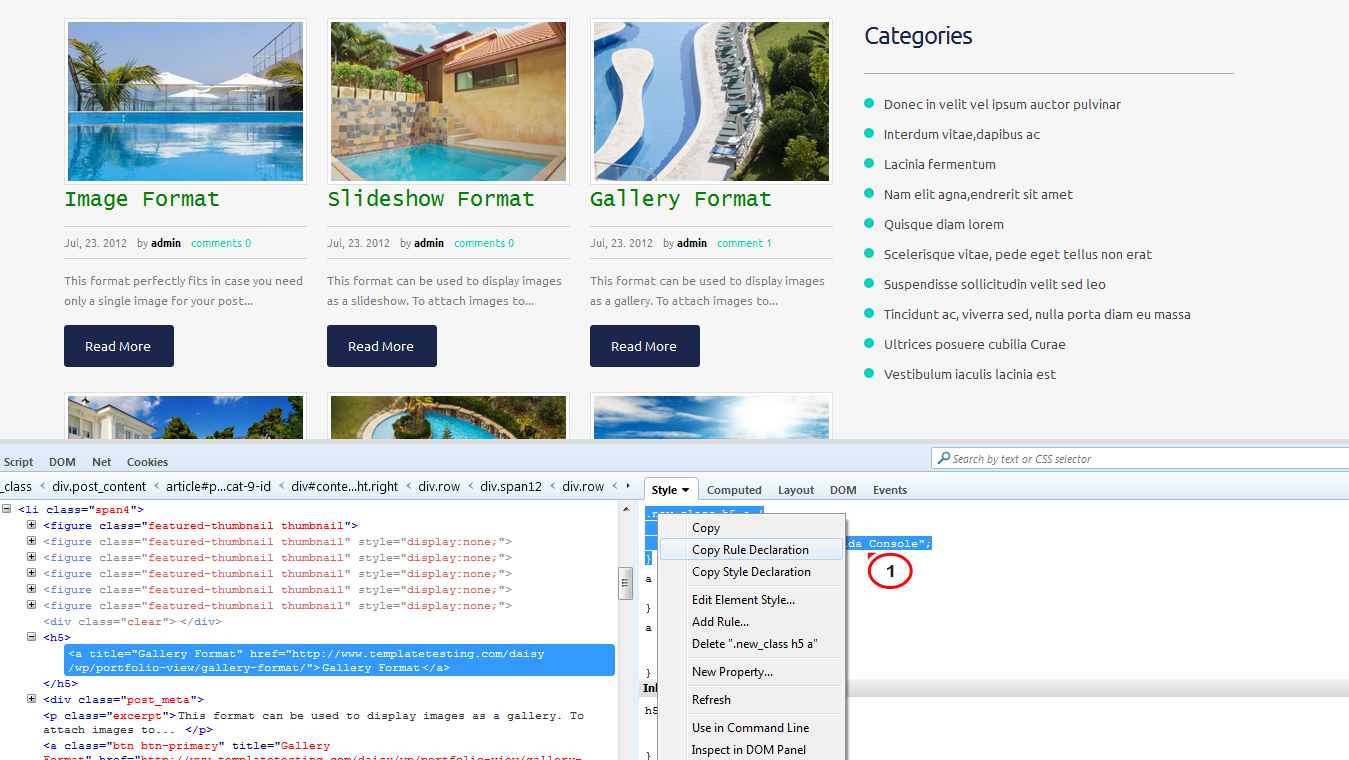
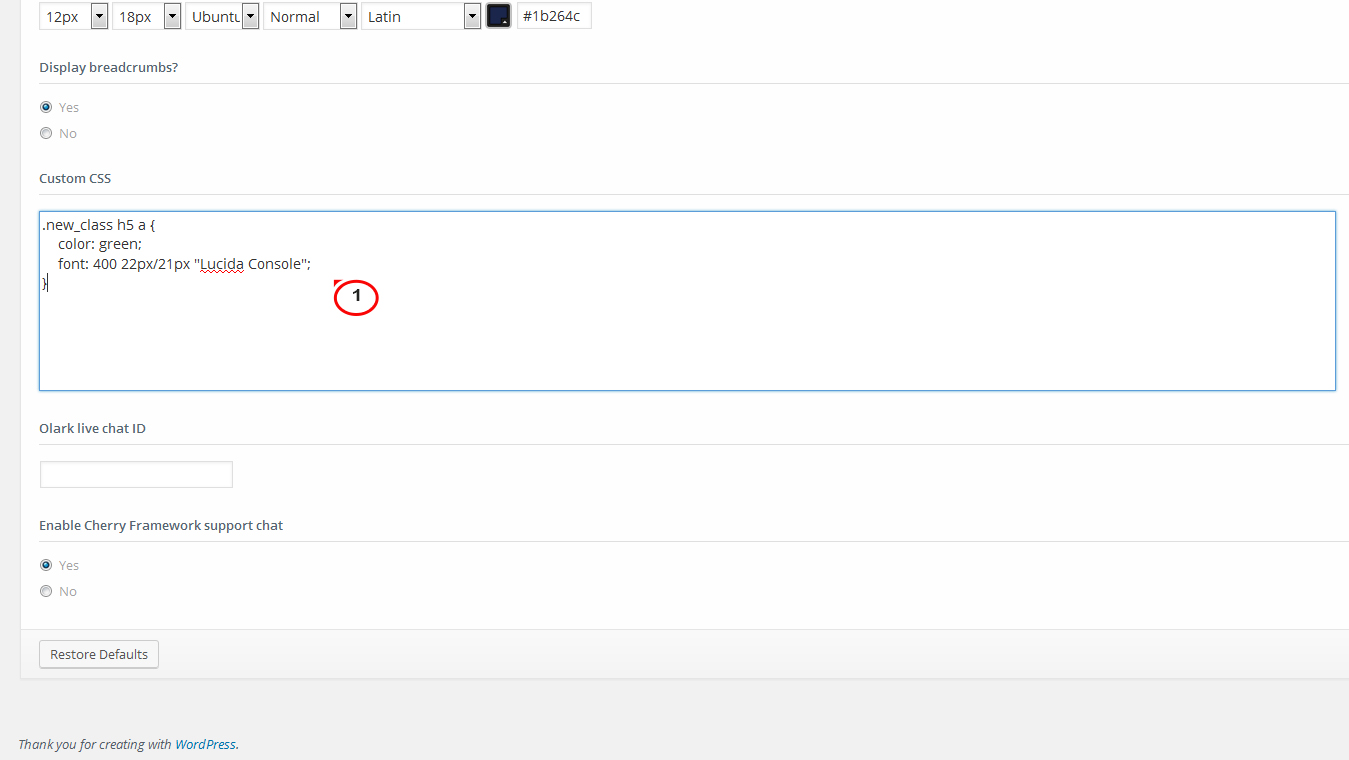
Access your WordPress dashboard and navigate to Cherry > Options > General tab.
Paste the previously copied CSS rule to the ‘Custom CSS’ box and then click ‘Save’.
Navigate to your site front-end and refresh the page to see changes.
This is the end of the tutorial. Now you know how to add custom classes to the shortcodes and assign custom CSS rules to them.
Feel free to check the detailed video tutorial below:
CherryFramework 3. How to add custom classes to the shortcodes and assign custom CSS rules to them