


- Web templates
- E-commerce Templates
- CMS & Blog Templates
- Facebook Templates
- Website Builders
FAQs
General Tutorials
Featured templates
MonsterONE Subscrioption


This video tutorial shows how to change Google Map location (templates with Footer Map static page) in CherryFramework 3 templates.
.jpg)
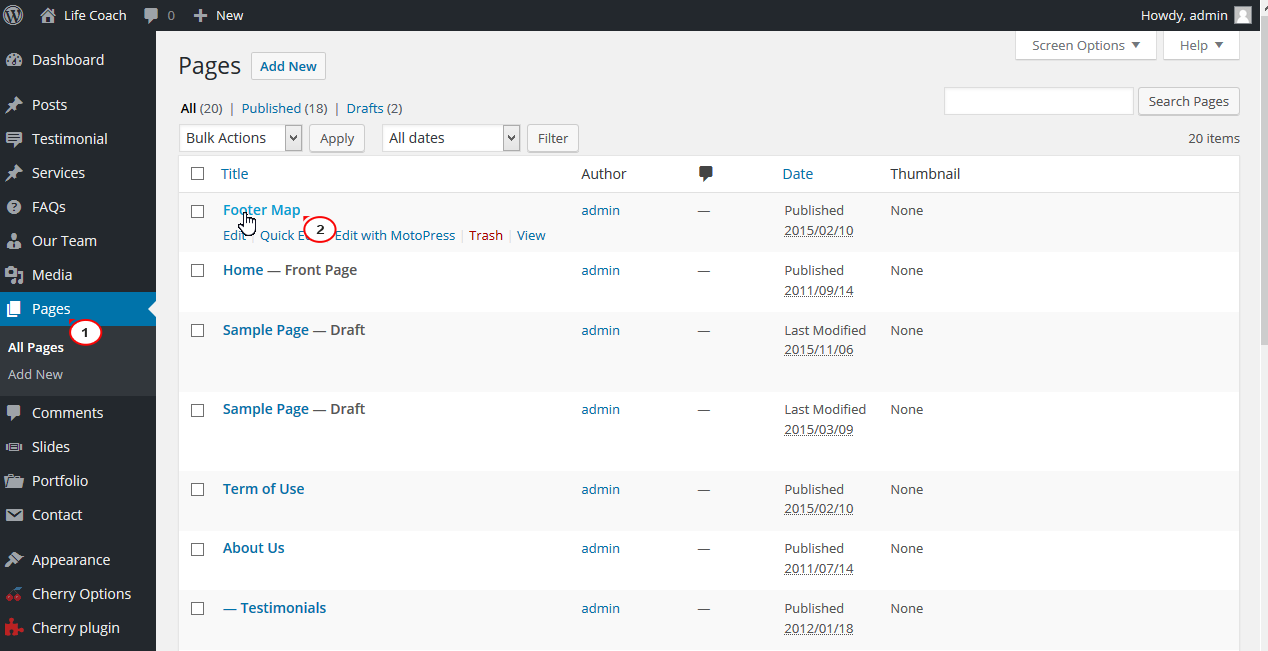
Login to WordPress admin panel, navigate to Pages and open Footer Map page for editing.
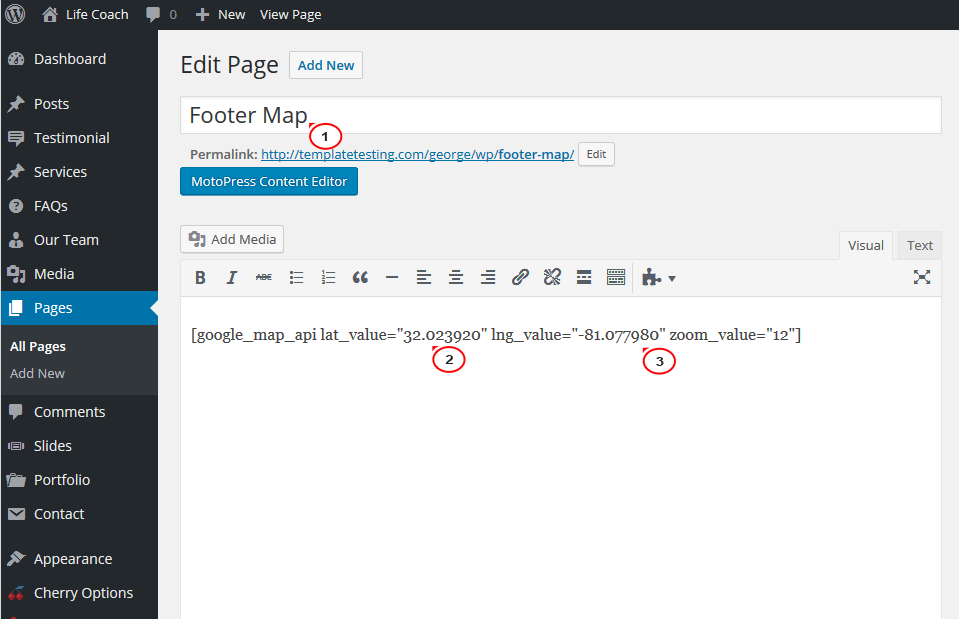
Change the default value of Latitude and Longitude in the shortcode, similar to the one, presented below:
[google_map_api lat_value="41.878114" lng_value="-87.629798" zoom_value="12"]
Visit LatLong.net to find out a Latitude and Longitude of your address.
When you are done, press the Update button to save changes for this page.

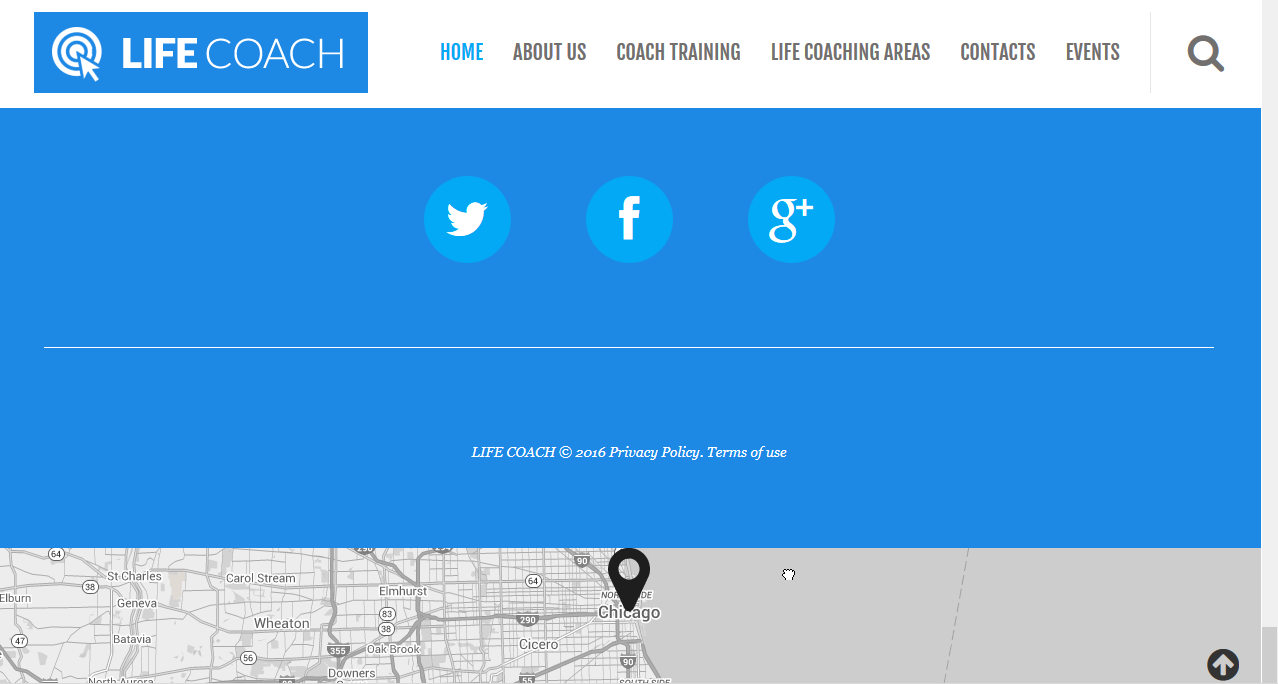
Go back to your site front page, make sure to refresh the page, you’ll see the new address.
Feel free to check the detailed video tutorial below:
CherryFramework 3. How to change Google Map location (templates with Footer Map static page)Also, we have some brand new WordPress themes that might interest you. Don’t forget to check them out!
