


- Web templates
- E-commerce Templates
- CMS & Blog Templates
- Facebook Templates
- Website Builders
FAQs
General Tutorials
Featured templates
MonsterONE Subscrioption


Hello! This video tutorial shows how to change number of columns in footer of CherryFramework 3.x templates.
CherryFramework 3. How to change number of columns in footer
You may have some certain columns number in the footer area of your website that you may want to change.
Let’s learn how to do that.
The tutorial assumes you are already logged into your WordPress dashboard.
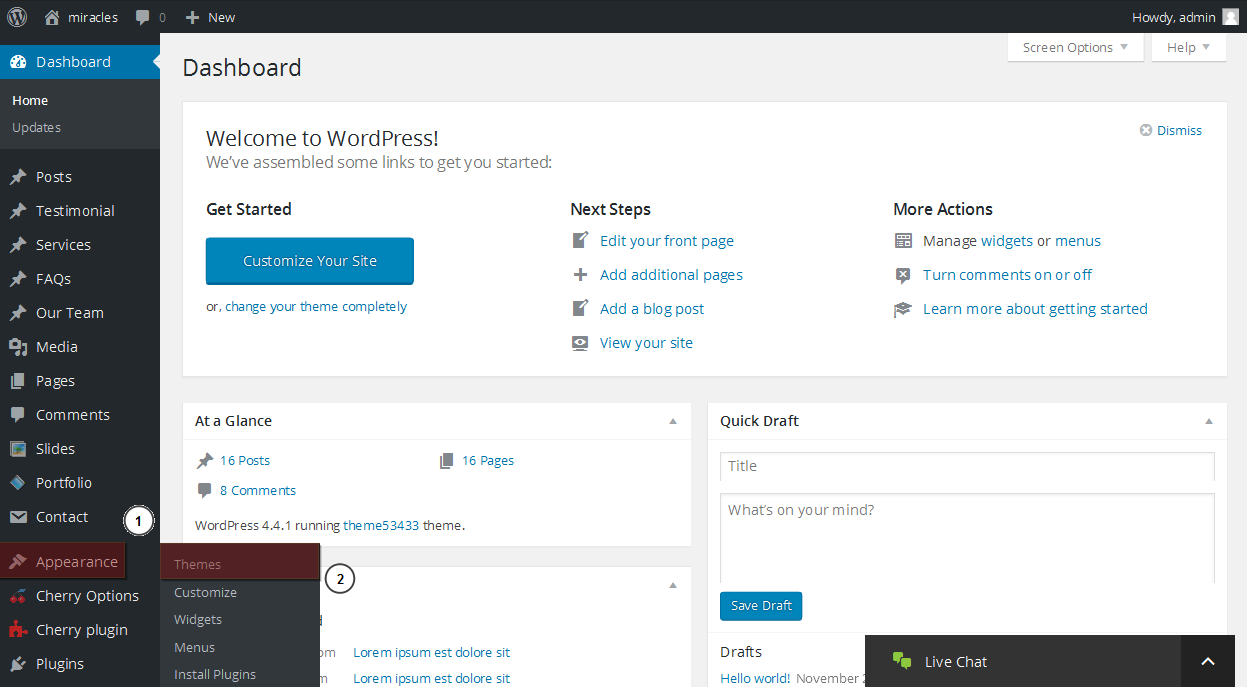
Navigate to Appearance -> Editor tab in your site back-end:
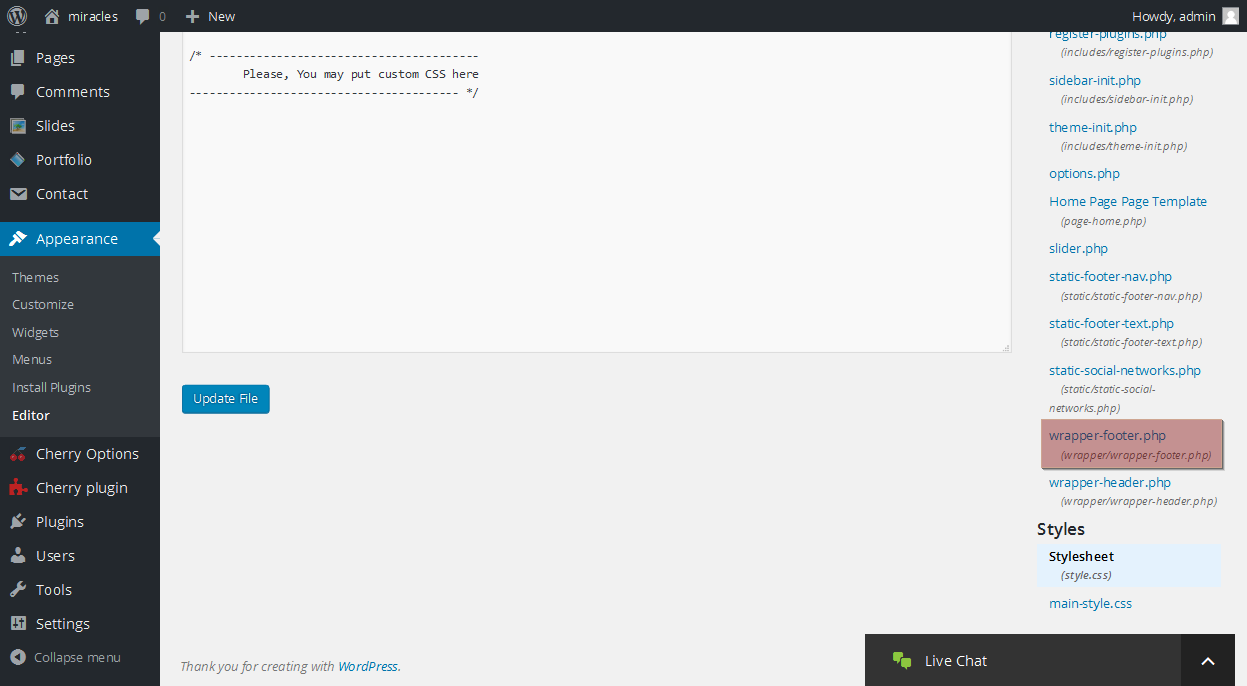
Then click on wrapper-footer.php file name on the left side to open the file for editing:
In the file you can see the code with several “span” tags:
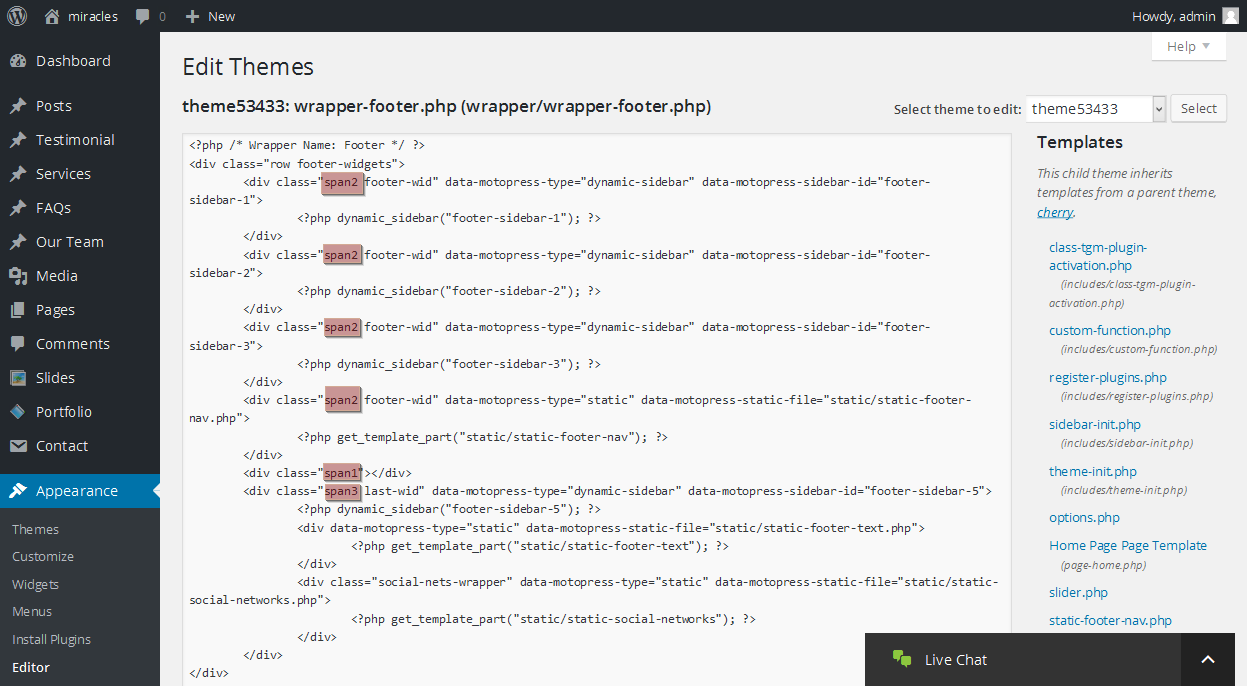
Each span section is responsible for certain column in the footer.
If you sum up these spans, you will receive span12 as a result (2+2+2+2+1+3=12). This is the main condition to have 12 after summing up all the spans no matter how many columns you wish to have.
Let’s say you want to display four columns instead of five – first, second, third and fifth.
First of all, remove the code responsible for the forth column:
	<div class="span2 footer-wid" data-motopress-type="static" data-motopress-static-file="static/static-footer-nav.php">
	<?php get_template_part("static/static-footer-nav"); ?>
	</div>
Secondly, you need to increase the span value for one of four columns in order to have columns displayed nicely.
Since the removed column had a value of span2, let’s increase the value of the third column by 2:
	<div class="span2 footer-wid" data-motopress-type="dynamic-sidebar" data-motopress-sidebar-id="footer-sidebar-3">
	<?php dynamic_sidebar("footer-sidebar-3"); ?>
	</div>
Replace this code with the following:
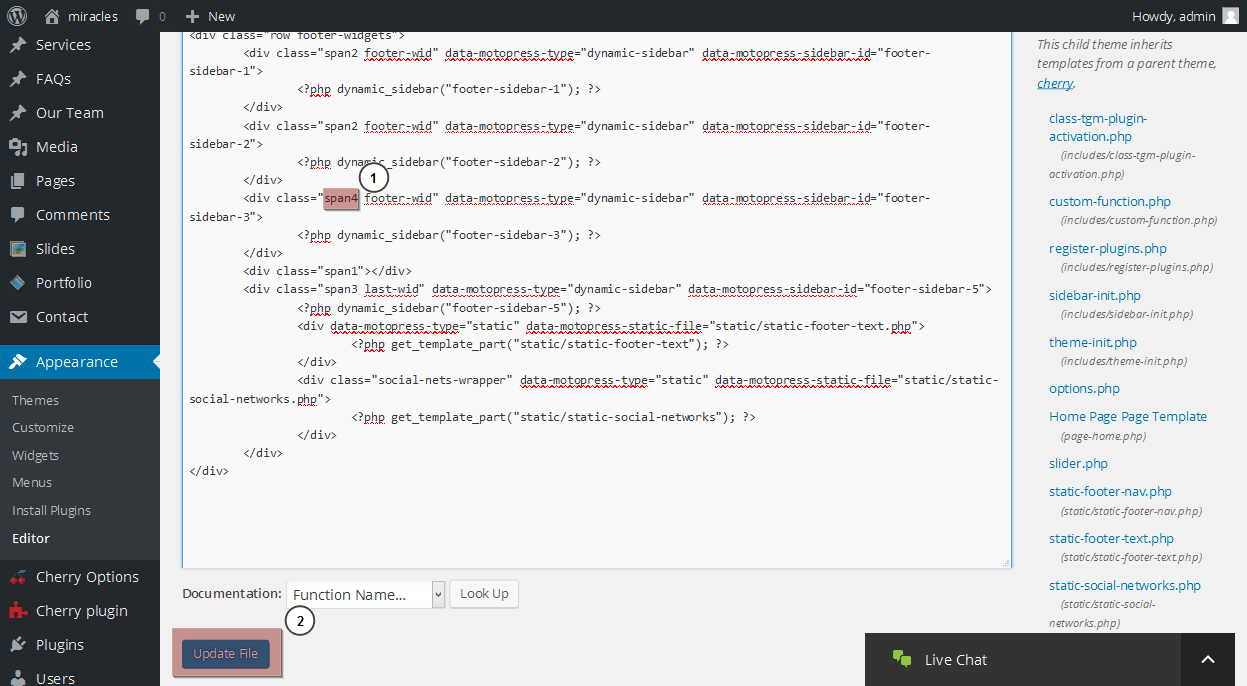
	<div class="span4 footer-wid" data-motopress-type="dynamic-sidebar" data-motopress-sidebar-id="footer-sidebar-3">
	<?php dynamic_sidebar("footer-sidebar-3"); ?>
	</div>
Click “Update File” button to apply changes:
Navigate to your site front-end and refresh the page to see the changes.
You can see there are four columns displayed in the footer area now:

This is the end of the tutorial. You have learnt how to change number of columns in footer of CherryFramework 3.x templates.
Feel free to check the detailed video tutorial below:
CherryFramework 3. How to change number of columns in footer
