- Web templates
- E-commerce Templates
- CMS & Blog Templates
- Facebook Templates
- Website Builders
CherryFramework 3. How to change parallax video to an image (when video is managed via Cherry Options)
September 16, 2015
This time you will learn how to change the parallax video added in the header section of your cherry options to static image in CherryFramework 3 templates.
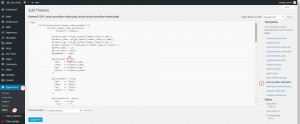
Navigate to Appearance -> Editor section in your WordPress admin panel and find static-parallax-video.php file.
When you have opened it, search for the following part of the code:
$typemedia = 'video';
and change to:
$typemedia = 'image';
Save the changes and reload the web-site. You will see static image instead of the video.
Feel free to check the detailed video tutorial below:


