


- Web templates
- E-commerce Templates
- CMS & Blog Templates
- Facebook Templates
- Website Builders
FAQs
General Tutorials
Featured templates
MonsterONE Subscrioption


This tutorial shows how to update Cherry plugin manually.
In some cases notification about automatic update of Cherry plugin is not displayed and manual update is required. In order to update Cherry plugin manually, follow these steps:
Open your site files location via FTP or your hosting cPanel File manager.
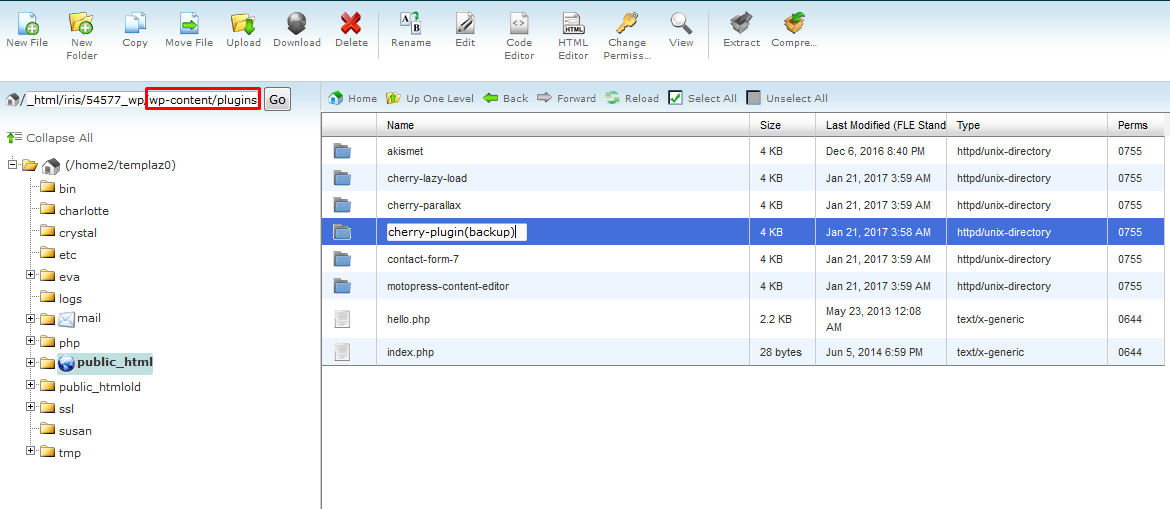
Navigate to the wp-content/plugins directory, find and rename cherry-plugin folder (for example, to cherry-plugin-backup):
Download the latest version of Cherry plugin here here.

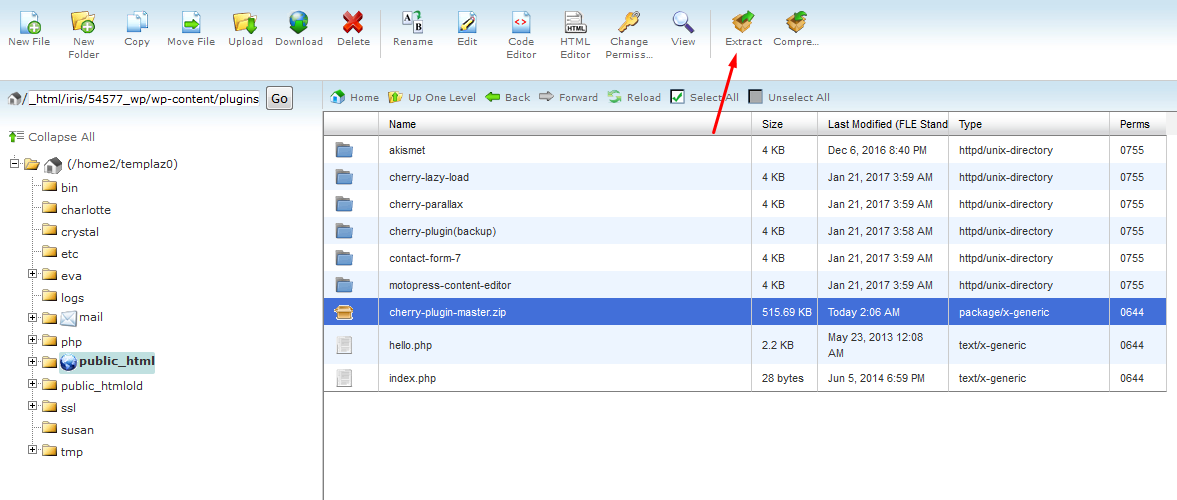
Upload the downloaded file to wp-content/plugins directory, unzip it:
Open your WordPress admin panel and navigate to the Plugins tab. Activate the latest version of Cherry plugin:

Feel free to check the detailed video tutorial below:
CherryFramework 3. How to update Cherry plugin manuallyAlso, take the time to view the collection of premium WordPress themes!
