


- Web templates
- E-commerce Templates
- CMS & Blog Templates
- Facebook Templates
- Website Builders
FAQs
General Tutorials
Featured templates
MonsterONE Subscrioption


We are ready to provide you with a short overview of custom posts types in CherryFramework 4 templates.
CherryFramework 4. Custom posts types overview
You can locate several custom post types in CherryFramework4 templates. Let’s take a closer look at all custom posts types available:
Open Portfolio > Add Item section at your site backend.
Enter your port title and content.
Upload portfolio images under Featured Image section.
Choose portfolio type. You can use the following post types in portfolio post:
Image – default portfolio post. Displays image only.
Crop image
Cropping image width
Cropping image height
Grid Gallery – post images are displayed in a grid gallery. This port type allows you to change following settings:
Slider images
Gallery type
Slider effect Layout
Number of slides per view
Space Between Slides
Multi Row Slides Layout
Slider pagination
Slider navigation
Slider Infinite Loop
Mousewheel Control
Duration of transition
Free Mode sliding
Grab Cursor
Crop image
Cropping image width
Cropping image height
Video allows you to display video in the gallery post.
Video type
Embed video source
MP4 video source
WEBM video source
OGV video source
Audio lets you to add audio to the gallery.
Click Publish to save the changes:

Open your WordPress admin panel.
Navigate to Testimonials > Testimonials section.
Open existing post or click Add New to add a new post.
Manage the following Testimonial Options:
Name
URL
Profession
Rate

Testimonials posts can be assigned to different categories. It can be done under Testimonials > Categories section in your admin panel. Add category there.
Open your testimonial post, search for Testimonials Categories section to assign post to specific category.
Click Publish to save the changes.
You can check our tutorial on managing testimonials for more details.
Navigate to Team > Team section in your admin panel to access Team posts.
Click edit under the posts title or create new posts by clicking Add New button. You can change the following team post settings:
Position
Location
Telephone
Personal website
Socials

CherryFramework4 templates allow you to divide posts into groups. You can do that under Team > Groups section in your admin panel.
Click Publish to save the changes.
Feel free to check our video tutorial on managing team posts.
Click Slide > Add New in your admin panel.
Enter slider title and upload your image to the Featured Image section.
You can enter following settings:
Caption – the slider caption field.
URL allows you to link your slider images to external pages.
Once the slide settings are set up, click Publish.
CherryFramework4 allows you to change the following settings:
Content width
Content vertical
Content Position
Content show transition
Content show duration
Content show transition
Content show duration
Content show delay
Content hide duration
Content hide delay
Content wrapper
Log into your WordPress admin panel. Navigate to Charts > Add New Chart section.
Enter post title.
Charts custom posts have the following settings available:
Charts settings allow you to define main settings, such as: Chart type, Progress bar type, cutout percentage, height and width, enable/disable Triangle progress bar:

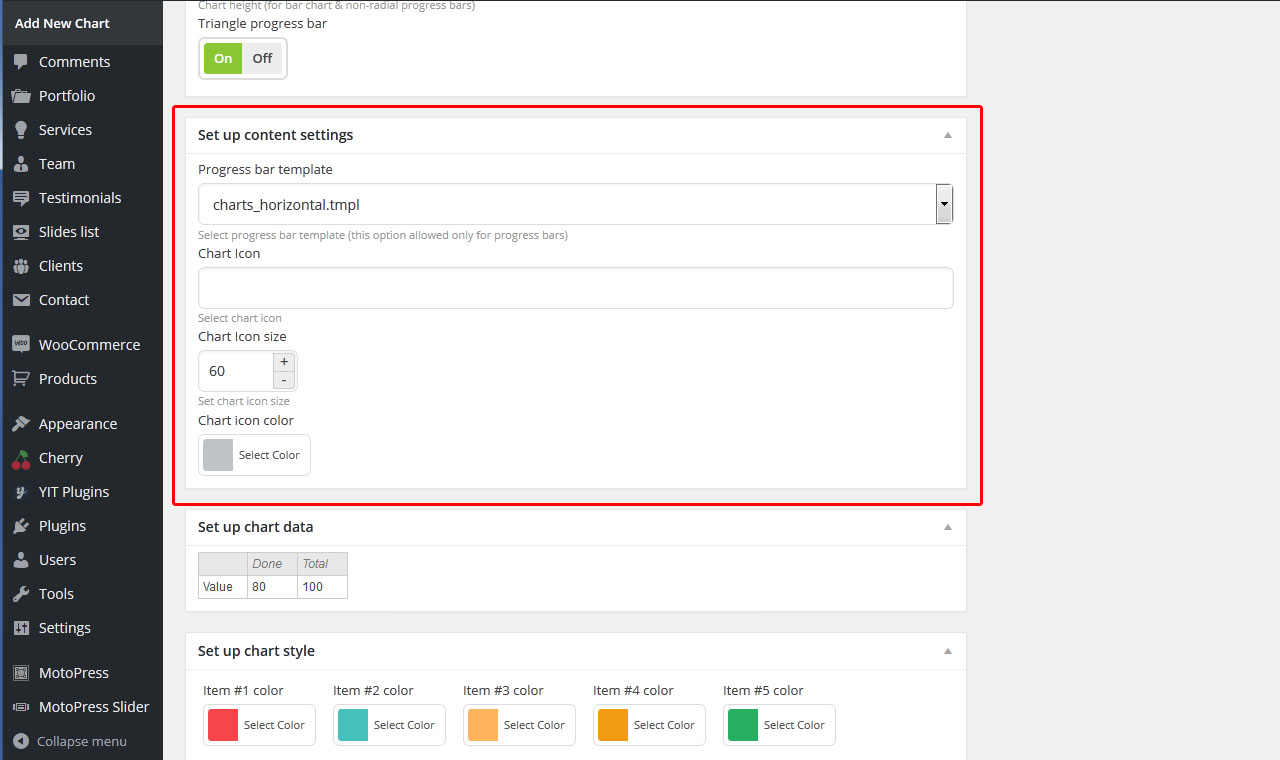
Content settings section allows you to select progress bar template (this option is allowed only for progress bars), select Chart Icon, change icon size and color:
You can set up chart data under Chart data section:
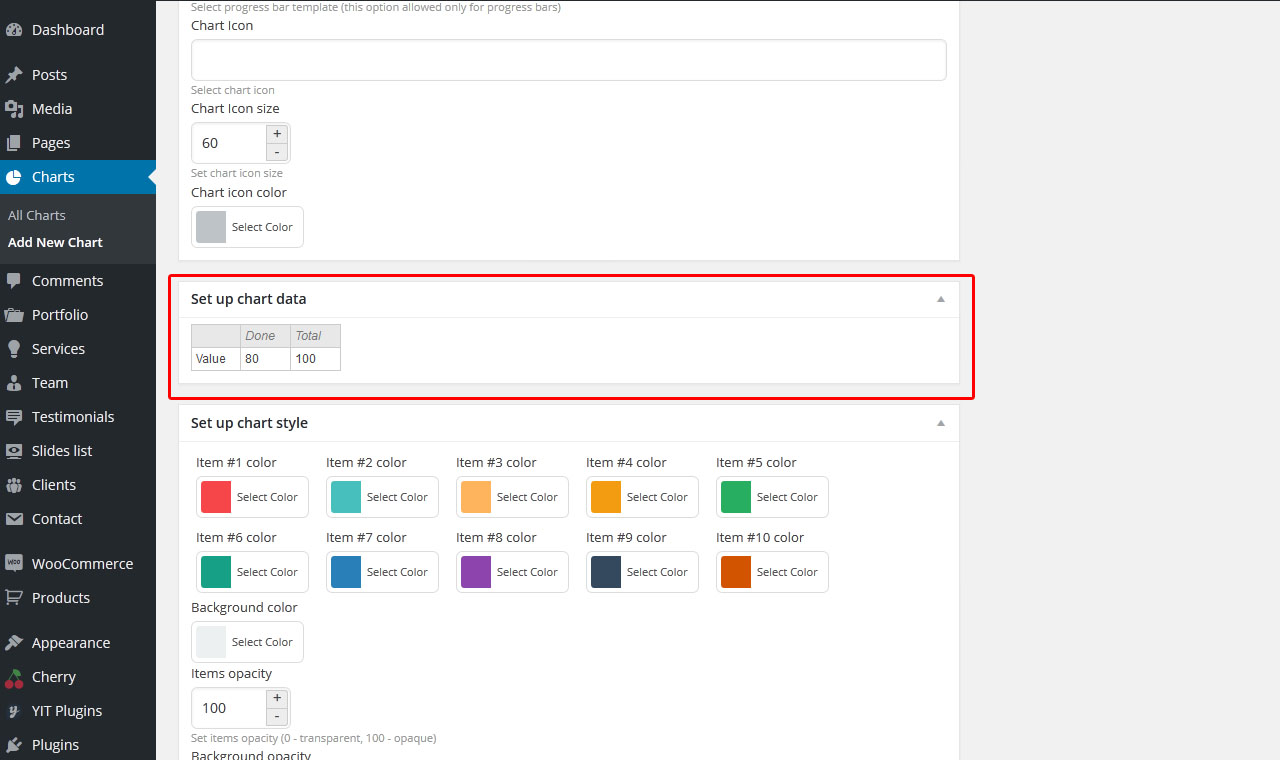
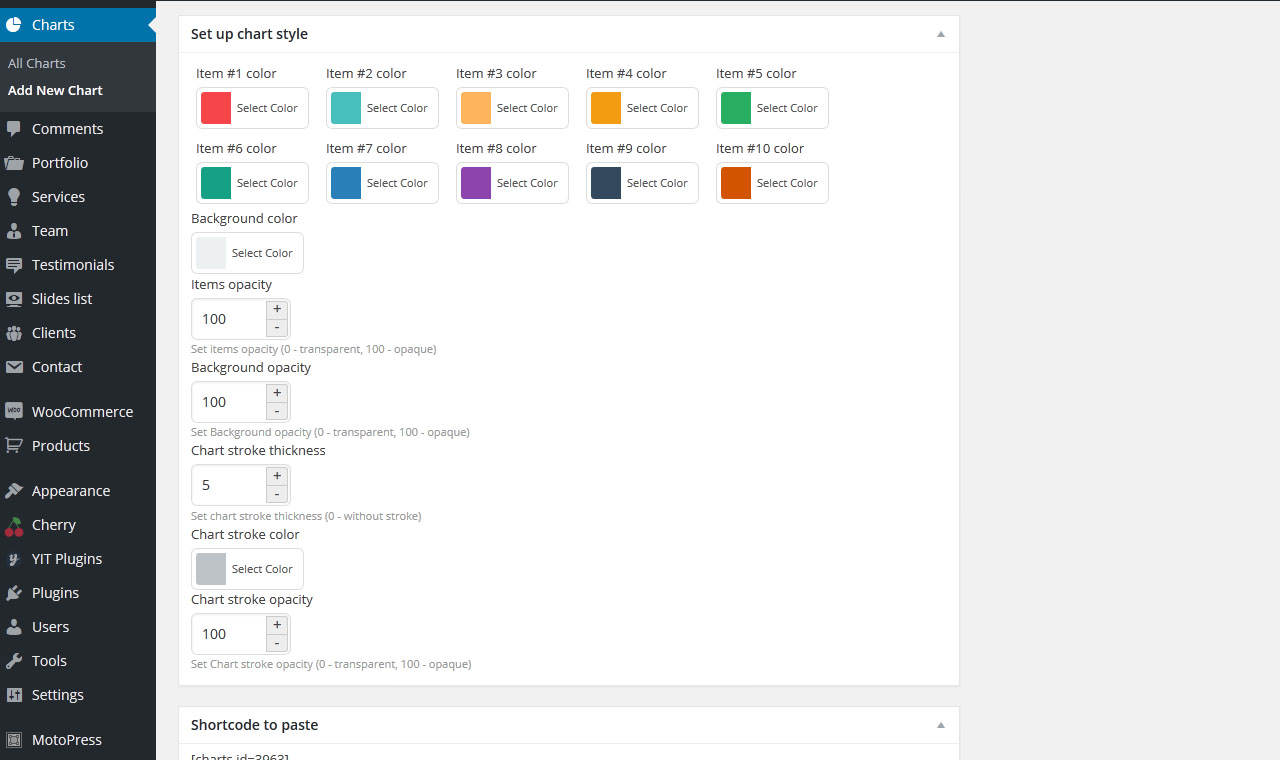
Chart style allows you to change text, background and stroke colors and opacity:
Click Publish to save the changes.
You can check our video tutorial on how to work with charts.
Open Clients > Add New page in your admin panel to add new clients post or modify already existing post under the Clients > Clients section.
Enter your post data: title and content.
Click Publish to save the changes.
To add new services page, navigate to Services > Add New section in your admin panel.
Enter your post content and title. Upload image under Featured Image section.
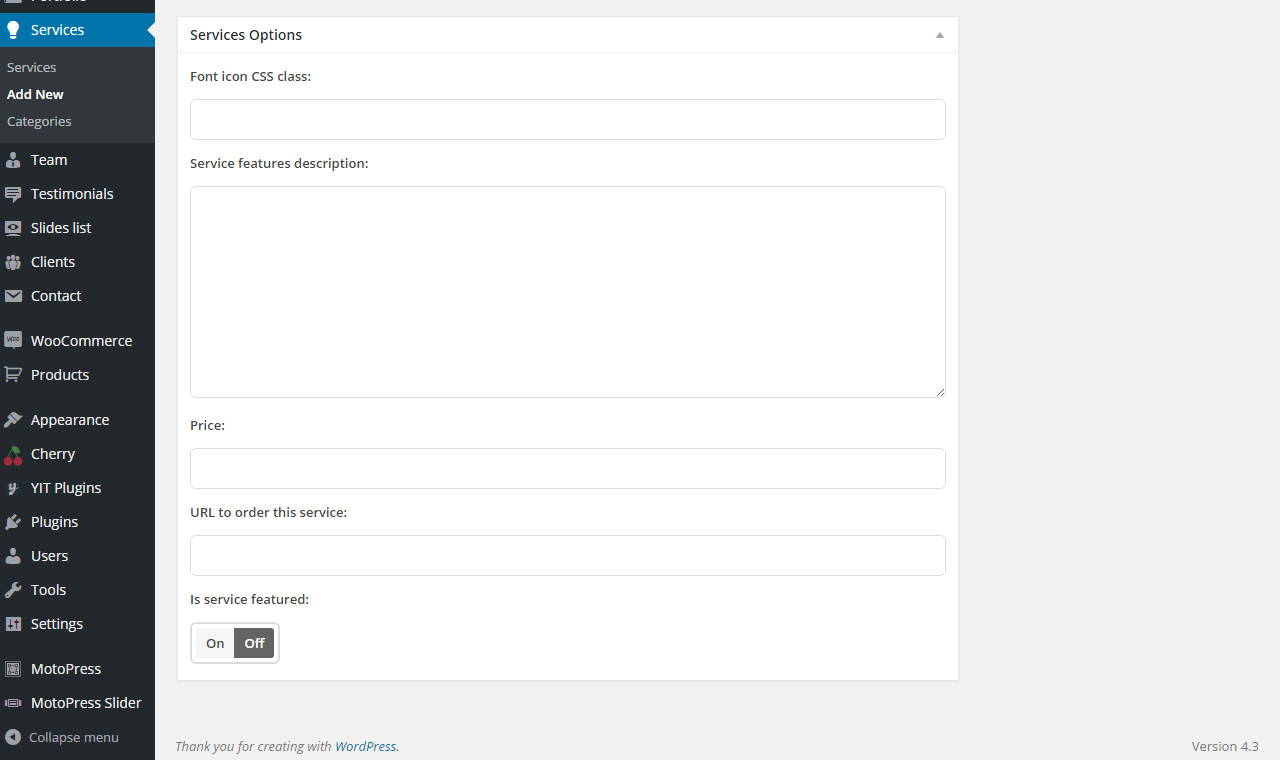
You can change the following Services Options:
Font icon CSS class.
Service features description.
Price.
URL to order this service.
Make services post featured:
Click Publish to save the changes.
Feel free to check the detailed video tutorial below:
