


- Web templates
- E-commerce Templates
- CMS & Blog Templates
- Facebook Templates
- Website Builders
FAQs
General Tutorials
Featured templates
MonsterONE Subscrioption


Hello! This video tutorial shows how to add custom font in CherryFramework 4 templates.
CherryFramework 4. How to add a custom font
You may want to add an additional font which is not included in the framework of your site.
Let’s learn how to do this.
.jpg)
Use your favorite search engine to find the site with free webfonts, e.g. http://www.fontsquirrel.com :
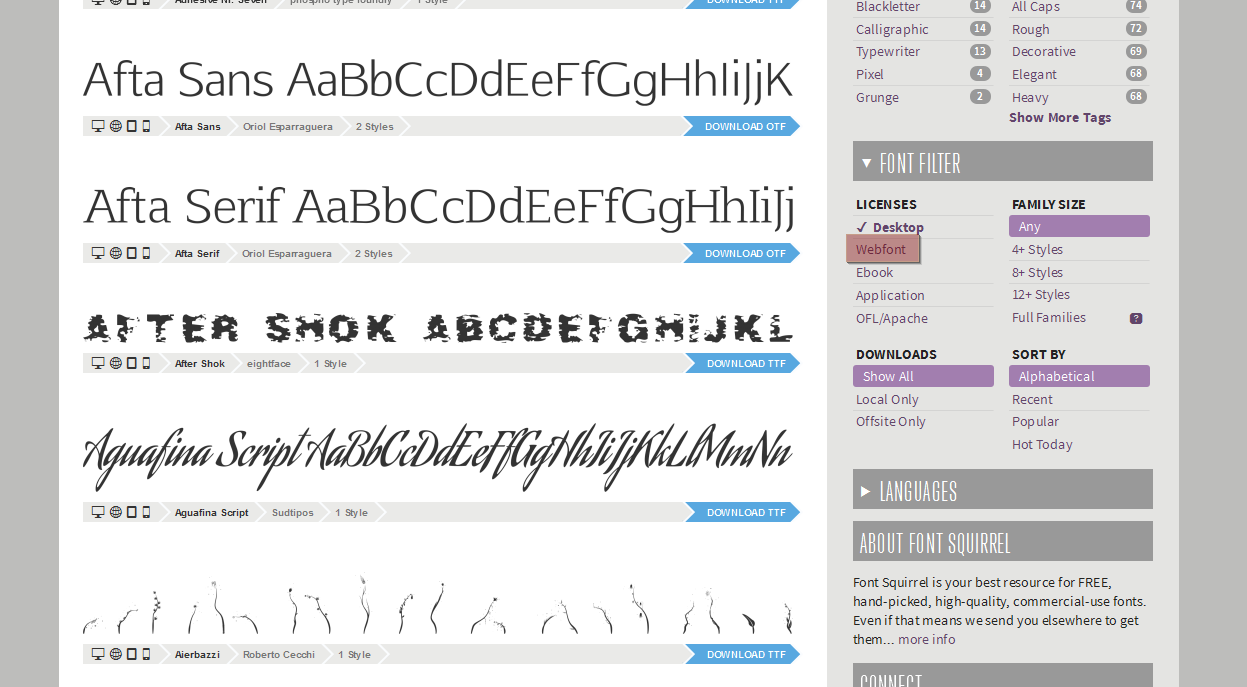
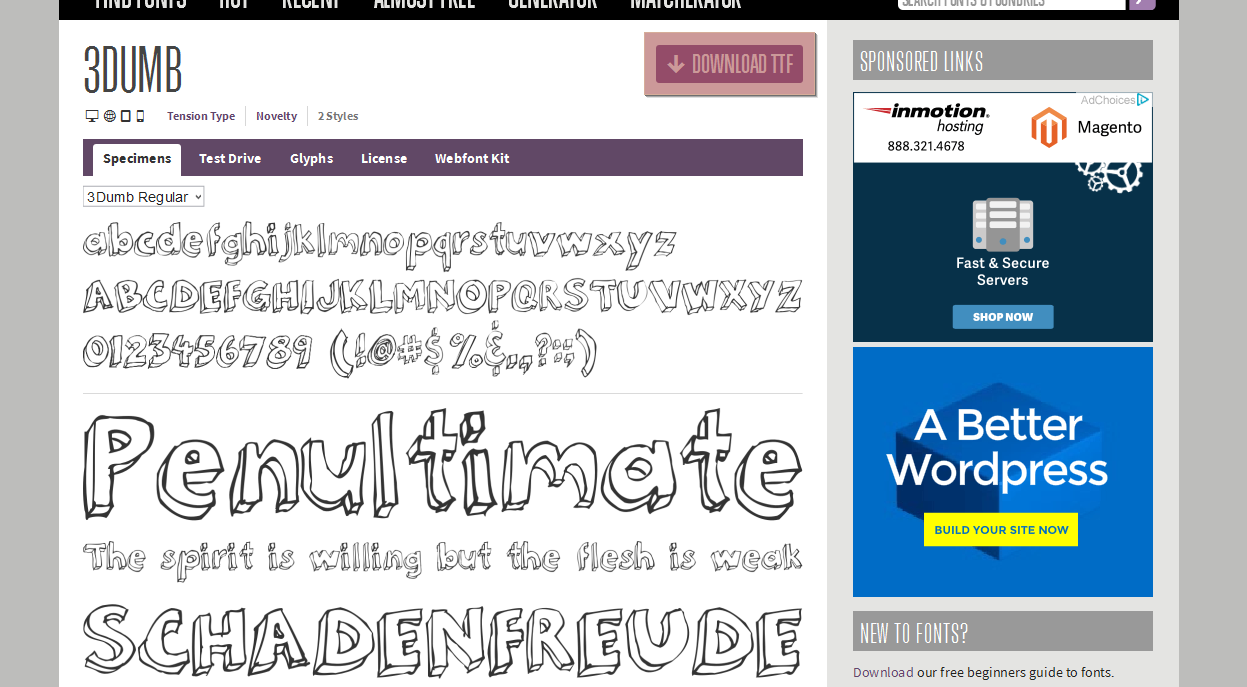
Choose the font that fits your desire and download it to your machine:
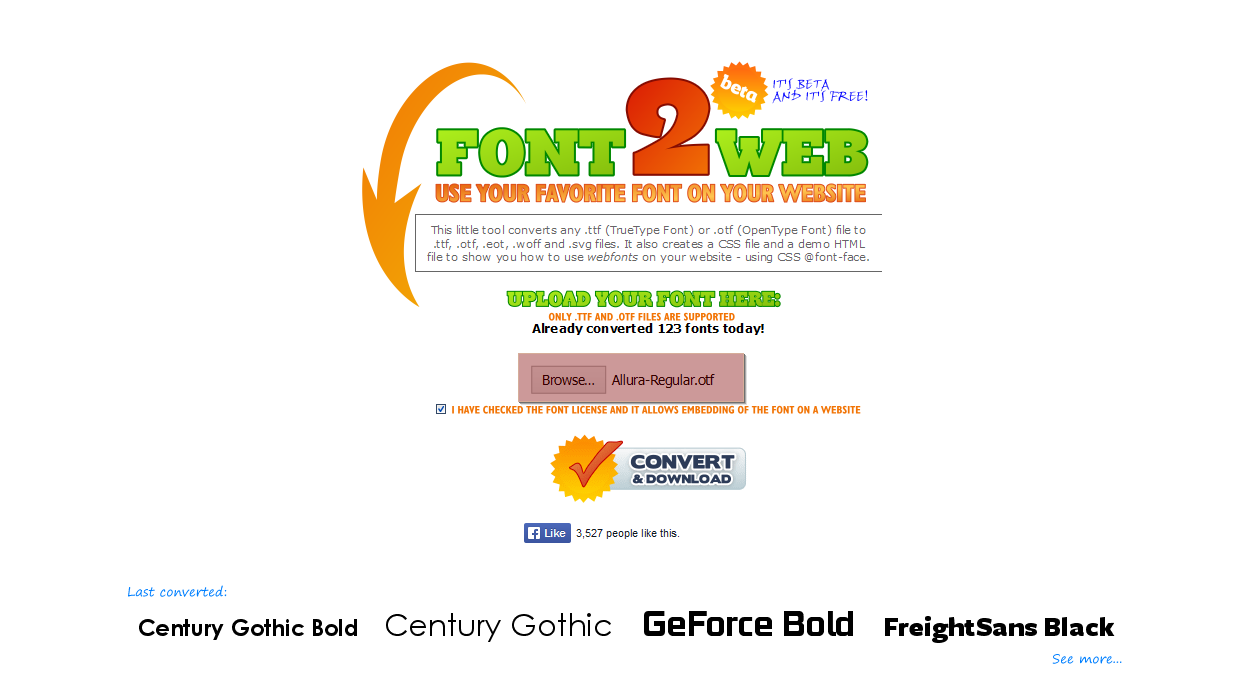
Then, navigate to http://www.font2web.com/ site and click “Browse…” button to choose the downloaded font file. Make sure the font type is either TTF (True Type Font) or OTF (Open Type Font):
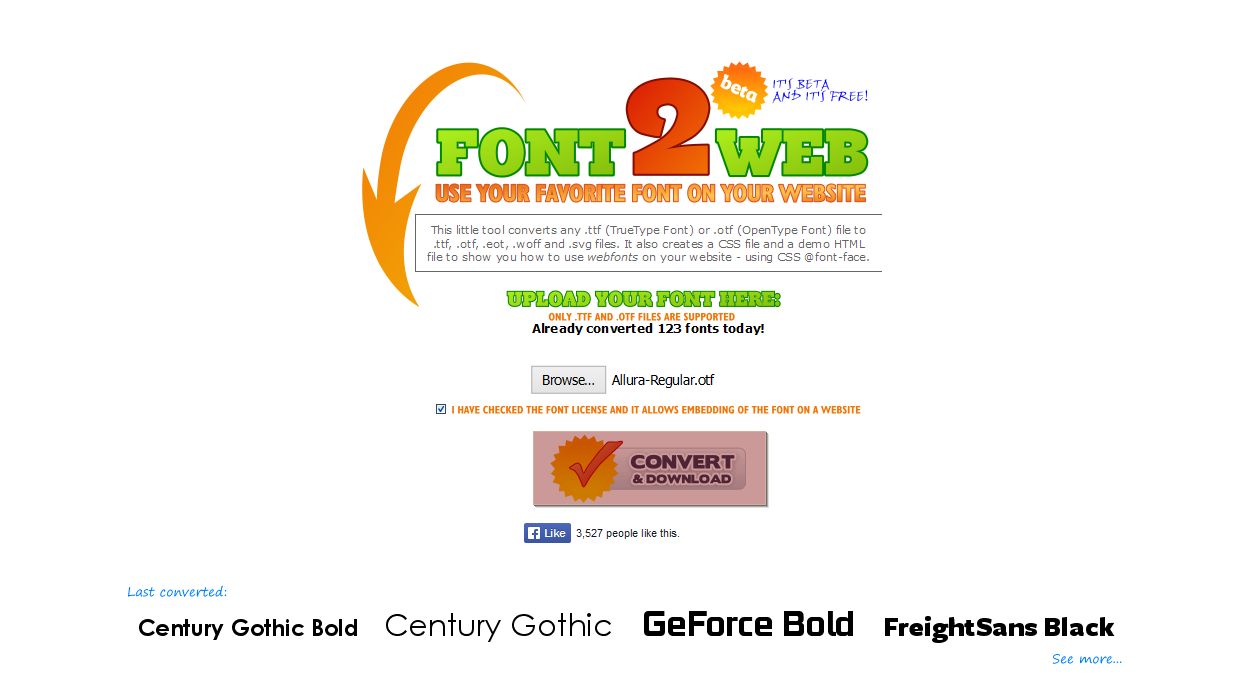
Once the font file is uploaded, click the “Convert and Download” button to download converted font to your machine:
Unarchive the downloaded file, the converted font package has the following structure:
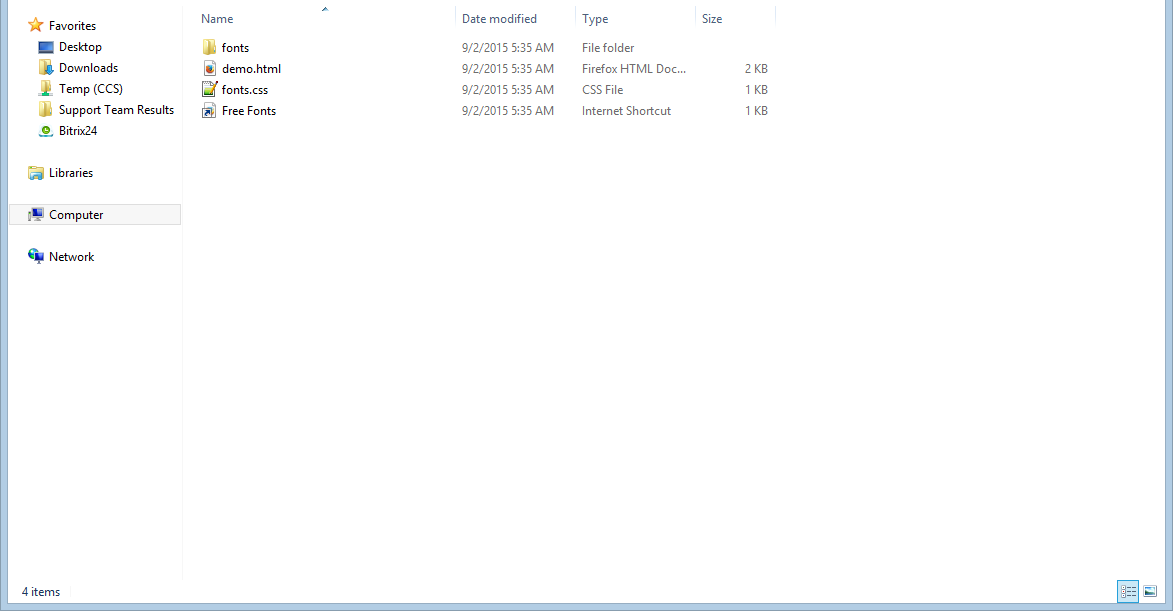
We will need “fonts” folder and fonts.css file only.
Access your FTP/hosting control panel File Manager and navigate to /wp-content/themes/themeXXXXX/assets/ directory, where themeXXXXX is your child theme name.
Upload recently downloaded “fonts” folder to /assets/ directory.
Now that the font is uploaded to your site, you should add a reference to it in your admin panel.
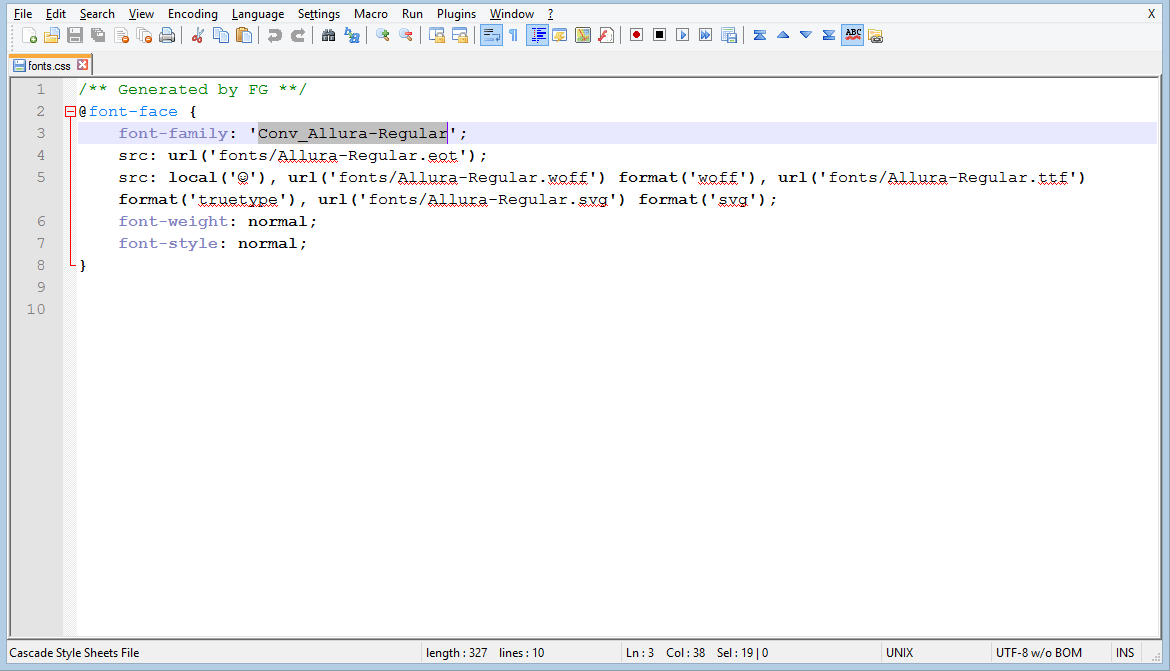
Open the fonts.css file from the converted font package in any text editor, e.g. Notepad++, Sublime Text 2, etc.:
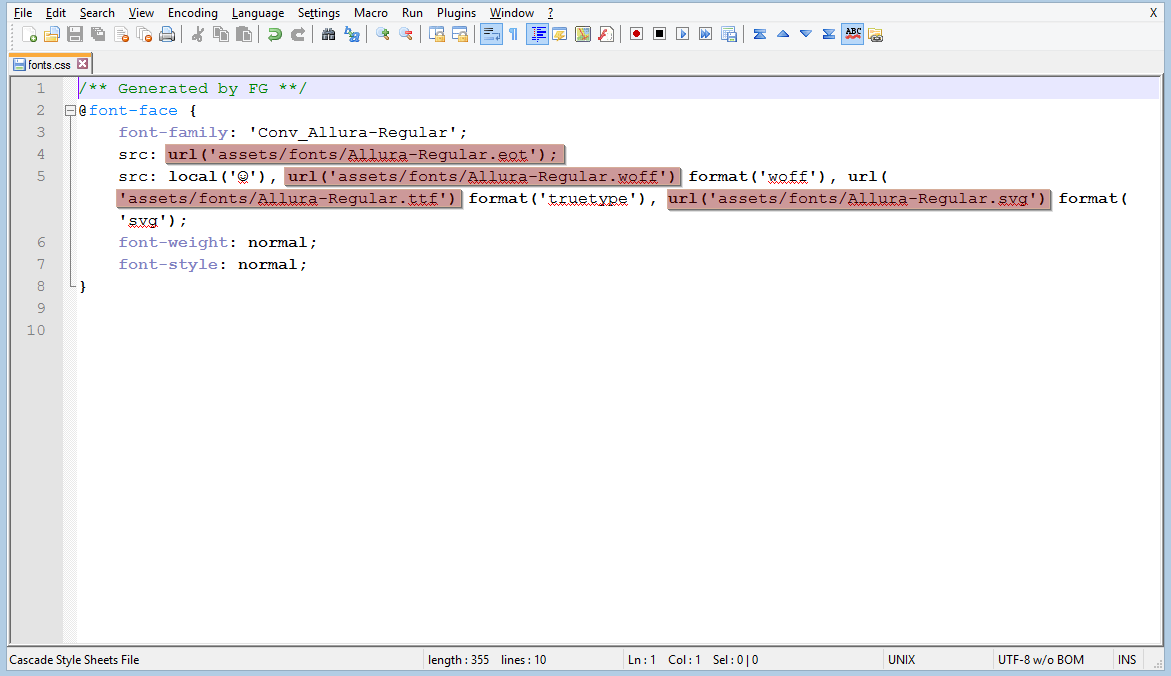
Change the url() attributes from ‘fonts/Conv_Allura-Regular.xxx’ to ‘assets/fonts/Conv_Allura-Regular.xxx’ by adding assets/ at the beginning:
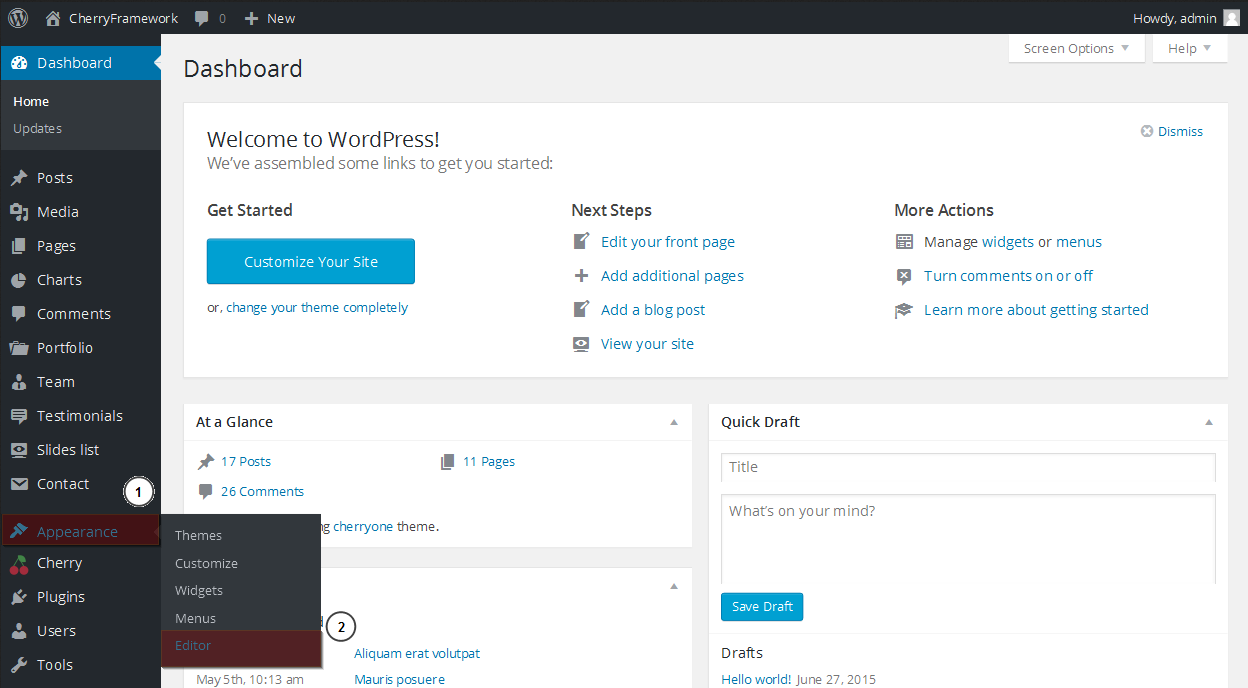
Then log into your WordPress dashboard and navigate to Appearance ->Editor:
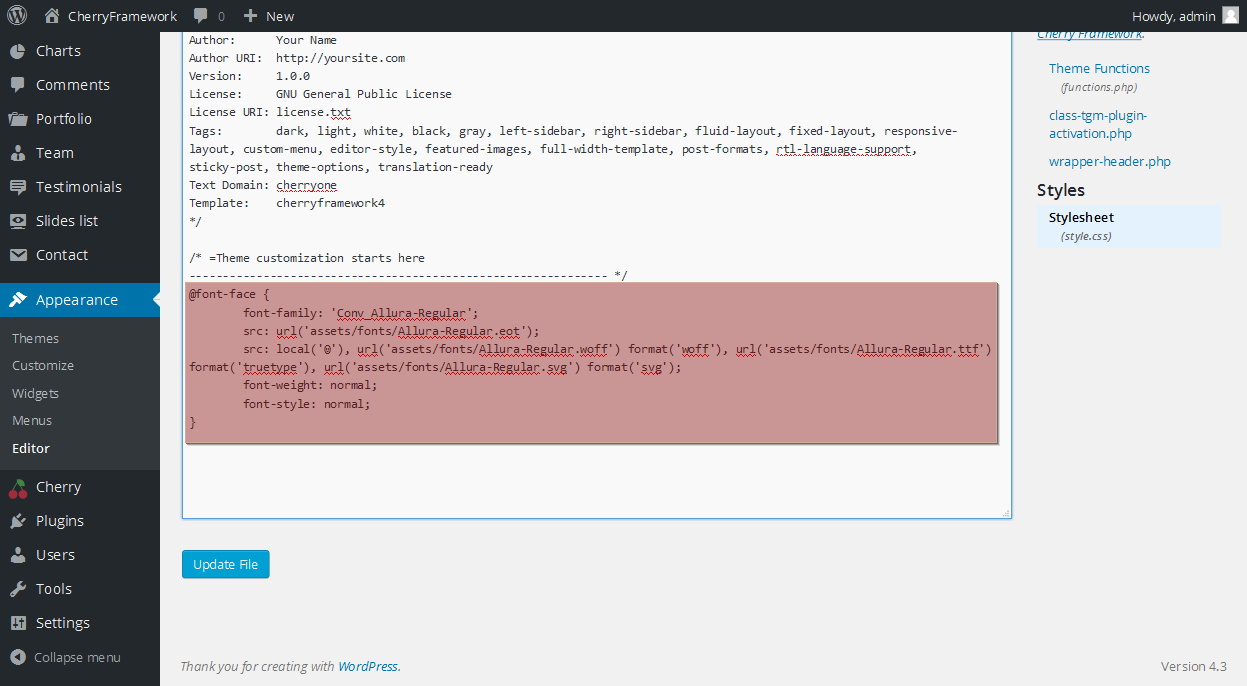
Copy the reviously altered fonts.css file code and paste it at the very end of the appeared style.css file:
@font-face {
	font-family: 'Conv_Allura-Regular';
	src: url('assets/fonts/Conv_Allura-Regular.eot');
	src: local('☺'), url('assets/fonts/Conv_Allura-Regular.woff') format('woff'), url('assets/fonts/Conv_Allura-Regular.ttf') format('truetype'), url('assets/fonts/Conv_Allura-Regular.svg') format('svg');
	font-weight: normal;
	font-style: normal;
}
You will have your own font name instead of “Conv_Allura-Regular”.
Now, let’s say, you want to apply newly added font to h5 titles on your site.
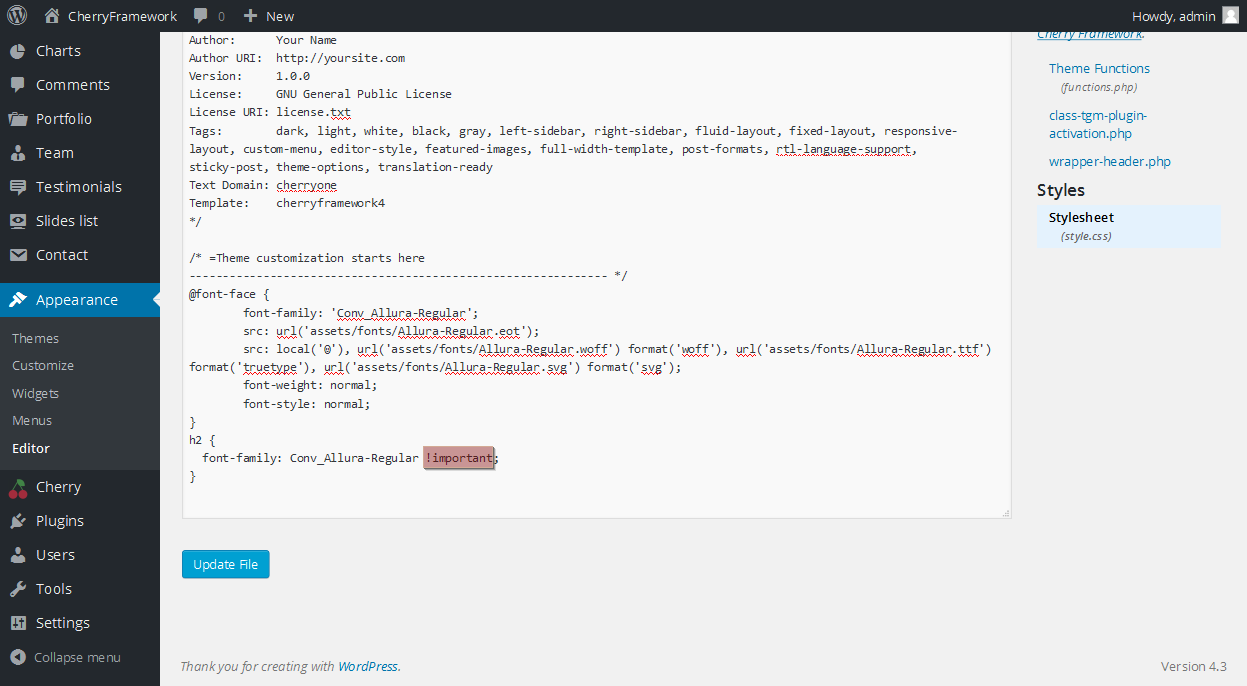
In order to do this, add the following code right below the previously added code:
h5 {
  font-family: Conv_Allura-Regular !important;
}
Pay attention to !important declaration which is added to the CSS rule to overwrite already existing font-family property for h5 titles:
Click the “Update File” button below to apply the changes.
Navigate to your site front-end and refresh the page to see the changes.
You can see the font of h5 titles is replaced with your custom font.
This is the end of the tutorial, you have learnt how to add custom font in your Cherry Framework 4 template.
Feel free to check the detailed video tutorial below:
