


- Web templates
- E-commerce Templates
- CMS & Blog Templates
- Facebook Templates
- Website Builders
FAQs
General Tutorials
Featured templates
MonsterONE Subscrioption


Hello! This video tutorial shows how to add custom CSS styles in CherryFramework 4 templates.
CherryFramework 4. How to add custom CSS styles
There are some custom CSS styles that you may want to implement to your site to make some element/section look the way you need.
Great functionality of CherryFramewok allows you to add such styles directly from WordPress dashboard, so you do not have to edit any files.
Let’s learn how to do it.
Let’s say, you would like to edit the header navigation menu links hover color:

If you still have not heard about the Firebug extension for Firefox browser, you should definitely get familiar with it!
Using Firebug or Inspect element feature of your browser locate the CSS class assigned to header navigation menu links hover:
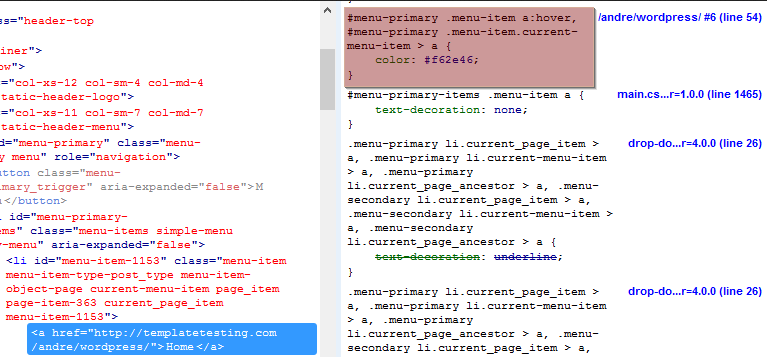
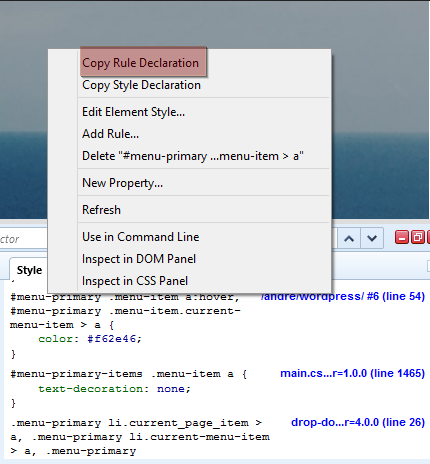
Click on the CSS class with your right mouse button and choose “Copy Rule Declaration” option to copy it to the clipboard:
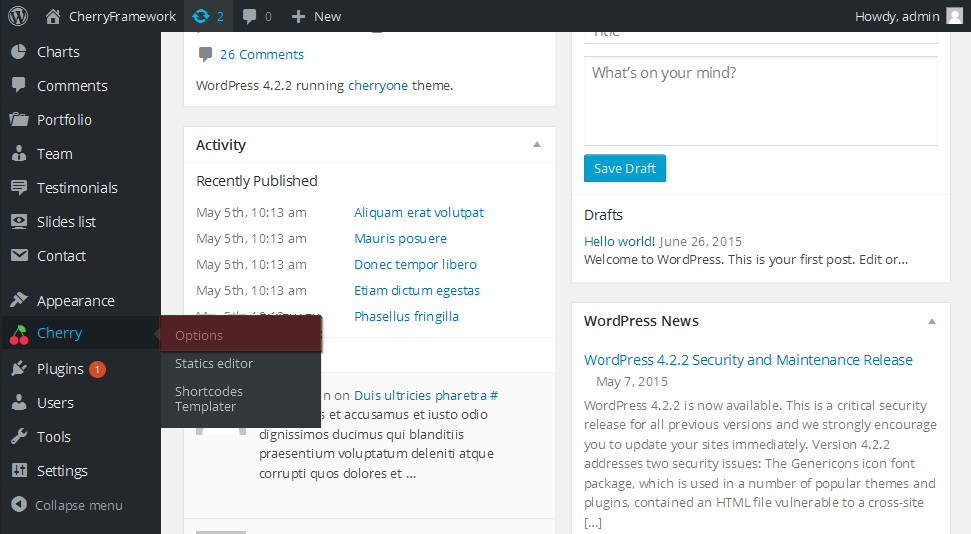
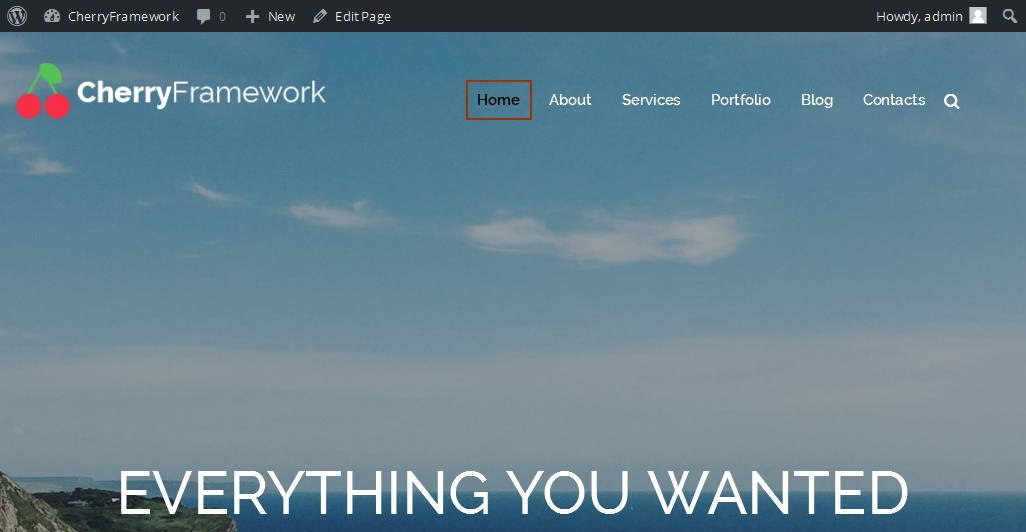
Now, access your WordPress dashboard and navigate to Cherry -> Options:
On the appeared screen, the General tab will be active by default – this is the section of Cherry Options we need. Scroll down to the bottom of the Cherry Options interface to locate the “User CSS” field:
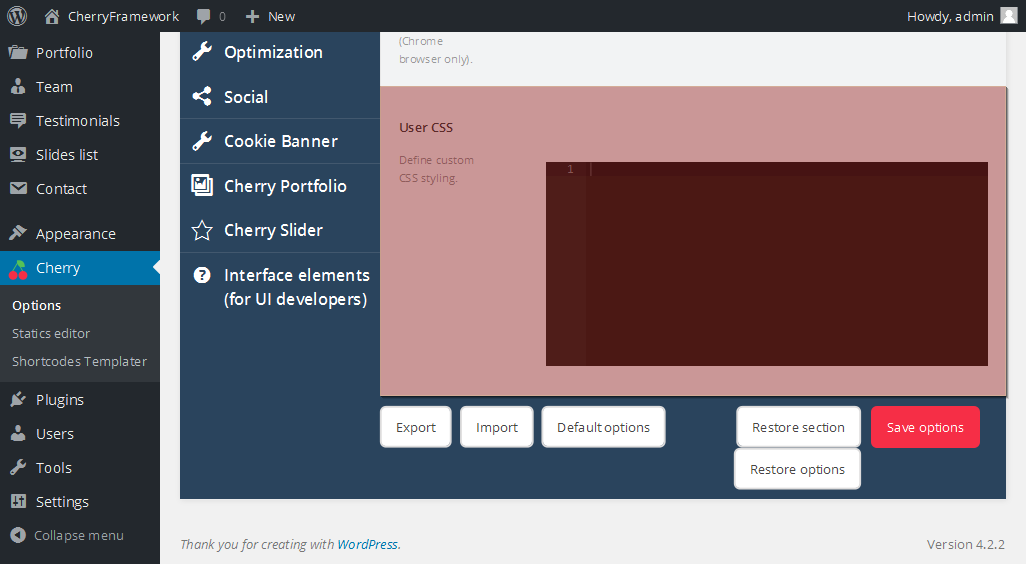
Paste the previously copied CSS rule to the “User CSS” field using CTRL+V/CMND+V key (Windows OS/Mac OS).
Replace the color code (#f62e46) with any desired one, e.g. black (#000000).
Click the “Save options” button to apply changes:

Navigate to your site front-end and refresh the page to see changes.
You can see the header navigation links hover color is changed to black now:
This is the end of the tutorial, you have learnt how to add custom CSS styles in your CherryFramework 4 template.
Feel free to check the detailed video tutorial below:
