


- Web templates
- E-commerce Templates
- CMS & Blog Templates
- Facebook Templates
- Website Builders
FAQs
General Tutorials
Featured templates
MonsterONE Subscrioption


This tutorial shows how to add menu widget to a specific page in CherryFramework 4 templates.
CherryFramework 4. How to add menu widget to specific page
In order to add menu widget to a specific page in CherryFramework 4, you should do the following:
Step 1. Create a custom Sidebar area in WordPress dashboard.
Log into your WordPress dashboard with your WordPress login credentials.
Navigate to ‘Appearance’ -> ‘Widgets’.
Locate the ‘Cherry Custom Sidebars’ creation area:

In case you do not have this area in Appearance-Widgets section of your WordPress dashboard, please make sure you have the ‘Cherry Sidebar Manager’ plugin installed into Plugins -> Installed Plugins section in your admin:
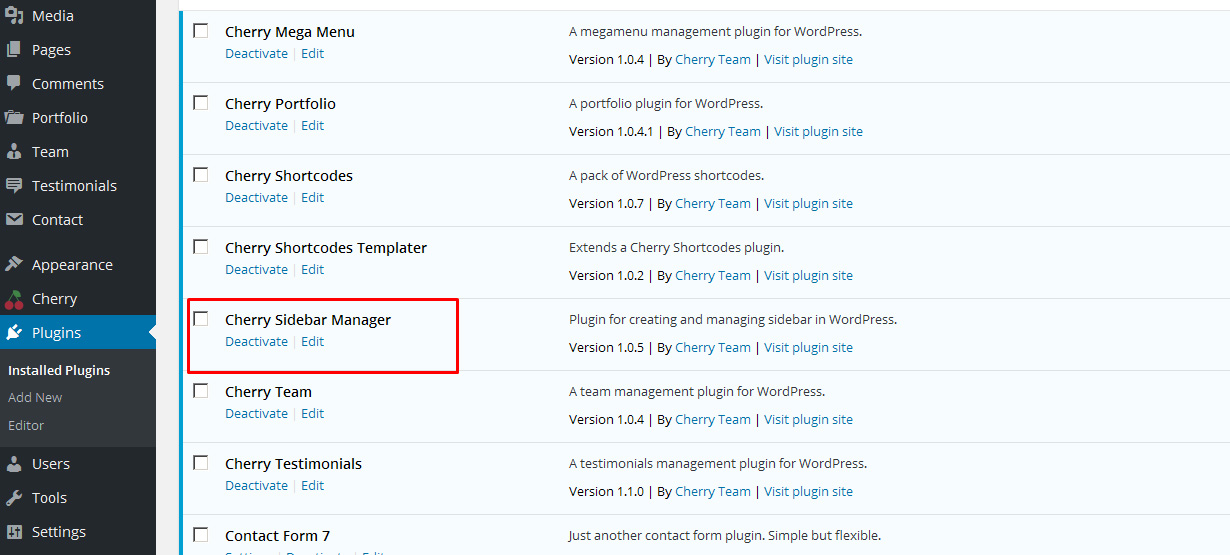
You can download this plugin from the following link.
Click ‘Create a new sidebar’.
Enter the Sidebar name and the Description and click ‘Create Sidebar’:

Step 2. Add a Custom Menu widget to the new custom sidebar.
Unfold the sidebar.
Drag-n-drop the Custom Menu widget to the new Custom Sidebar area.
Select the menu to display, specify the Menu title and click ‘Save’:

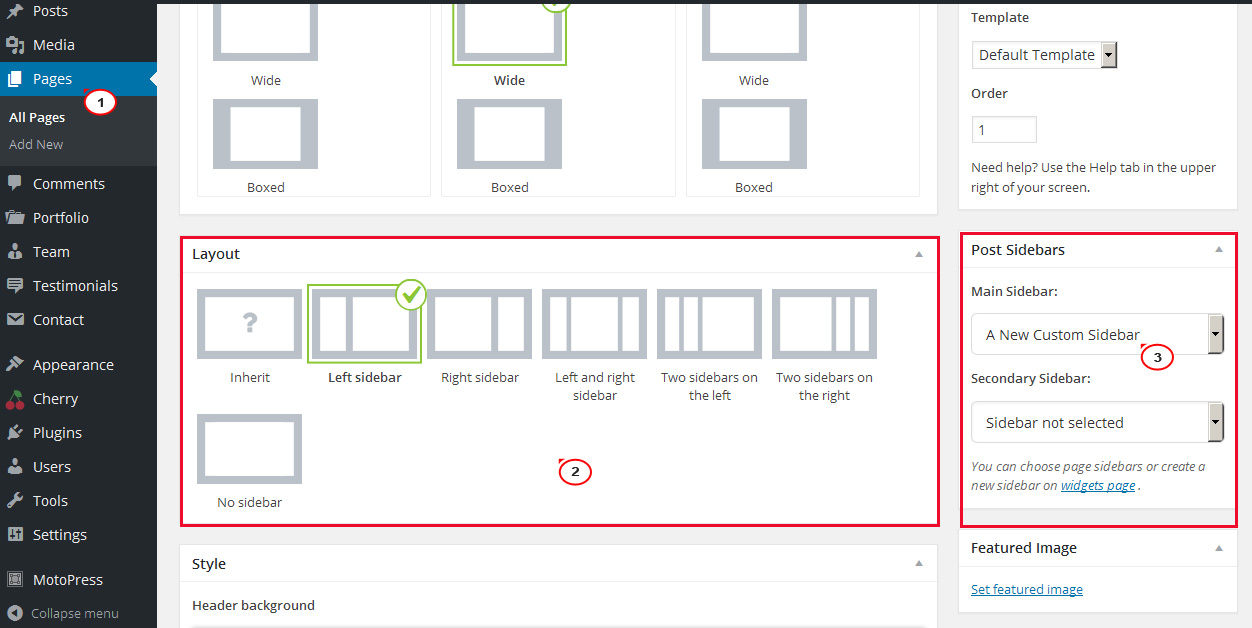
Step 3. Link the Custom Menu widget to the page.
Navigate to Pages – All Pages in your WordPress Dashboard. Locate the page, open it to edit.
Scroll down to the ‘Layout’ options. Select any sidebar layout option (Left Sidebar etc.).
In Post Sidebars on the right select the Custom Sidebar.
You can set it either for the Main sidebar or Secondary sidebar if the page layout is set to two sidebars:
Do not forget to click ‘Update’ to save the changes.
Feel free to check the detailed video tutorial below:
