


- Web templates
- E-commerce Templates
- CMS & Blog Templates
- Facebook Templates
- Website Builders
FAQs
General Tutorials
Featured templates
MonsterONE Subscrioption


This tutorial is going to show you how to add theme localization to a WordPress CherryFramework 4 template.
CherryFramework 4. How to add theme localization
In order to add theme localization to a WordPress Cherry 4 template, you should perform the following:
Go to http://poedit.net/download and download Poedit for your system (Windows/MAC). Poedit is a free, open source and cross-platform gettext catalogue (.po file) editor to aid in the process of language localization:

Install it on your computer: double click the file and follow the steps it suggests. At the end of the installation make sure the option Open Poedit After Installation is checked and click Finish:
Go to wp-content/themes/cherryframework4/languages folder. There you’ll see the cherry.pot file.
In order to add a new localization, you need to download the cherry.pot file to your local system and open it up in Poedit by selecting in the main menu File / New from POT/PO file…. When you do that, you’ll get to a dialogue box that says Translation Language:
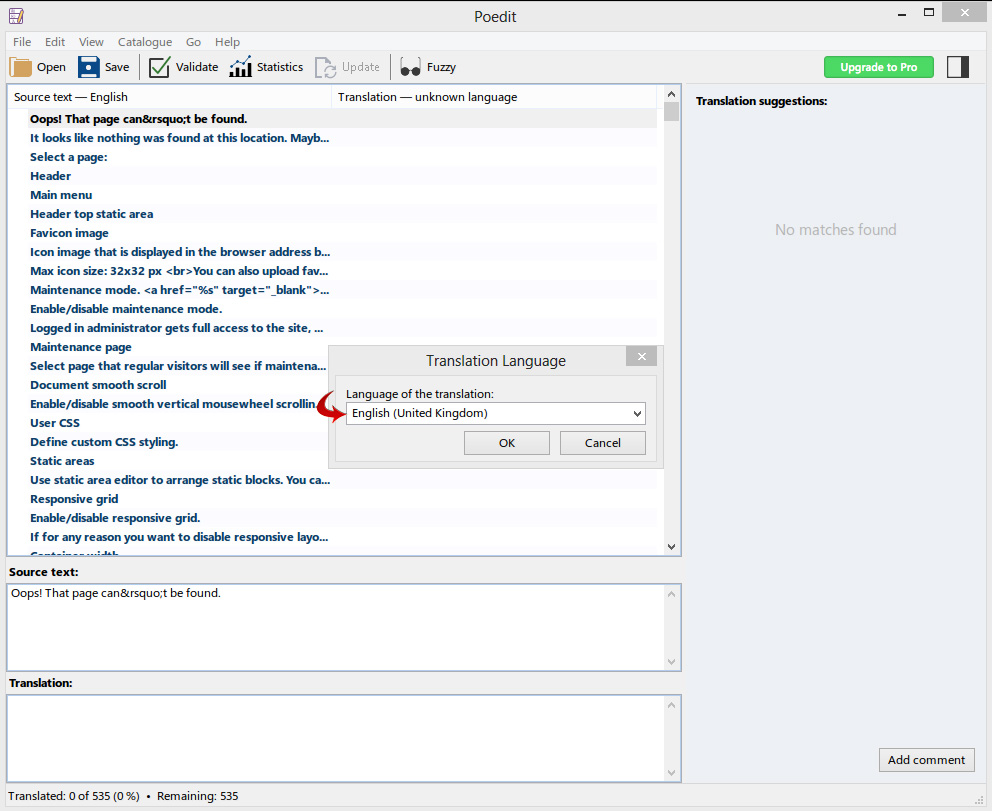
There you need to select the language you are going to add.
You need to make a translation for each string by writing it in the Translation field. Also, you can translate only those of them that need to be rewritten.
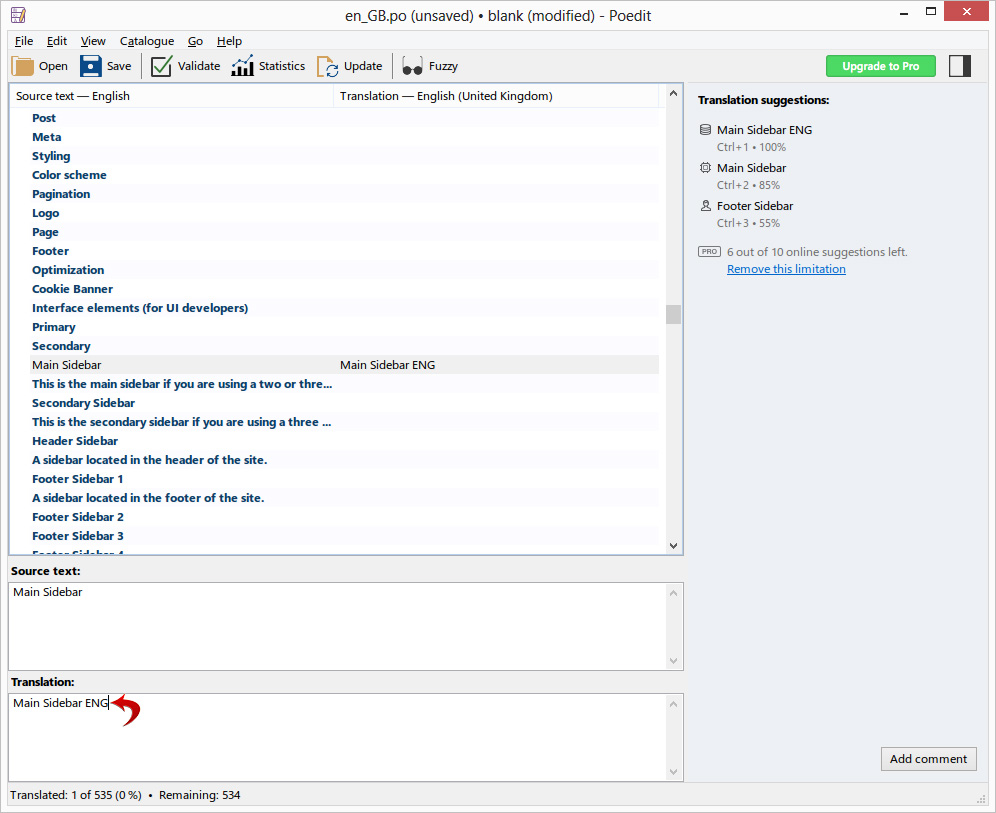
After all is done, go to File / Save or press Ctrl + S and save the localization. You’ll get two files with the extensions *.po and *.mo. You need to name them cherry-ln_LN, where ln_LN is the locale international code of the language.
The PO/MO localization files that you created should be uploaded to the wp-content/languages/themes folder. If the folder doesn’t exist, please create it.
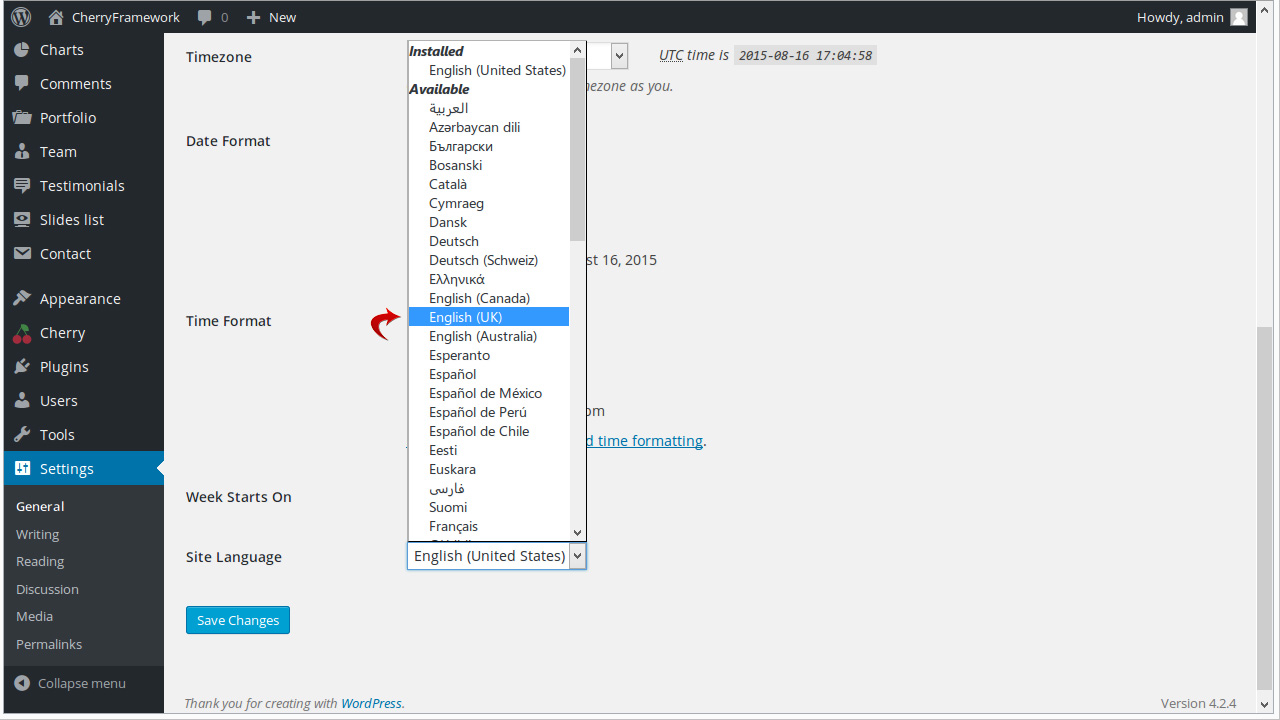
The last step is to go to Dashboard -> Settings -> General and switch the Site Language:
Feel free to check the detailed video tutorial below:
