


- Web templates
- E-commerce Templates
- CMS & Blog Templates
- Facebook Templates
- Website Builders
FAQs
General Tutorials
Featured templates
MonsterONE Subscrioption


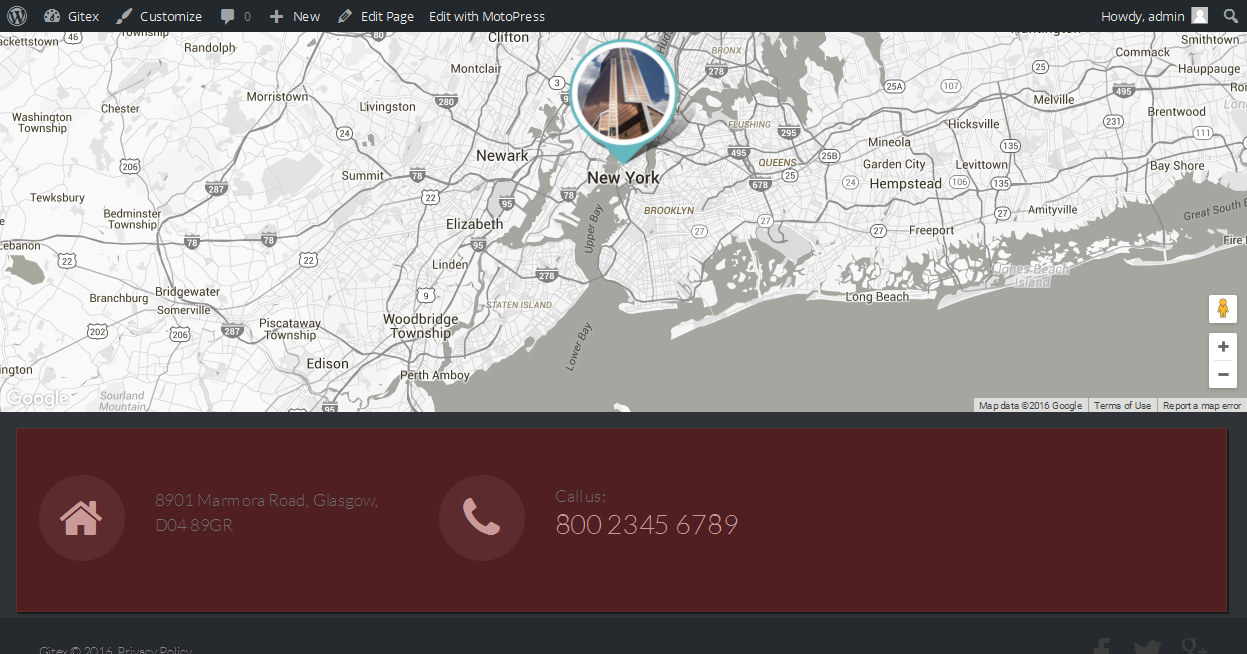
Hello! This video tutorial shows how to change number of columns in footer of CherryFramework 4 templates.
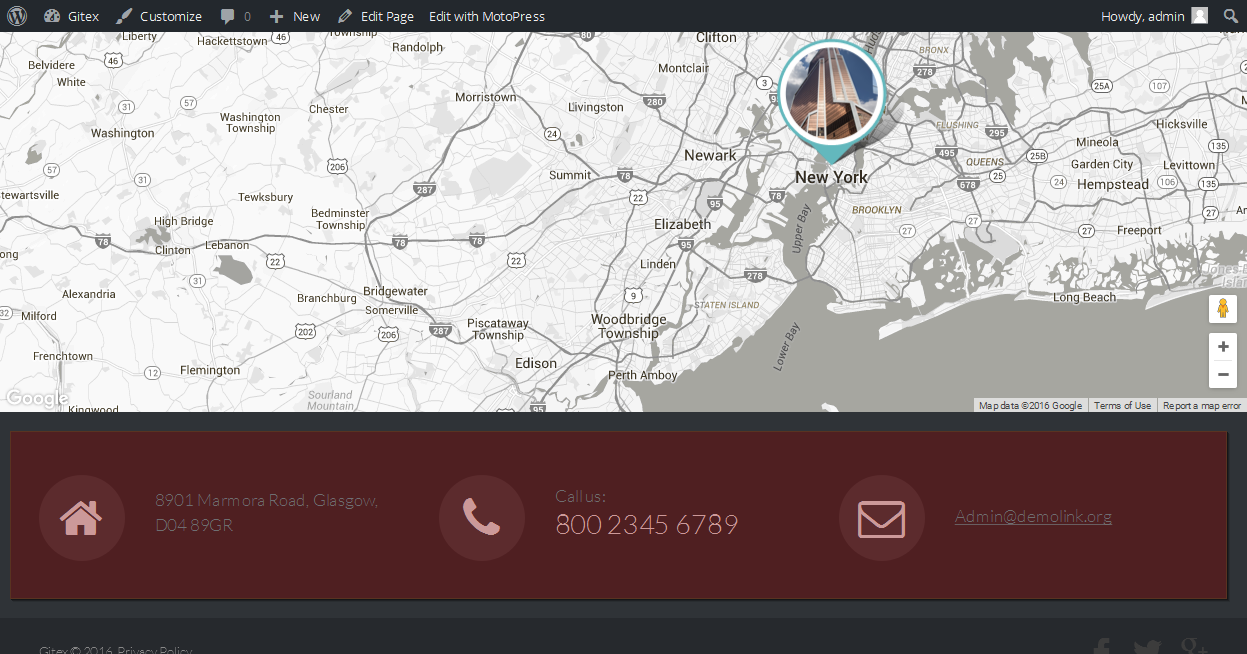
You may want to change the number of columns in the footer of your website to have site design match your desire:
Let’s learn how to do that.
Let’s say you want to have two columns instead of three in the footer.
Firstly, you should get rid of the third column.
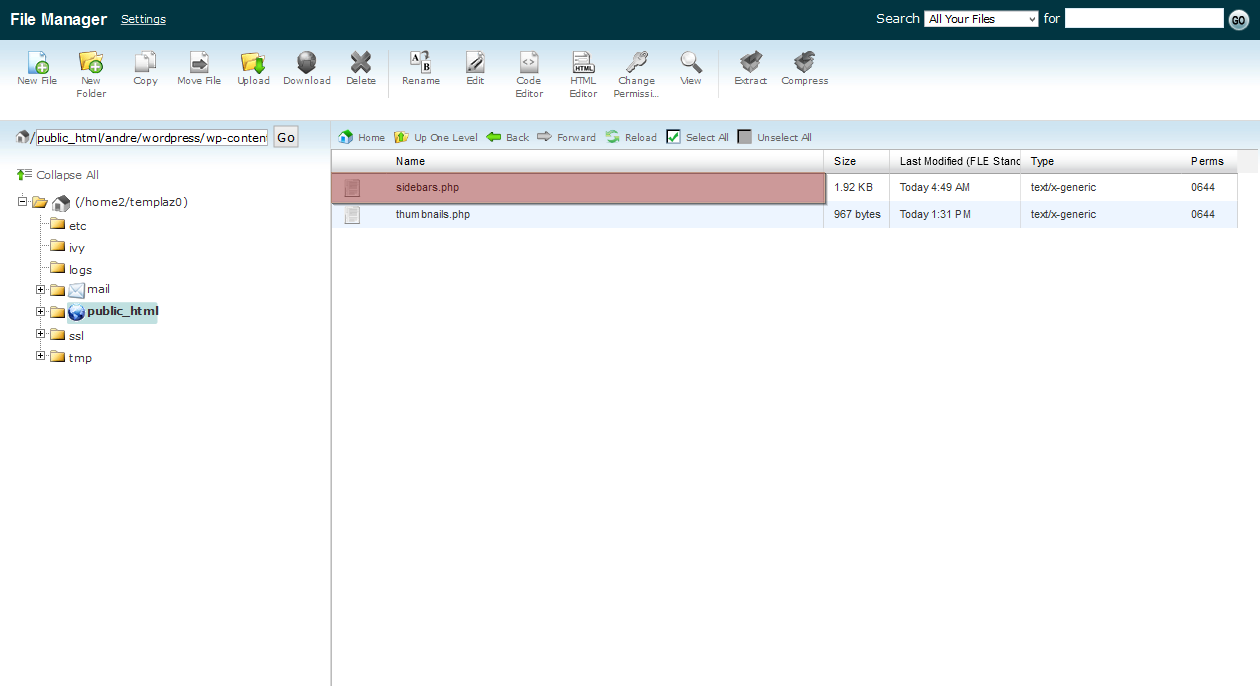
Using the FTP/hosting control panel File Manager navigate to wp-content/themes/themeXXXXX/init/config/ directory (here XXXXX stands for your theme number).
Look for the sidebars.php file and open it for editing:
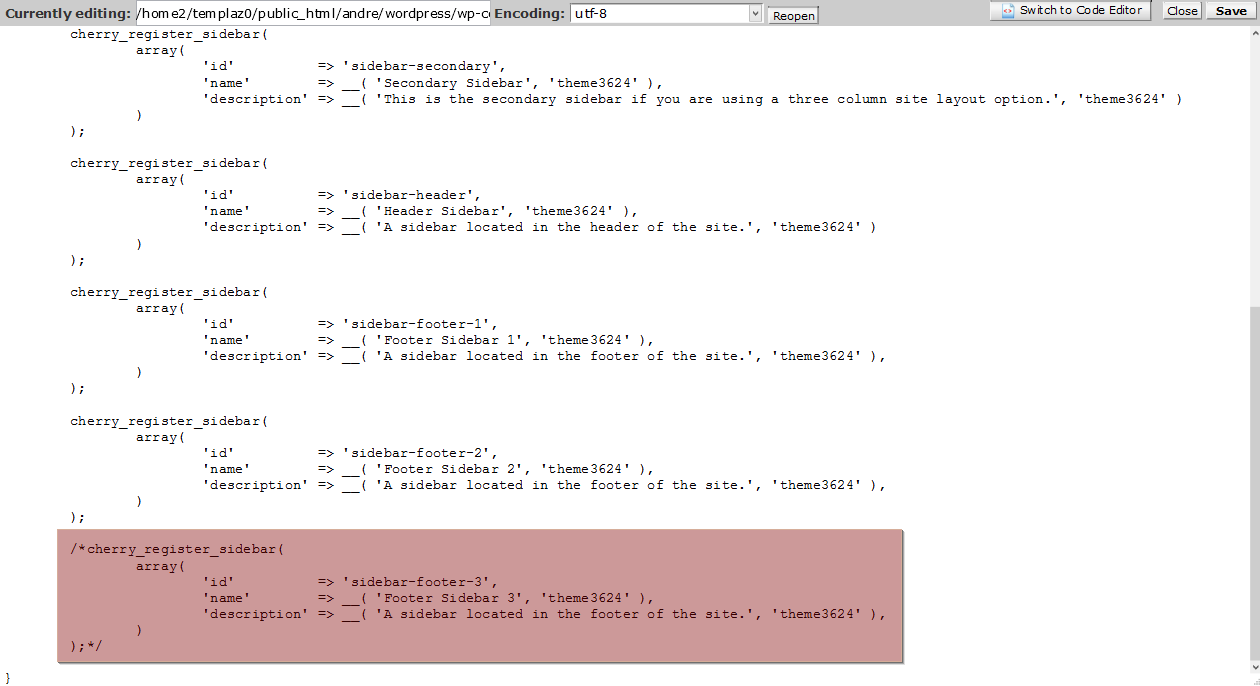
Once the file is opened, find the following code there:
cherry_register_sidebar(
     array(
         'id'          => 'sidebar-footer-3',
         'name'        => __( 'Footer Sidebar 3', 'theme3624' ),
         'description' => __( 'A sidebar located in the footer of the site.', 'theme3624' ),
     )
);
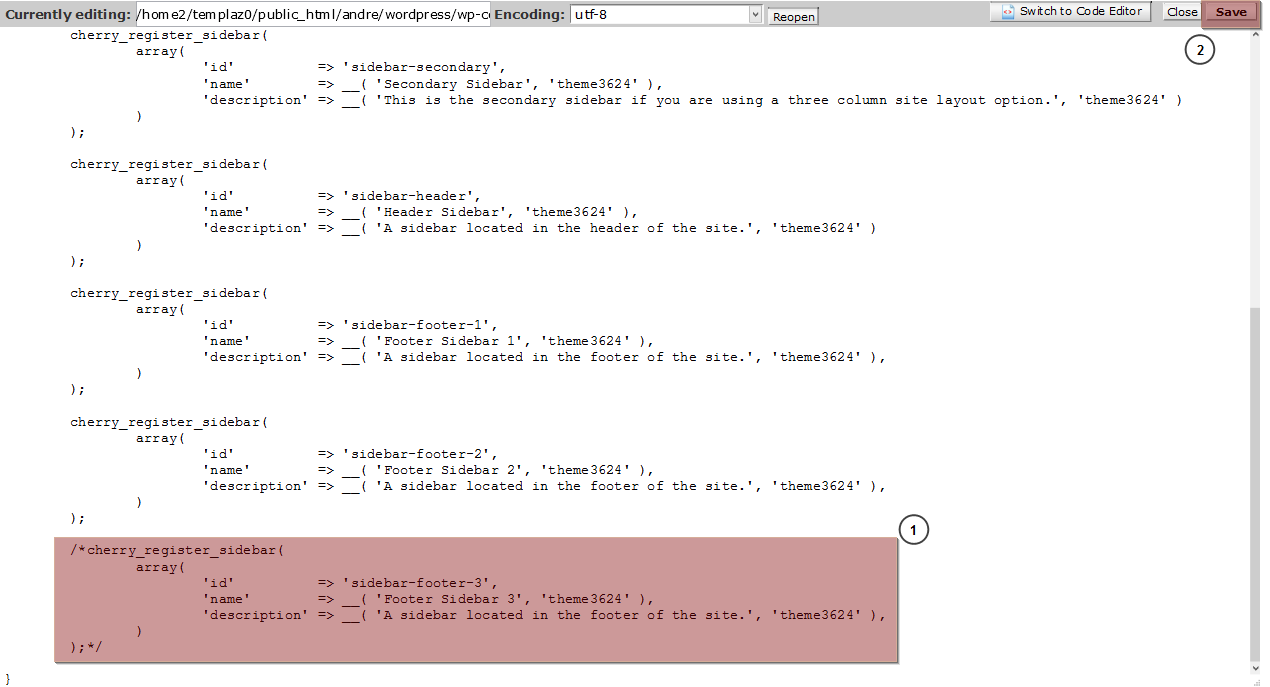
Comment out the code, so it looks as follows:
/*cherry_register_sidebar(
     array(
         'id'          => 'sidebar-footer-3',
         'name'        => __( 'Footer Sidebar 3', 'theme3624' ),
         'description' => __( 'A sidebar located in the footer of the site.', 'theme3624' ),
     )
);*/
Save the file to apply changes:
Now that the third column is gone, you should change the remained columns width to stretch them through the whole container width, since they do not look good:
Navigate to wp-content/themes/themeXXXXX/init/statics/ directory and look for the footer-sidebars.php file.
Open the file for editing and find the following code there:
public function callback() {
    for ( $i = 1; $i <= 3; $i++ ) {
            echo '<div class="col-xs-12 col-sm-4">';
                       cherry_get_sidebar( "sidebar-footer-{$i}" );
            echo '</div>';
    }
}
Replace the col-sm-4 with col-sm-6 to have each of the footer column occupy half of the content width:

Do not forget to save the file to apply changes.
Navigate to your site frontend and refresh the page to see changes.
As you can see, the footer columns count is successfully changed:
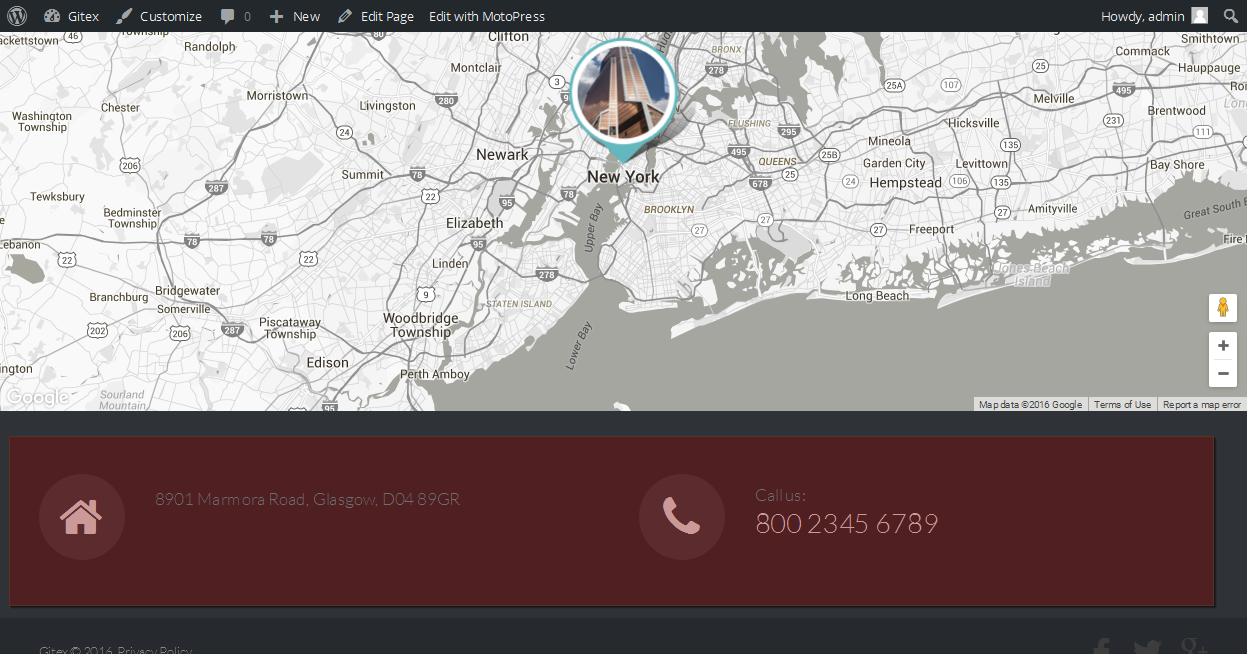
This is the end of the tutorial. We have learnt how to change the number of columns in footer of your CherryFramework 4 template.
Feel free to check the detailed video tutorial below:
CherryFramework 4. How to change number of columns in footer