


- Web templates
- E-commerce Templates
- CMS & Blog Templates
- Facebook Templates
- Website Builders
FAQs
General Tutorials
Featured templates
MonsterONE Subscrioption


Hello! This tutorial is going to show you how to manage Blog layouts in CherryFramework 4 based templates.
CherryFramework 4. How to manage blog layoutsNote: Make sure to have the Cherry Blog Layouts plugin installed (you can can check it at the Plugins -> Installed Plugins section at WordPress Dashboard). In case it’s not listed, download the package here and upload it to site at Plugins -> Add New -> Upload.
.jpg)
Open Cherry -> Options section (1) and navigate to Blog Layout tab (2). Set “Enable custom blog layout” to ON here (3) to start customizing your Blog page appearance:
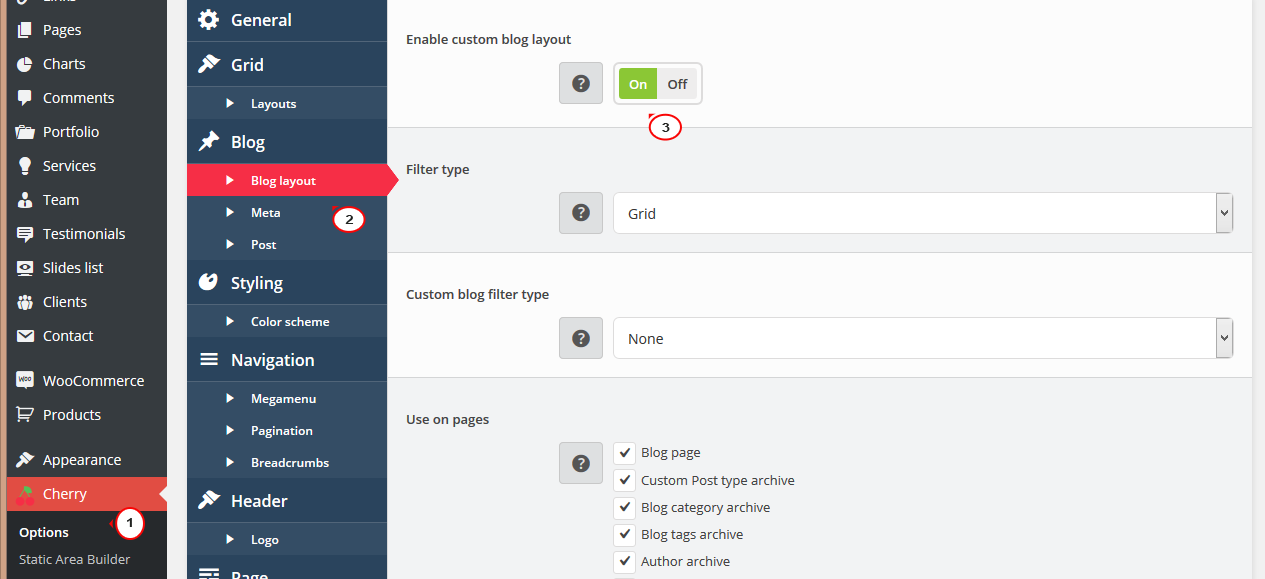
Select Filter type, it can be set to Grid, Masonry or Timeline (1). Specify if there should be categories/tags filter displayed at the top of content (2) and select pages with your custom layout applied (3):

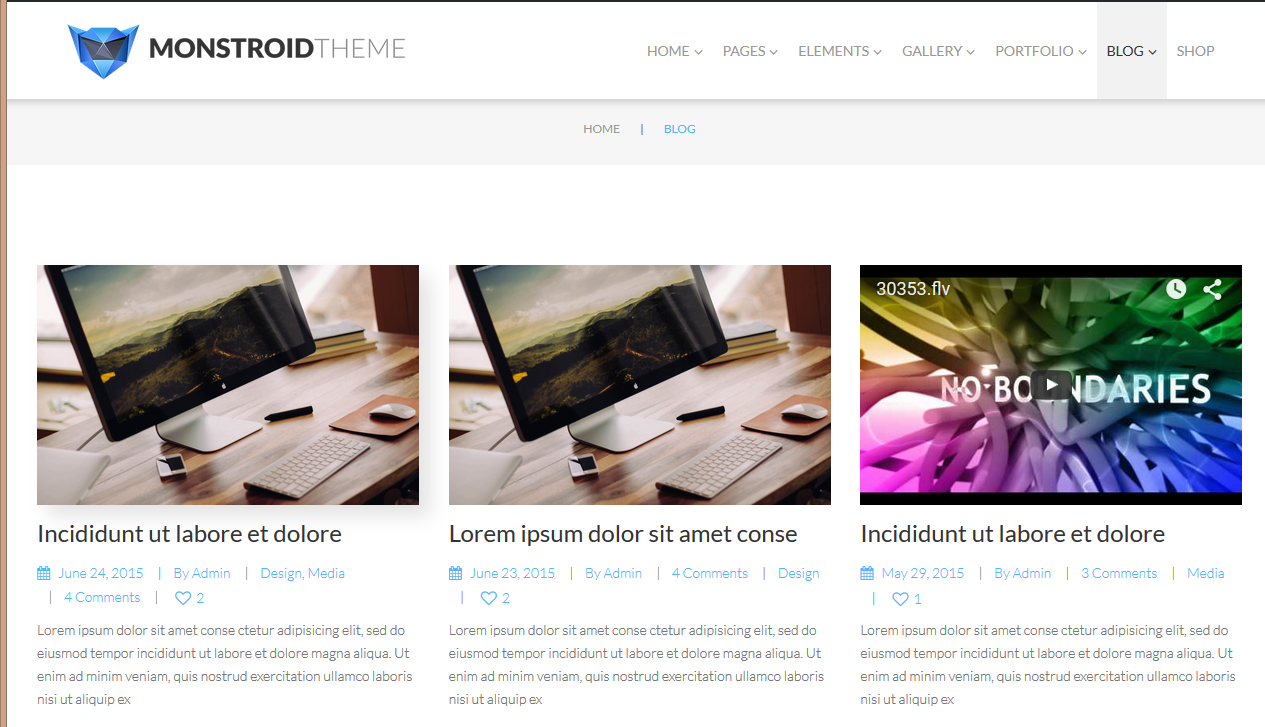
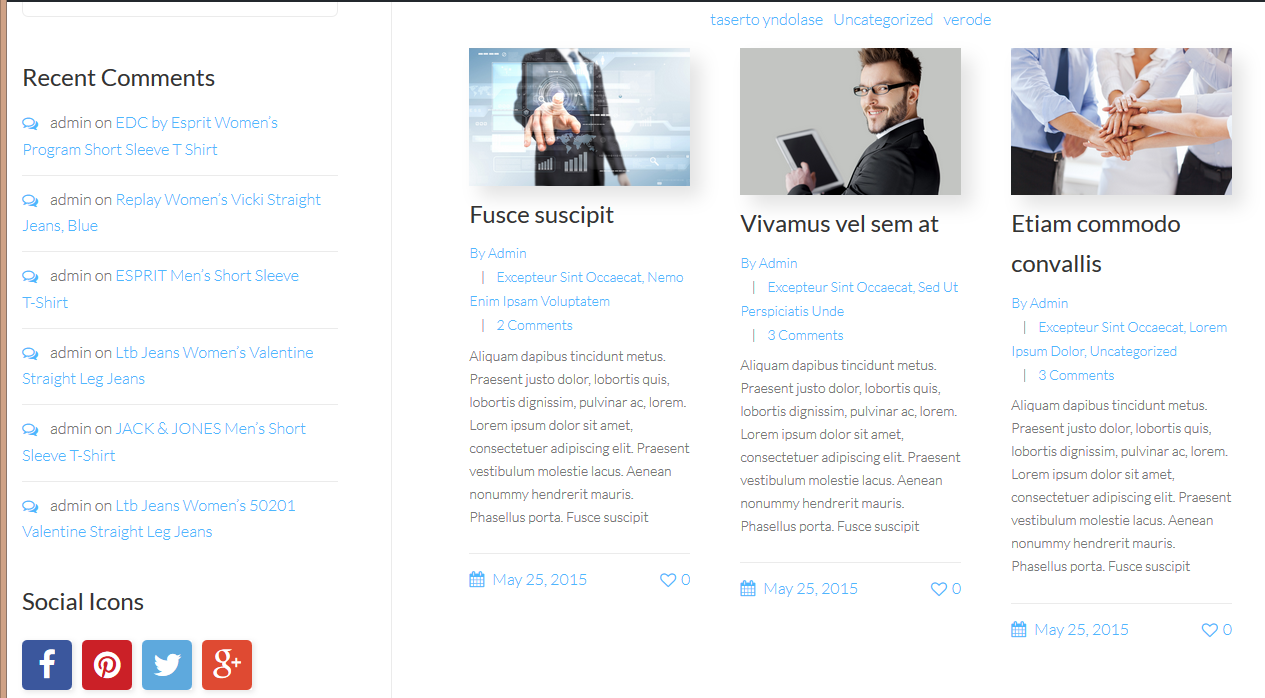
You can select the following options for Grid layout: Grid columns, Grid type. Feel free to check the example of layout below:
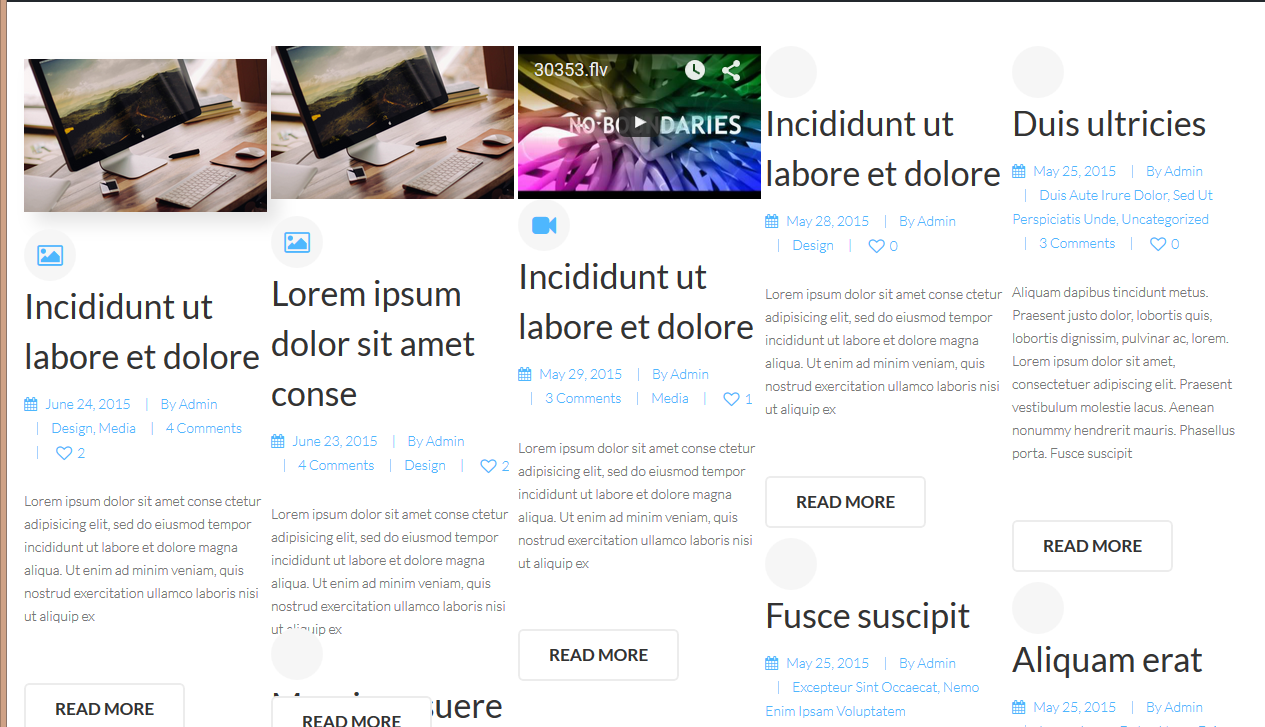
For Masonry layout: Masonry columns number, Masonry columns gutter. Feel free to check the example of layout below:
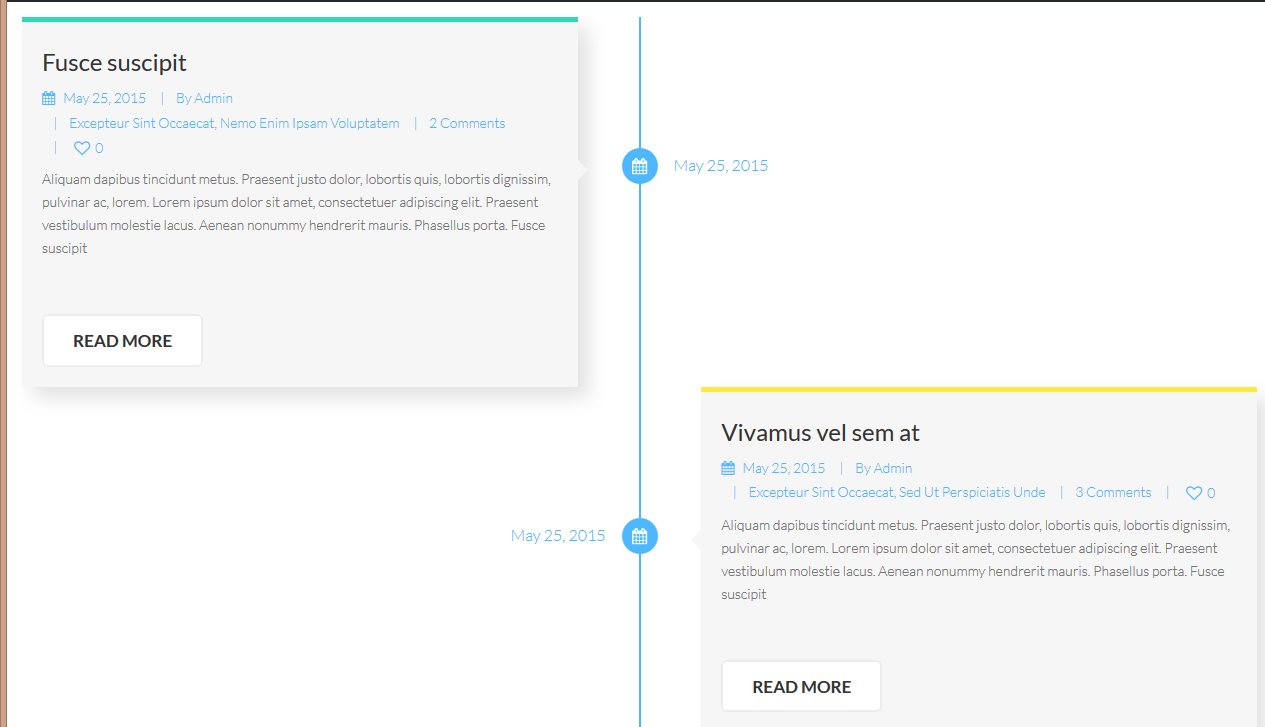
For Timeline layout there are the following options available: Timeline item width, Enable timeline breakpoints (Yes/No), Timeline breakpoint (Year, Month, Day), Timeline breakpoint date format, Enable marker’s date label (Yes/No), Timeline marker date format (Yes/No). Feel free to check the example of layout below:
You can also select Custom Blog sidebars for Blog page and Template type for Blog posts on this page:
As a result, you’ll be able to create any layout you’d like to see on the Blog page in a few clicks. Wish you good luck!
Feel free to check the detailed video tutorial below:
CherryFramework 4. How to manage blog layoutsIn case you’re seeking premium themes to put up a professional website, take a look at wordpress theme layouts.
