


- Web templates
- E-commerce Templates
- CMS & Blog Templates
- Facebook Templates
- Website Builders
FAQs
General Tutorials
Featured templates
MonsterONE Subscrioption


Hello! This video tutorial shows how to manage footer background and layout settings in Cherry Framework 4 templates.
CherryFramework 4. How to manage footer background and layout settings
It is worth mentioning that footer area is an important area of the site, therefore it is a must to make your footer look nice to attract site visitors.
Fortunately, Cherry Framework 4 allows you to achieve this with a number of useful options to set the footer.
Let’s learn how to manage these options.
Once you are in your WordPress admin panel, navigate to Cherry ->Options tab:

On the appeared screen click the Footer tab to open the footer editing interface:

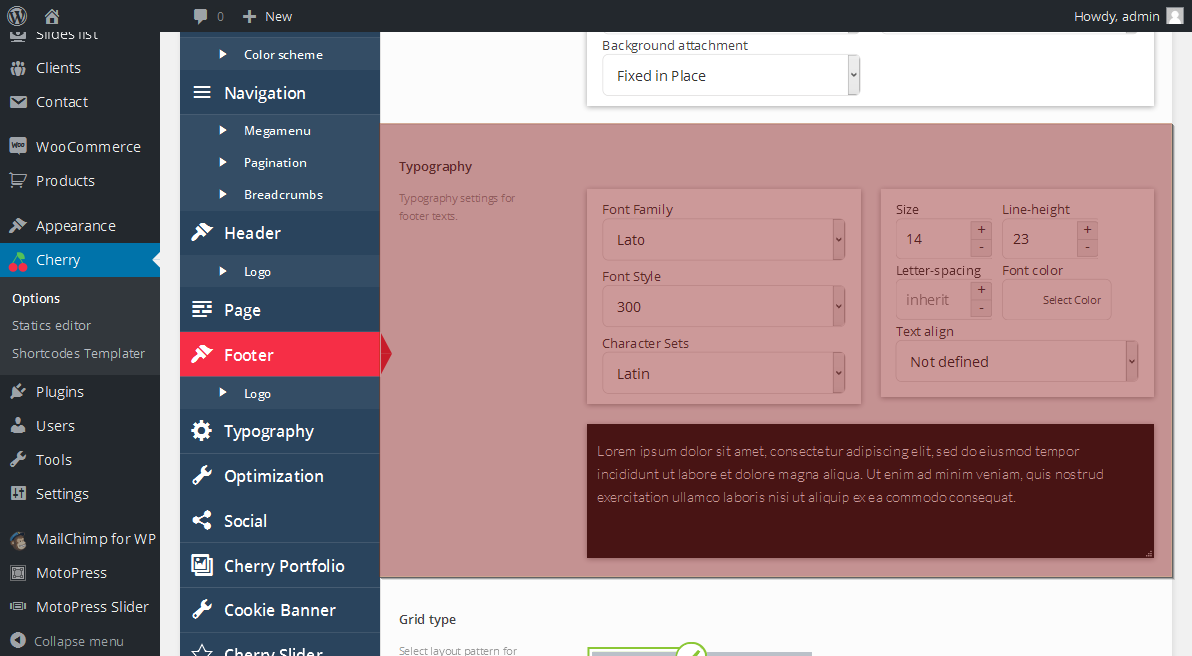
The Footer options are divided into five sections – Background, Typography, Grid type, Boxed width and Footer Info text.
Let’s change these options to change the way the footer area looks.
You may set specific background color for the footer using Background Color option, as well as set the background repeat, background position and background attachment:

Alter the typography settings for footer text using options in the Typography section – feel free to change the font type, size and style and align the footer text to your needs:
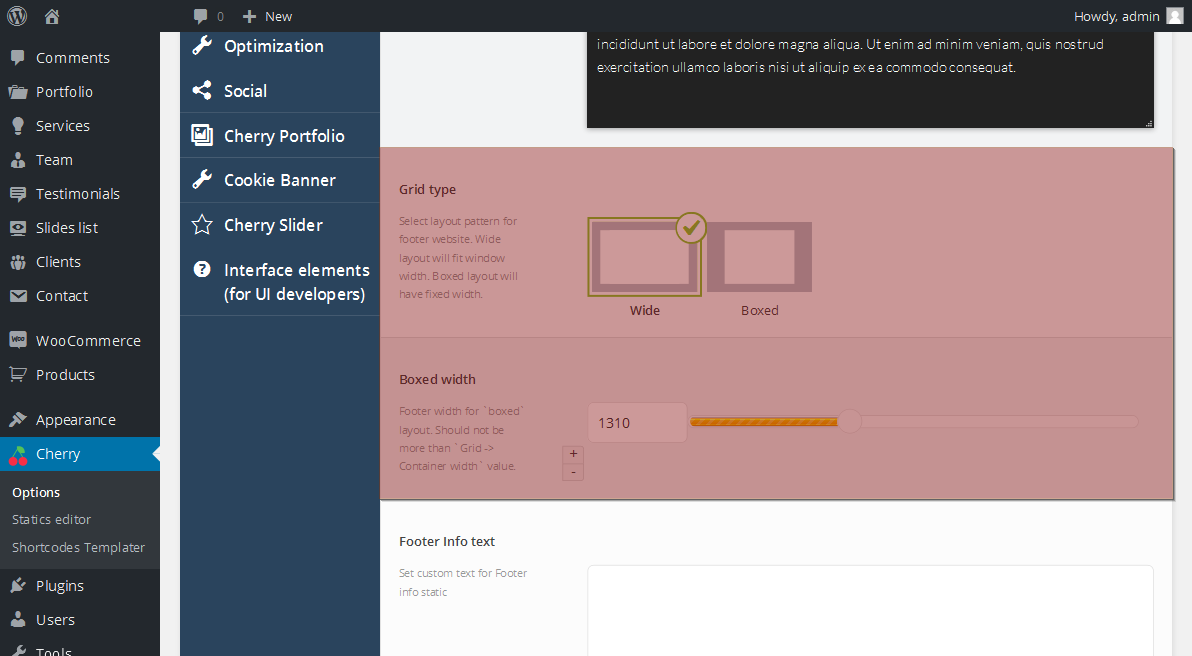
In case you would like your footer to have boxed layout, you may set it in the Grid type section and specify the boxed width value in the Boxed width section:
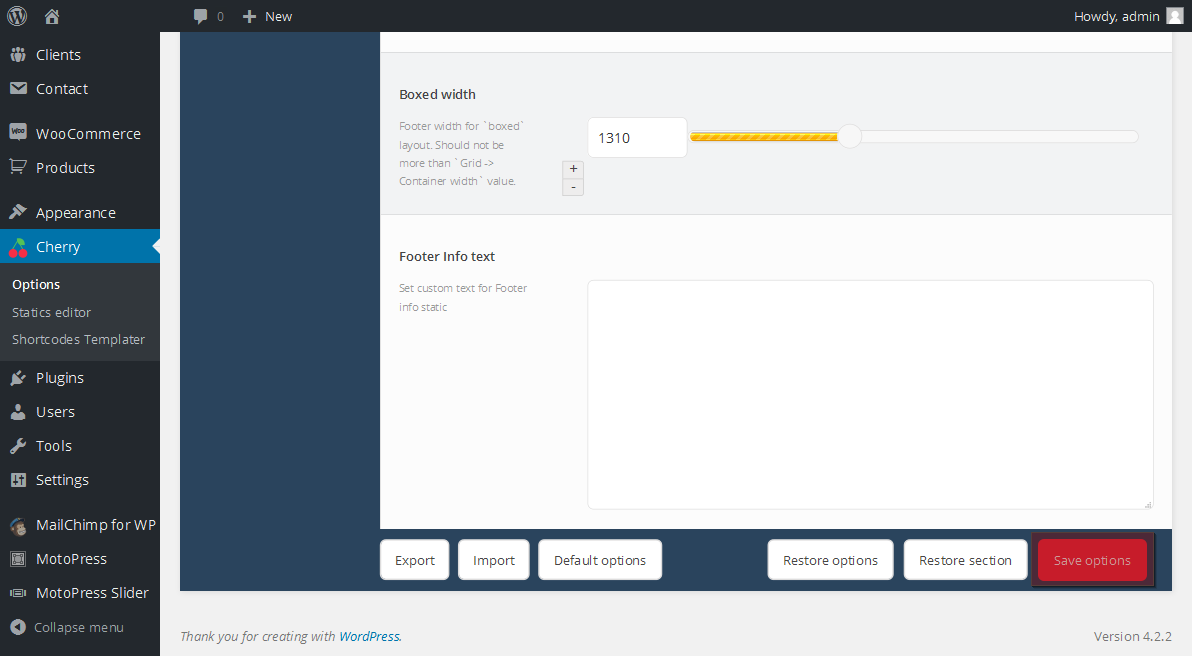
There are also no troubles with adding your custom information to the footer – add any text in the Footer Info text option field:
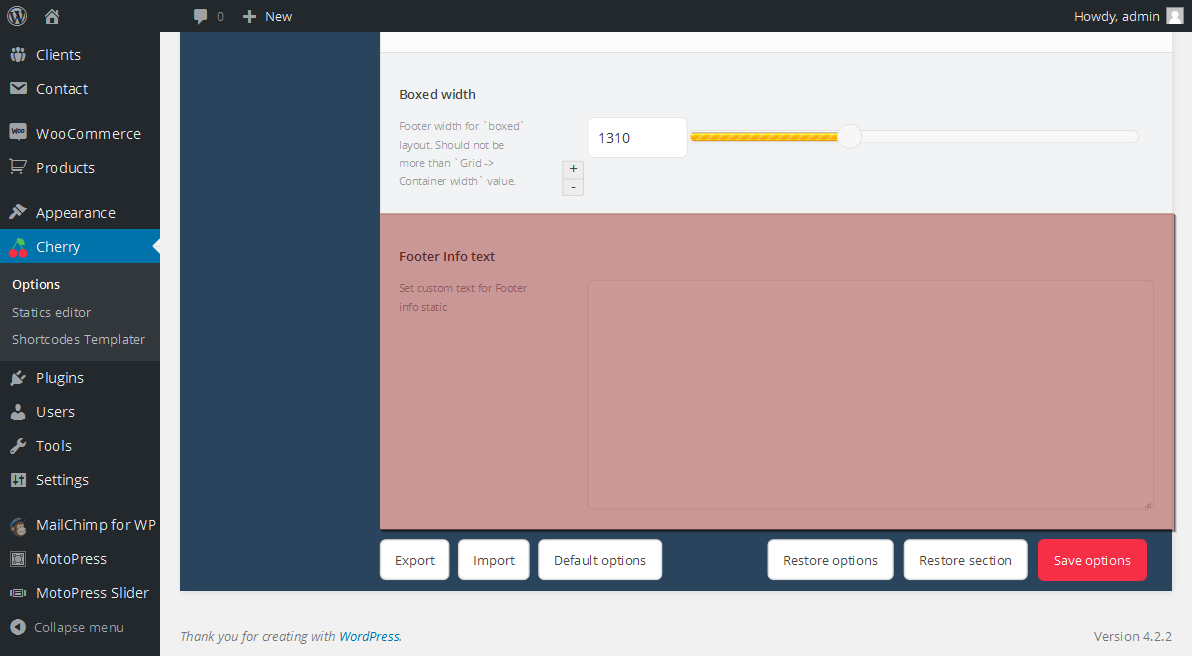
Make sure to click the “Save options” button at the bottom right to apply the changes:
Navigate to your site front-end and refresh the page – you can see the footer layout is now changed per your desire.
This is the end of the tutorial, you have learnt how to manage footer background and layout settings in your Cherry Framework 4 template.
Feel free to check the detailed video tutorial below:
CherryFramework 4. How to manage footer background and layout settings
