


- Web templates
- E-commerce Templates
- CMS & Blog Templates
- Facebook Templates
- Website Builders
FAQs
General Tutorials
Featured templates
MonsterONE Subscrioption


This tutorial will show you how to manage header layout and background options in CherryFramework 4 templates.
CherryFramework 4. How to manage header layout and background options
.jpg)
Log into WordPress admin panel, go to Cherry -> Options -> Header.
Here you will see all the options to manage header and each option has description in details on how it will affect the front end:
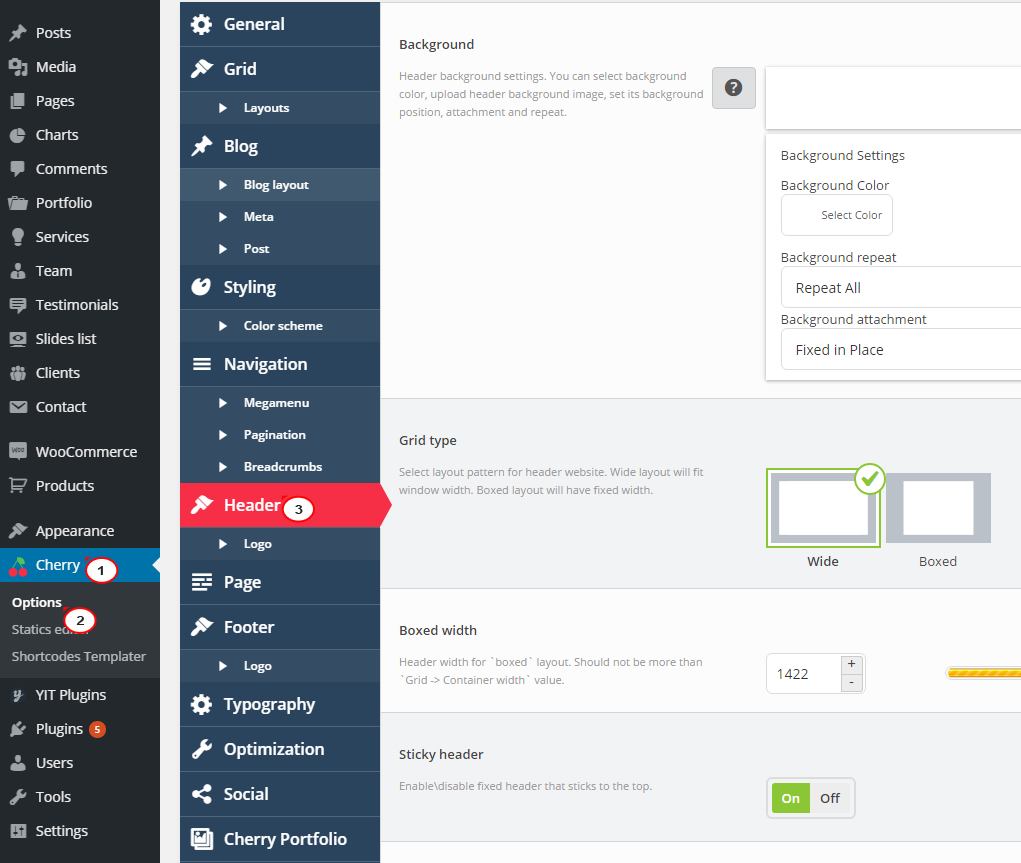
We will review all the options now.
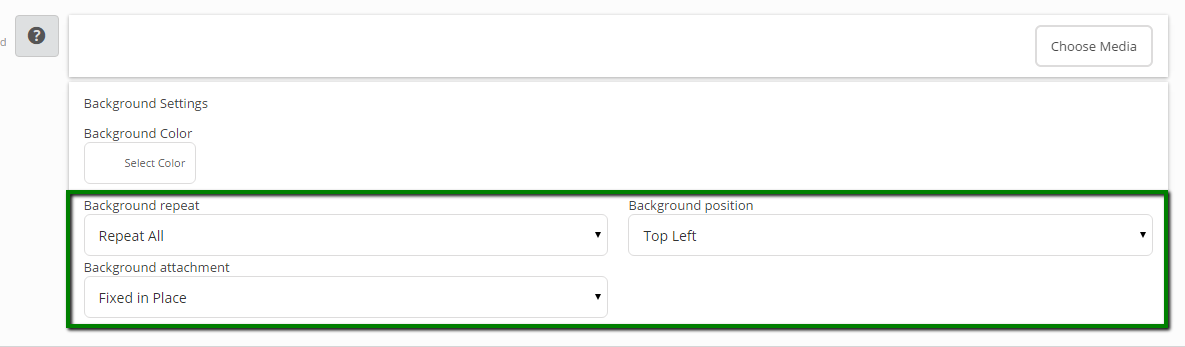
You can set a background image with Choose Media button:
![]()
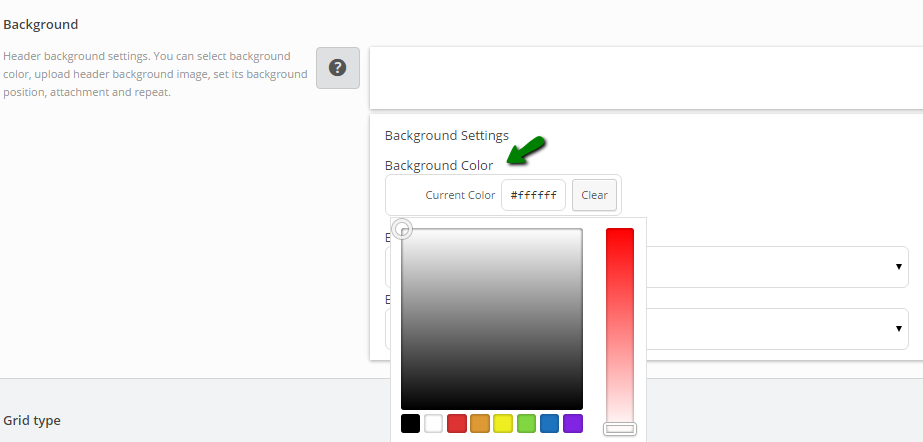
You can set a solid color background in Background Color field:
There are some options to adjust the background included below too:
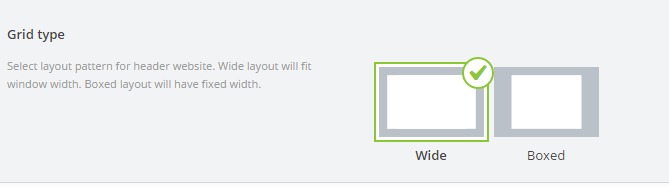
Grid type: set it Wide for the full width, or set it Boxed into a box with a specific width:
Boxed width: This field will work if you set the grid type as Boxed:
![]()
Sticky header:
![]()
On: The Header section will be sticky to the top if you scroll down the page.
Off: No header can be viewed when you scroll down the page.
Sticky selector: Select the block selector that will be used to build sticky panel, including:
![]()
Header: The whole header with background will be sticky.
Main Menu: Just the menu will be sticky.
Header top static area: The whole header will be sticky except the background.
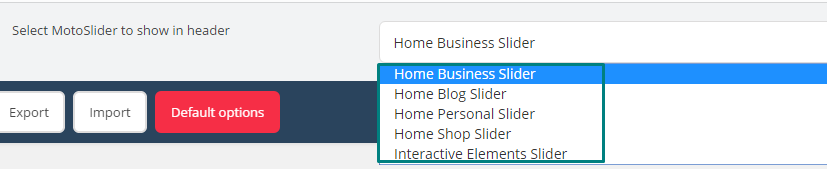
Select MotoSlider to show in header: shows a drop down list of sliders, which is MotoPress Slider plugin:

Feel free to check the detailed video tutorial below:
CherryFramework 4. How to manage header layout and background options
