


- Web templates
- E-commerce Templates
- CMS & Blog Templates
- Facebook Templates
- Website Builders
FAQs
General Tutorials
Featured templates
MonsterONE Subscrioption


This tutorial shows how to manage Static Areas visibility in CherryFramework 4.
CherryFramework 4. How to manage Static Areas visibility
In order to to manage Static Areas visibility in CherryFramework 4, you should perform the following steps:
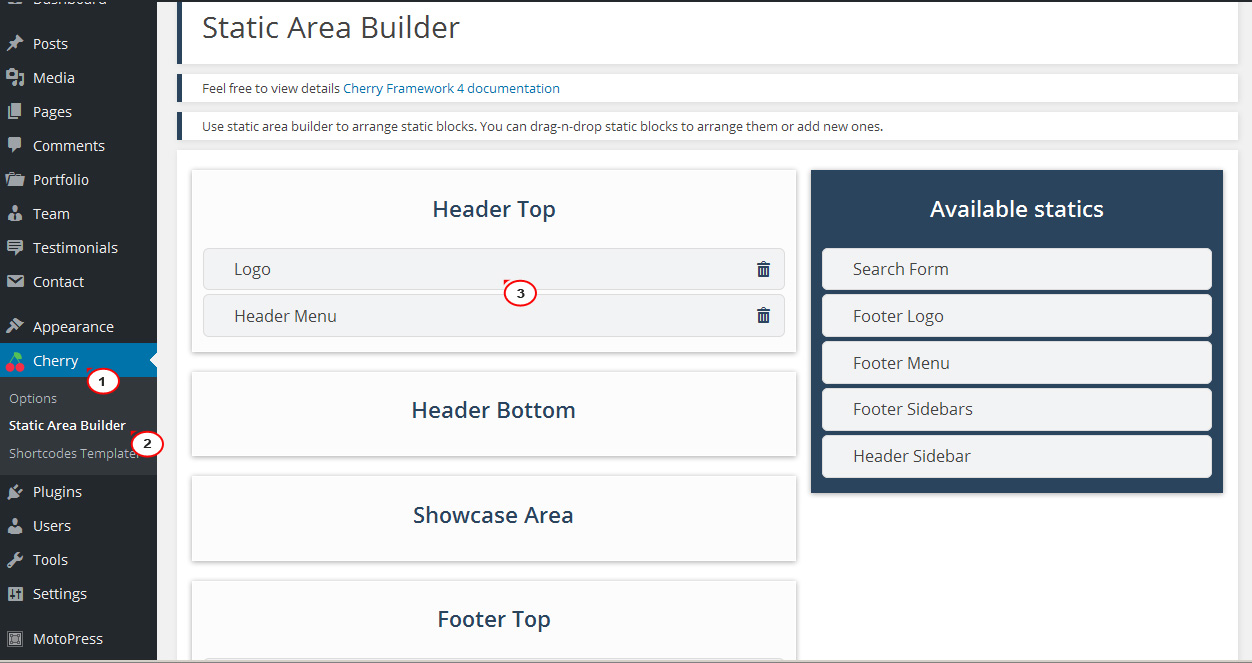
Navigate to Appearance – Static Area Builder in your WordPress dashboard.
Select the static block you would like to manage by clicking it in the corresponding Static area.
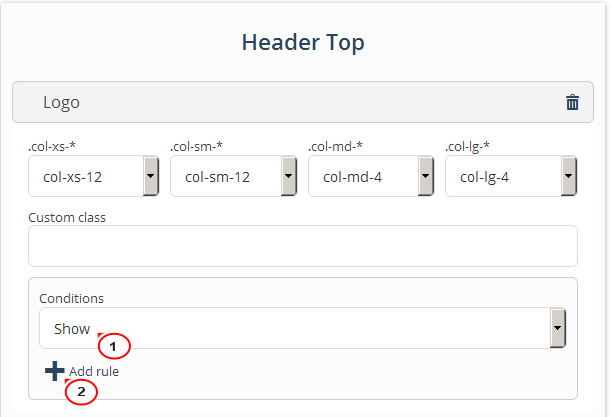
In order to have the certain static block display on specific page we need to add the Condition:
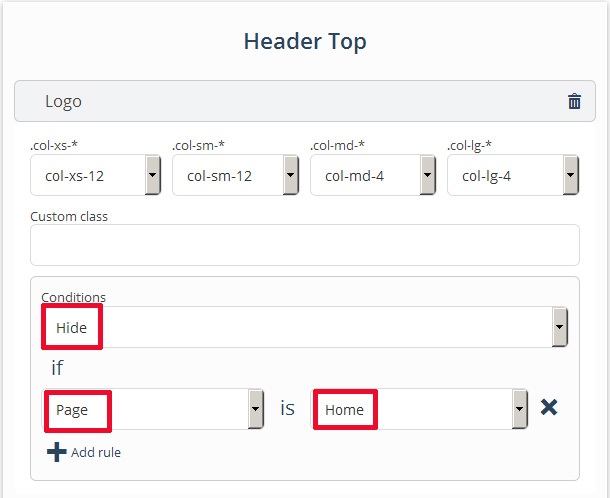
Select ‘Show’ or ‘Hide’ in the conditions field.
Click ‘Add Rule’:
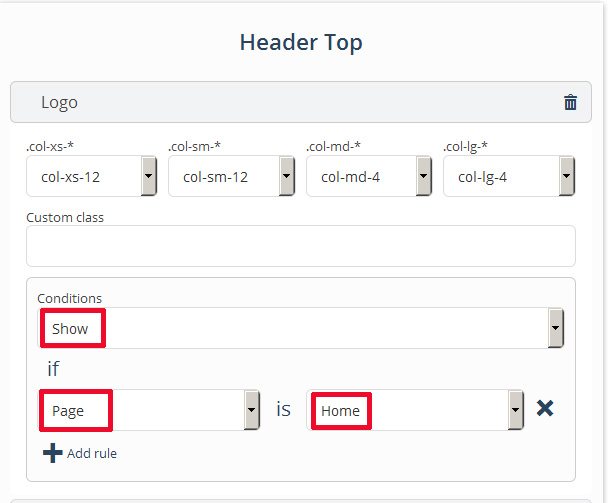
Select the page or category in the ‘If’ section.
Select a page you would like the Static block (in this case this is Logo) to display on from the list of pages after ‘is’.
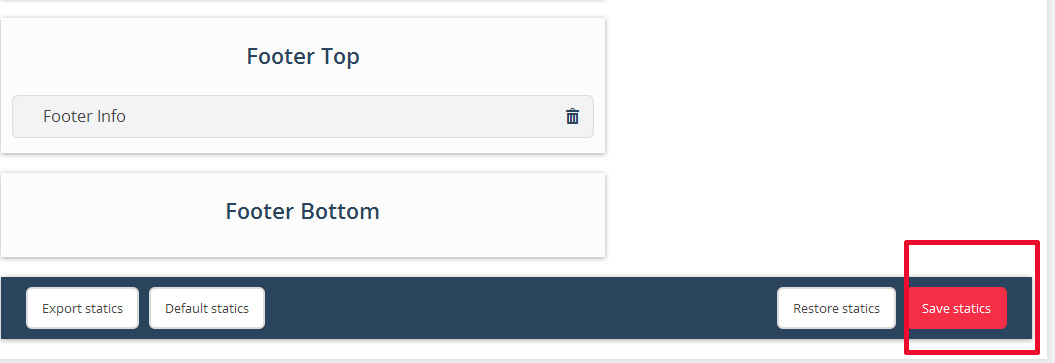
And click ‘Save Statics’:
.jpg)
I.e., according to the Condition on the screenshot below the logo will display on the Home page only. If such a Condition is set, the logo will not be displayed on any other pages except Homepage:
Per the Condition set on the following screenshot the logo will display on all pages except the Home page. It will be not visible on the Home page only:
To remove the rule, please click the ‘x’ button:

Feel free to check the detailed video tutorial below:
