


- Web templates
- E-commerce Templates
- CMS & Blog Templates
- Facebook Templates
- Website Builders
FAQs
General Tutorials
Featured templates
MonsterONE Subscrioption


Hello! This tutorial shows how to change header background images in your CherryFramework 4 based templates.
CherryFramework 4. How to set different header images for pages
.jpg)
Open your WordPress Dashboard and navigate to Pages:
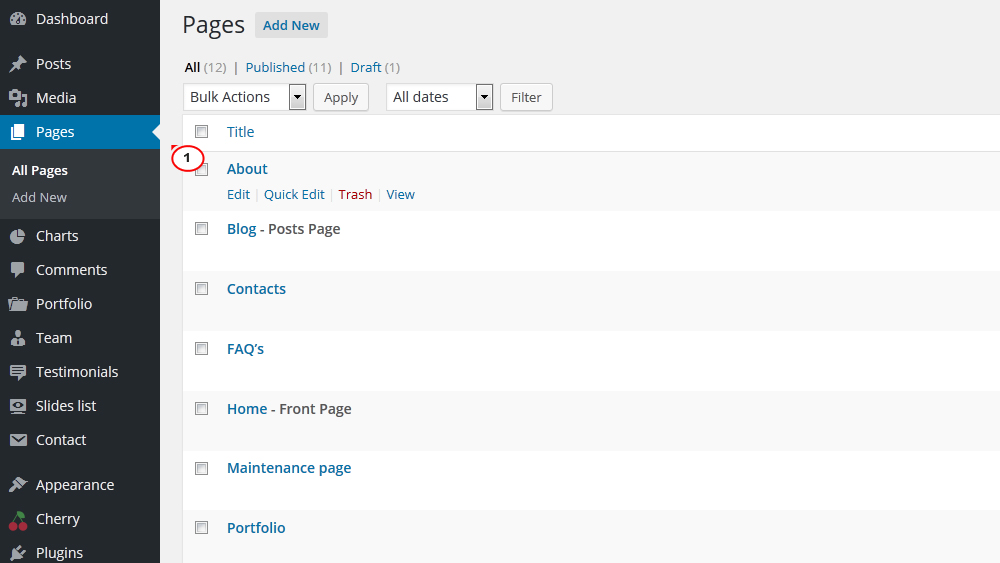
Open any page by clicking on it and scroll through its content till you see Style section:
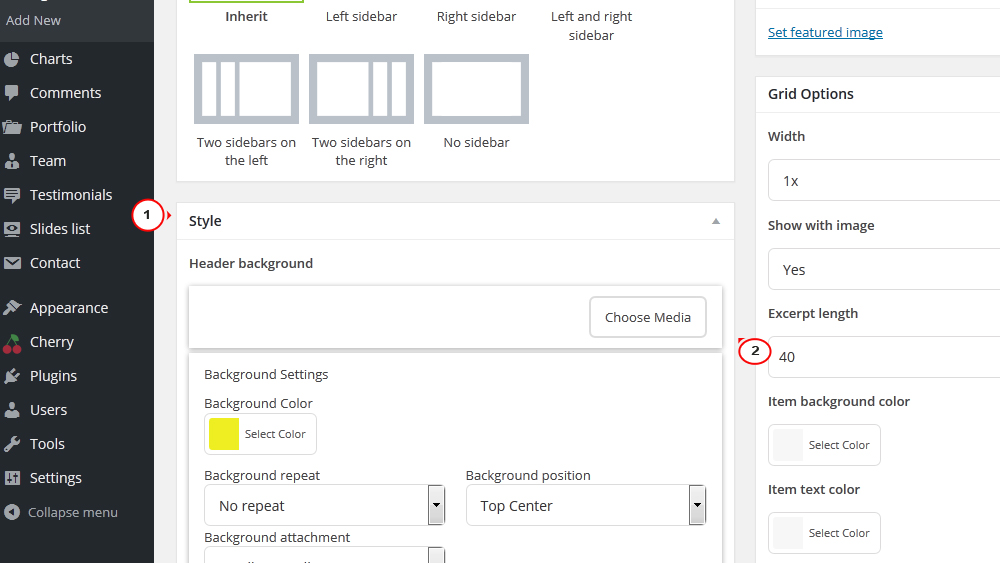
Locate Header background section and click on Choose media:

Choose image you wish to be displayed in header of that page in Media library or in files on your computer:

Click on preview changes to see how it looks.
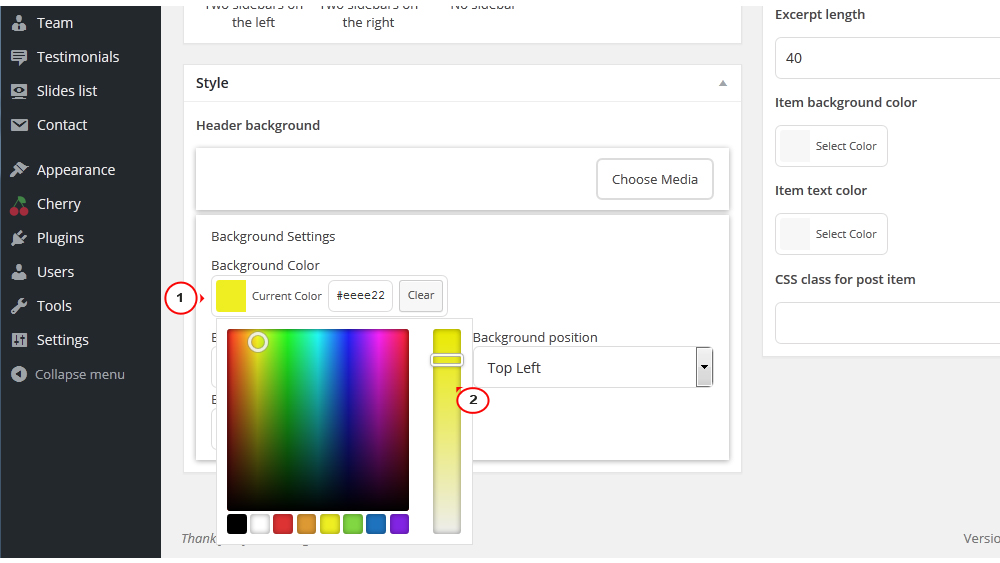
Now let’s set a color header background for another page.
Locate the same section under the content and Grid Type section, click on Select Color and choose the one you wish to display in header of that page:
Click on Preview to see how it looks:
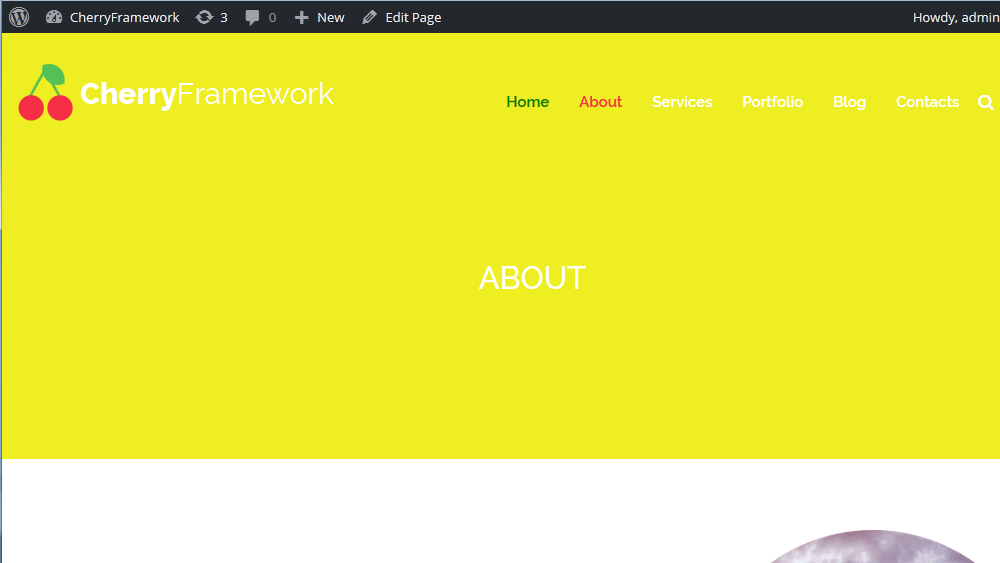
You’ve just learned how to change header background images in your CherryFramework 4 based template.
Feel free to check the detailed video tutorial below:
CherryFramework 4. How to set different header images for pages
