


- Web templates
- E-commerce Templates
- CMS & Blog Templates
- Facebook Templates
- Website Builders
FAQs
General Tutorials
Featured templates
MonsterONE Subscrioption


Hello, our Support Team is ready to present a new tutorial that shows how to work with charts in CherryFramework 4.
CherryFramework 4. How to work with charts
The Charts plugin is used to create various charts and diagrams. Its rich collection of diagram and chart types enhanced by advanced settings allows you to create a chart that fully fits your requirements.
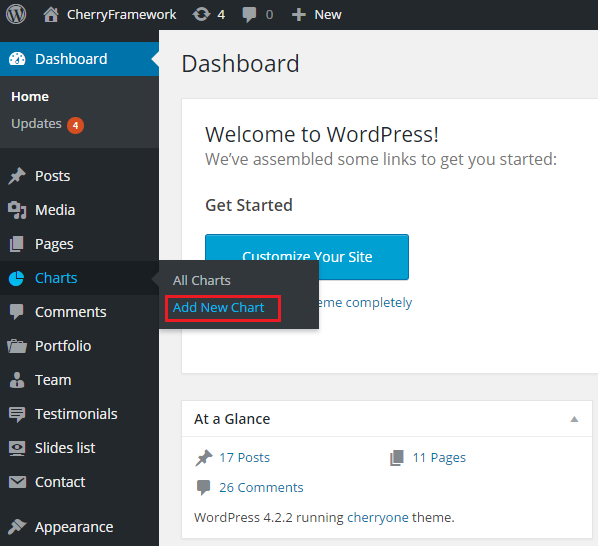
After the plugin is installed and activated, you will see the Charts tab in the WordPress dashboard where you can work with diagrams and charts.
.jpg)
Click Charts -> Add New Chart to create a new diagram:
There are a few chart types:
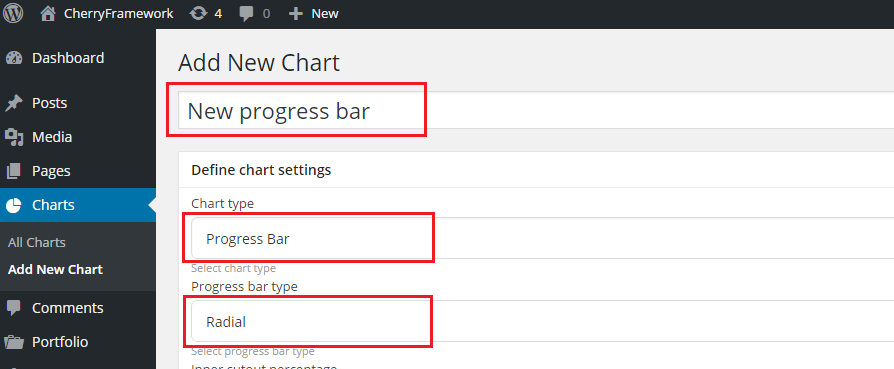
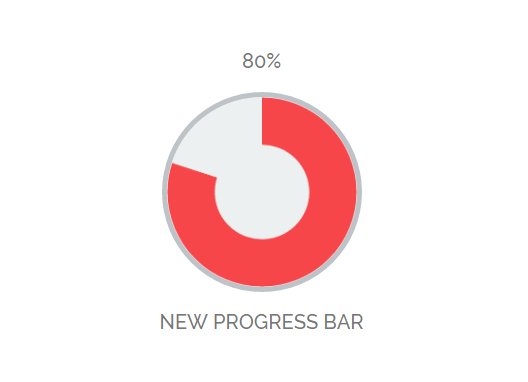
Click on Charts -> Add New Chart. Type in the chart title, select type Progress bar in the drop down, select Progress bar type (Radial, Horizontal, Vertical):
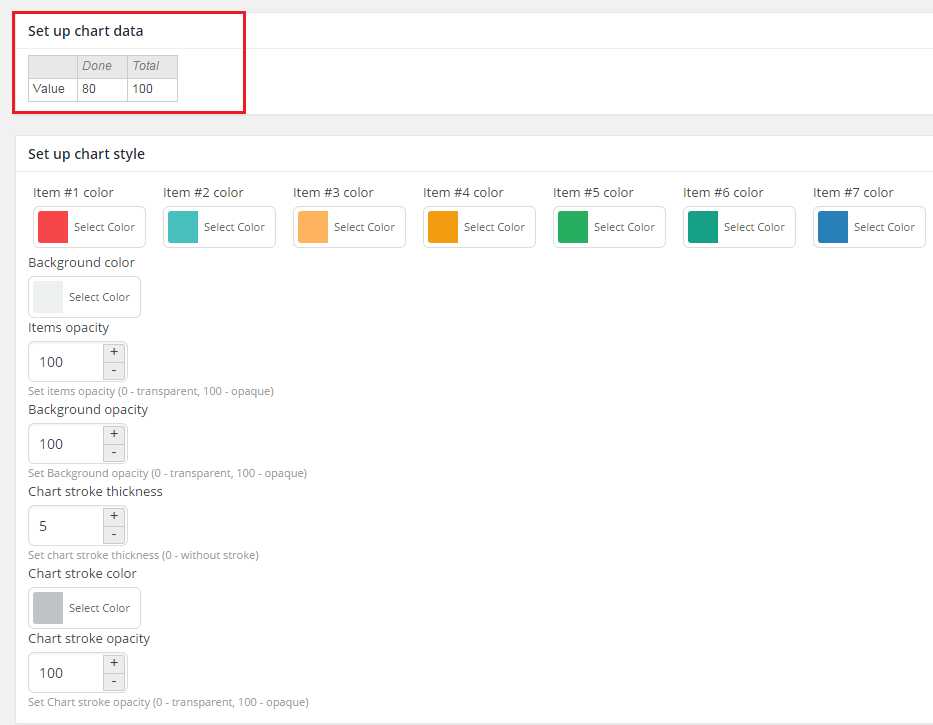
Change other settings according to your needs, add the chart data and change styles:
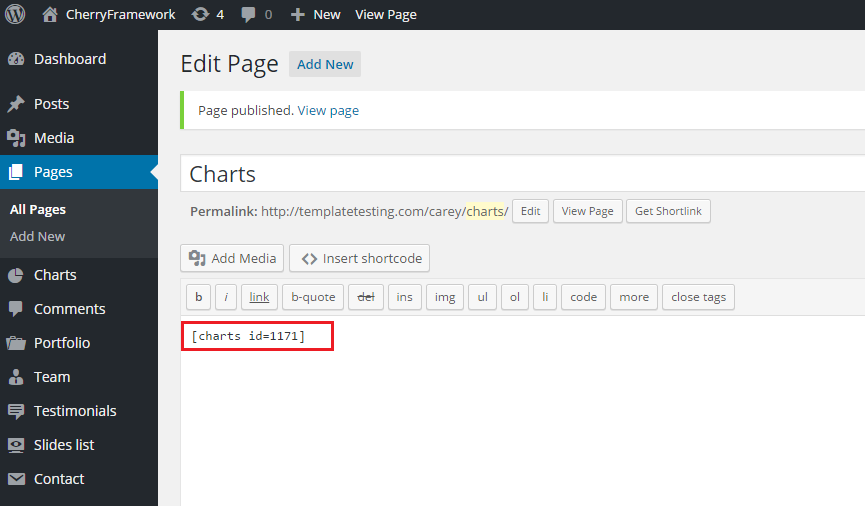
When you are done, click on Publish button and copy the shortcode for your chart from the Shortcode to paste section and paste it to your post or page:
Check the result on your site:
Click on Charts -> Add New Chart. Type in the chart title, select type Pie in the drop down, set the needed sizes:
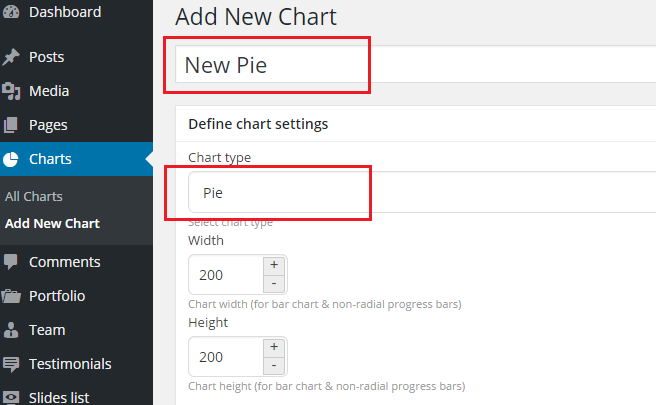
Add the chart data and change styles.
When you are done, click on Publish button and copy the shortcode for your chart from the Shortcode to paste section and paste it to your post or page.
Check the result on your site:

Click on Charts -> Add New Chart. Type in the chart title, select type Doughnut in the drop down, set the needed sizes:
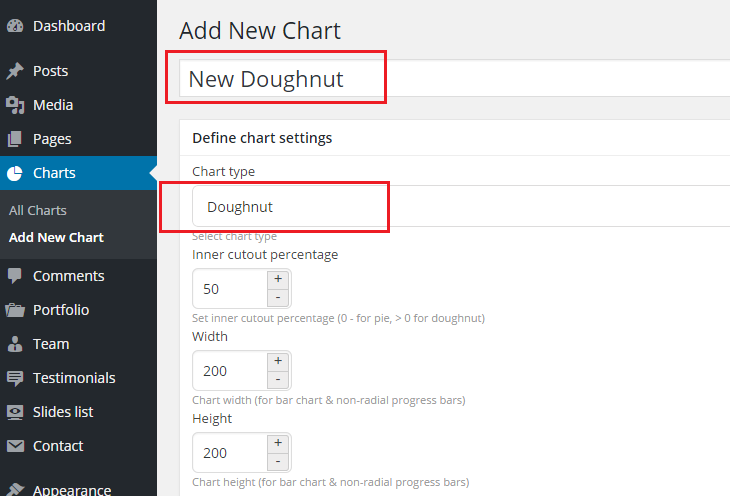
Add the chart data and change styles.
When you are done, click on Publish button and copy the shortcode for your chart from the Shortcode to paste section and paste it to your post or page.
Check the result on your site:

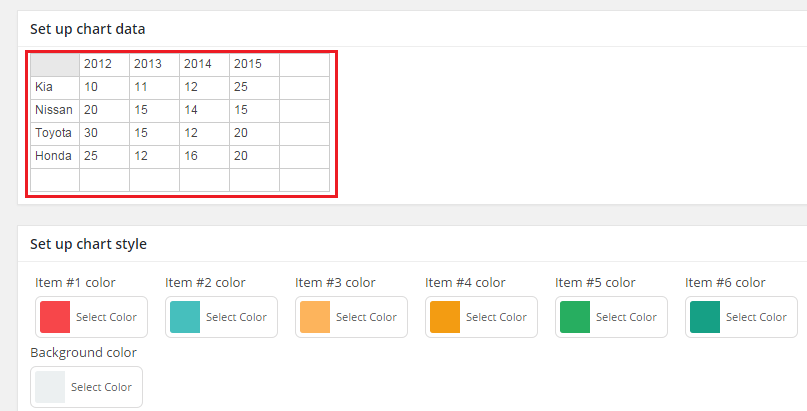
Click on Charts -> Add New Chart. Type in the chart title, select type Bar in the drop down, set the needed sizes:
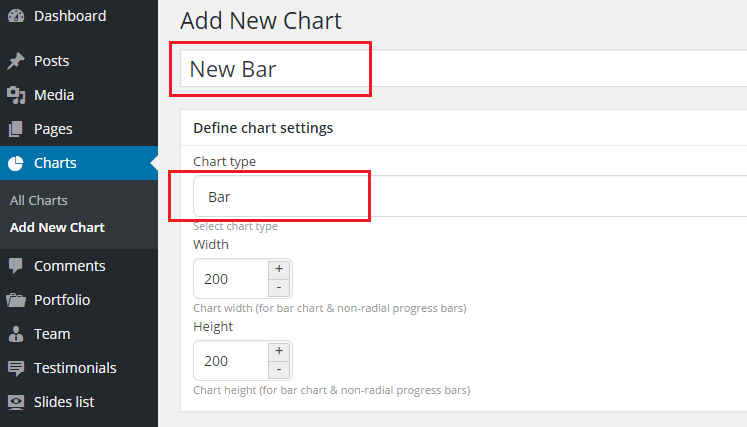
Add the chart data and change styles:
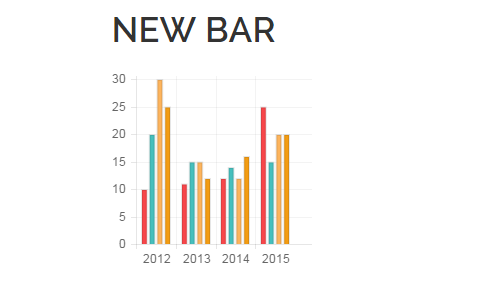
When you are done, click on Publish button and copy the shortcode for your chart from the Shortcode to paste section and paste it to your post or page.
Check the result on your site:
If you need to edit the existing chart, navigate to Charts -> All charts. Make the needed changes and click on Update button.
Feel free to check the detailed video tutorial below:
