


- Web templates
- E-commerce Templates
- CMS & Blog Templates
- Facebook Templates
- Website Builders
FAQs
General Tutorials
Featured templates
MonsterONE Subscrioption


Mega Menu allows you to create multi-column menu drop-downs. It also lets you display necessary information in the main menu. This tutorial shows how to work with Mega Menu in CherryFramework 4 templates.
CherryFramework 4. How to work with Mega Menu
In order to configure the Mega Menu you should log in to you wordpress dashabord;
Navigate to Appearance -> Menus in the WordPress dashboard. Hover over the menu tab and click the Mega Menu icon:
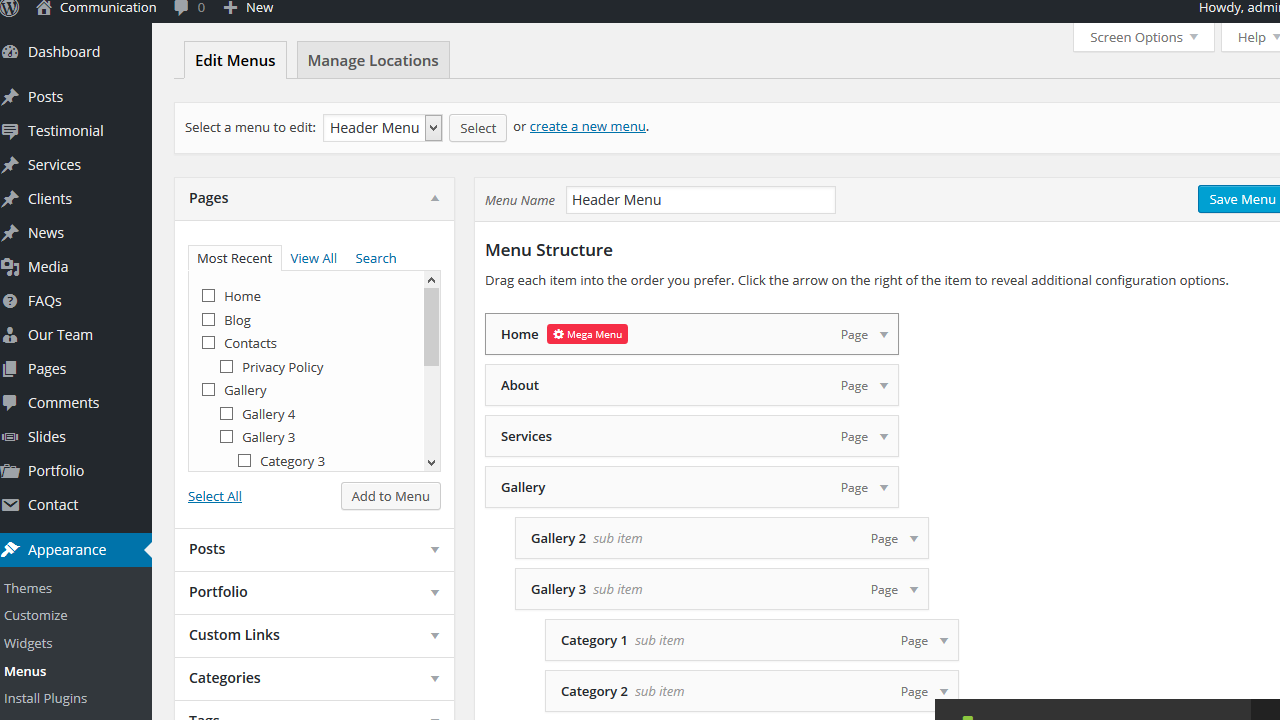
Here you can work with Mega Menu.
You can place necessary widgets in the drop down block of the current menu item in the Mega Menu section. Each widget can have its own width and height:

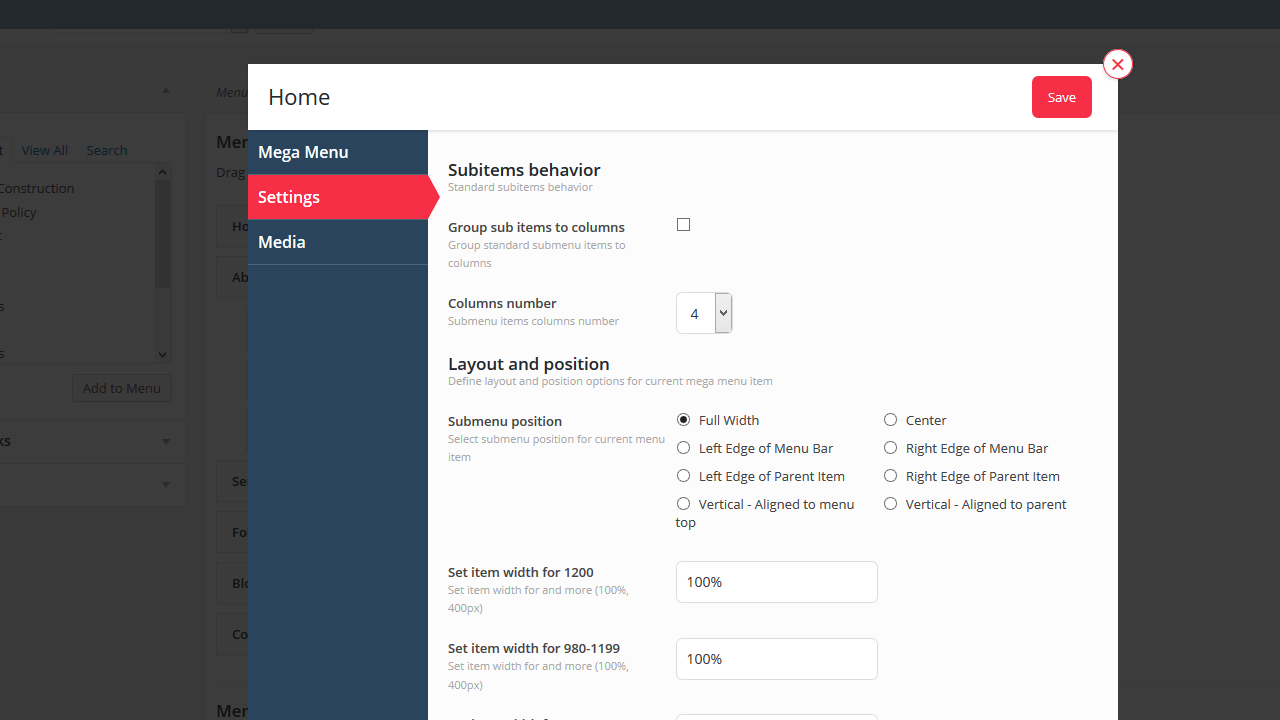
Under Settings tab you can find menu item settings:
A menu item has the following settings:
Group sub items to columns – group sub-menu items into columns
Columns number – number of columns in megamenu
Submenu position– sub-menu position
Item width – width of megamenu for different resolutions
Hide submenu on mobile – enable/disable megamenu on mobile devices:
Media tab allows you to add an icon to each menu item.
In this section you can choose an icon for the menu item, choose arrow style, hide menu text or arrow:
In order to add a submenu item, you should do the following:
Under Pages -> All Pages select desired page to edit;
In Page Attributes section set parent item:

Update the page to save changes.
Feel free to check the detailed video tutorial below:
