


- Web templates
- E-commerce Templates
- CMS & Blog Templates
- Facebook Templates
- Website Builders
FAQs
General Tutorials
MonsterONE Subscrioption


In this tutorial you will find out how to add a button to slider caption in CherryFramework 3 templates.
CheryFramework 3. How to add a button to slider caption
.jpg)
Locate and copy the button code on your site using Inspect element tool, for example using Firebug software. It will look as follows:
<a class="btn btn-primary" href="http://www.yourwebsite.com/uncategorized/aliquam-erat-volutpat/">Read more</a>

Log into your WordPress admin panel:
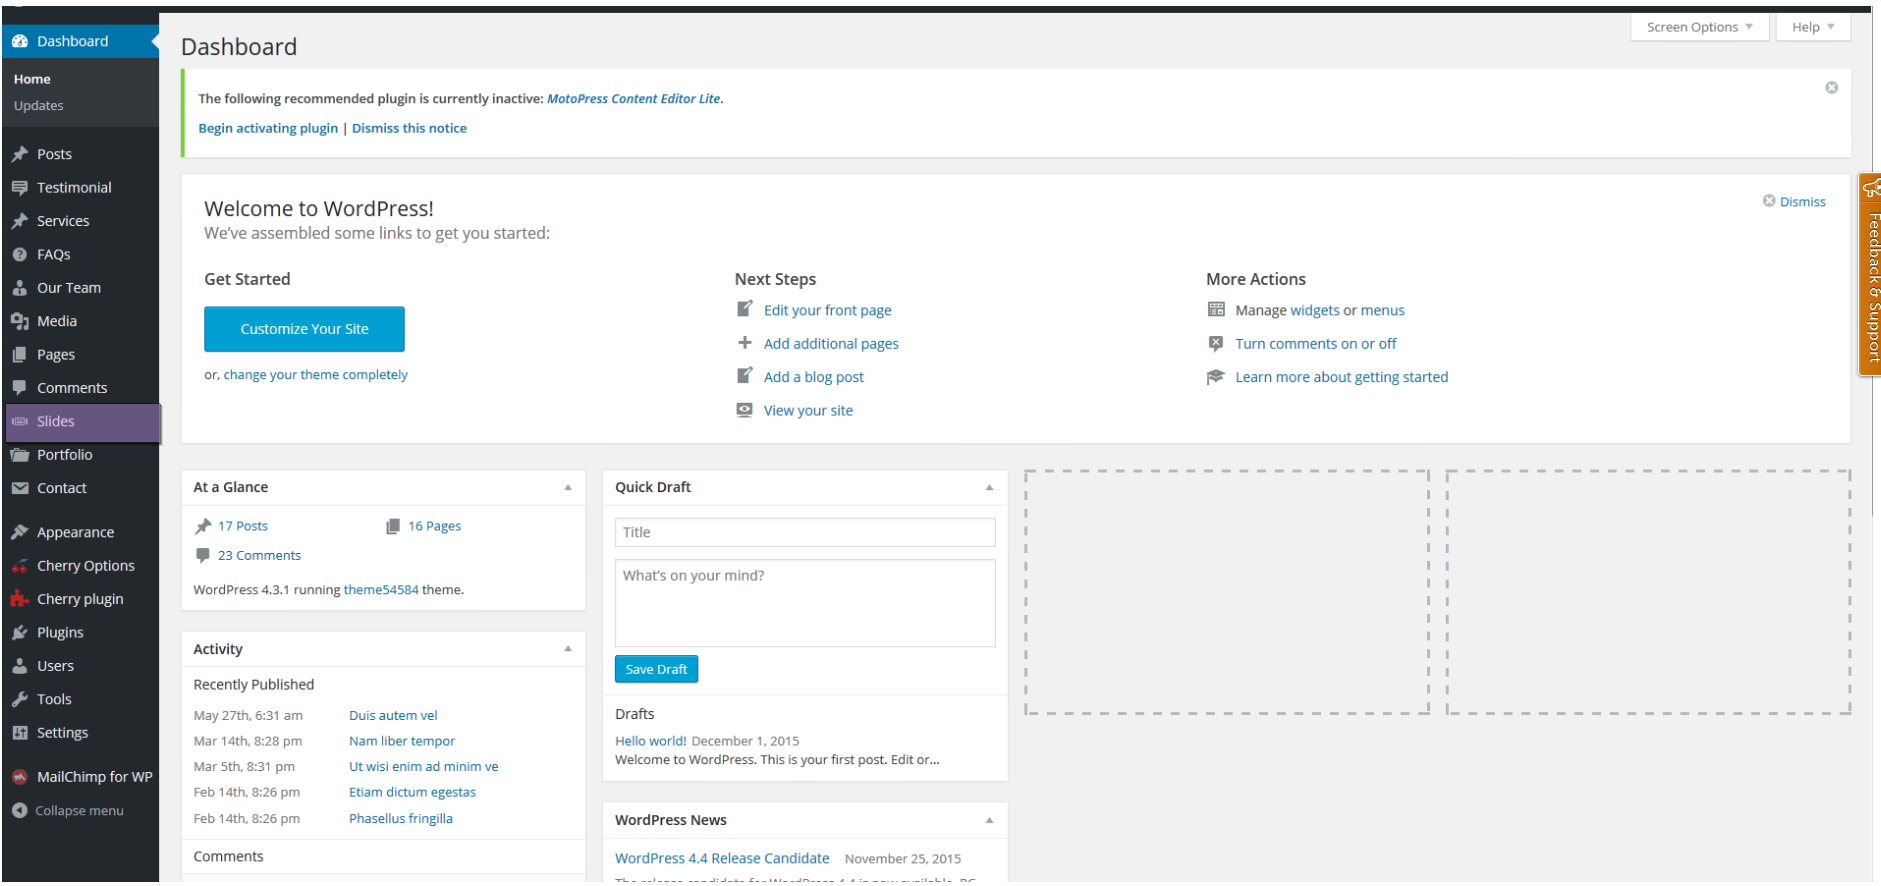
Navigate to Slides tab in your admin panel. Select slide you want to edit.
Insert button code you have copied into Caption area.
Change Button link to your custom one in the code, example:
<a class="btn btn-primary" href="http://your_custom_link_goes_here/">Read more</a>
You can also edit button text:
![]()
Click Update button.
Refresh and check your site:

Feel free to check the detailed video tutorial below:
