


- Web templates
- E-commerce Templates
- CMS & Blog Templates
- Facebook Templates
- Website Builders
FAQs
General Tutorials
Featured templates
MonsterONE Subscrioption


This tutorial shows how to work with multi-column menus in Drupal.
Drupal 7.x. How to work with multi-column menus

We can see that our menu has multi-column sub menus:
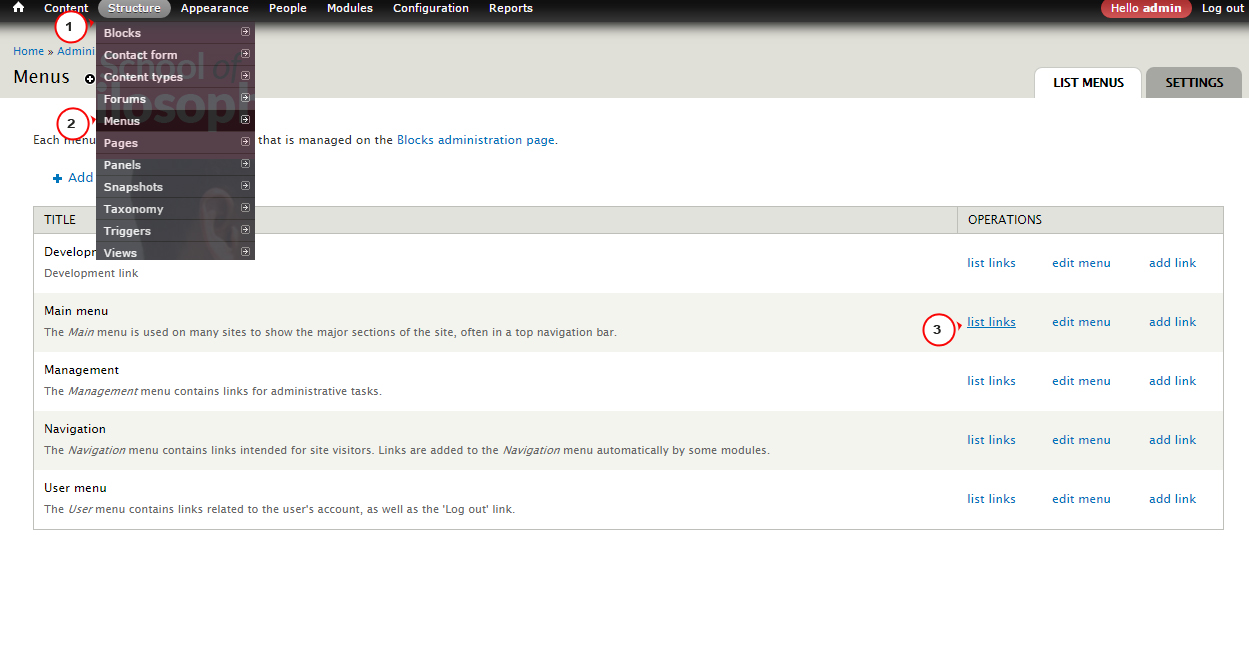
Go to Structure-Menus in order to manage menu. In our case Main menu should be edited. Click on list links:

We can check structure of menu. We can see the Home submenu has three columns (please check screenshot in step1, this is how menu shows up on frontend):
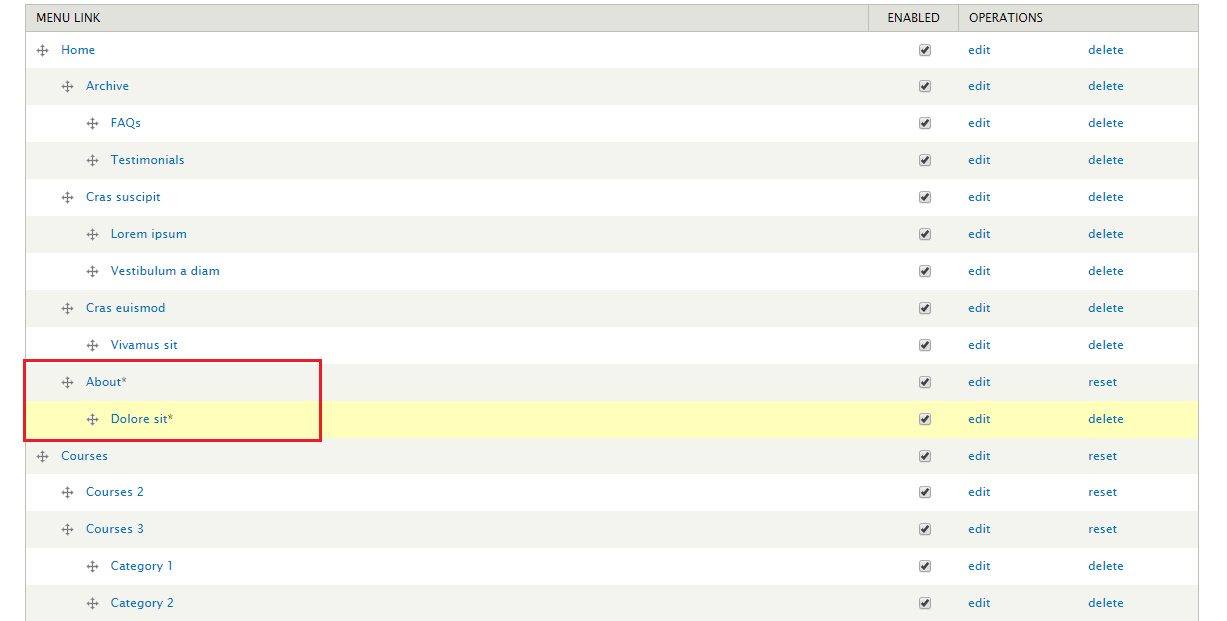
In order to add a new column, we should add a sub menu. We have moved menu item to sub menu. Now menu should have four columns:
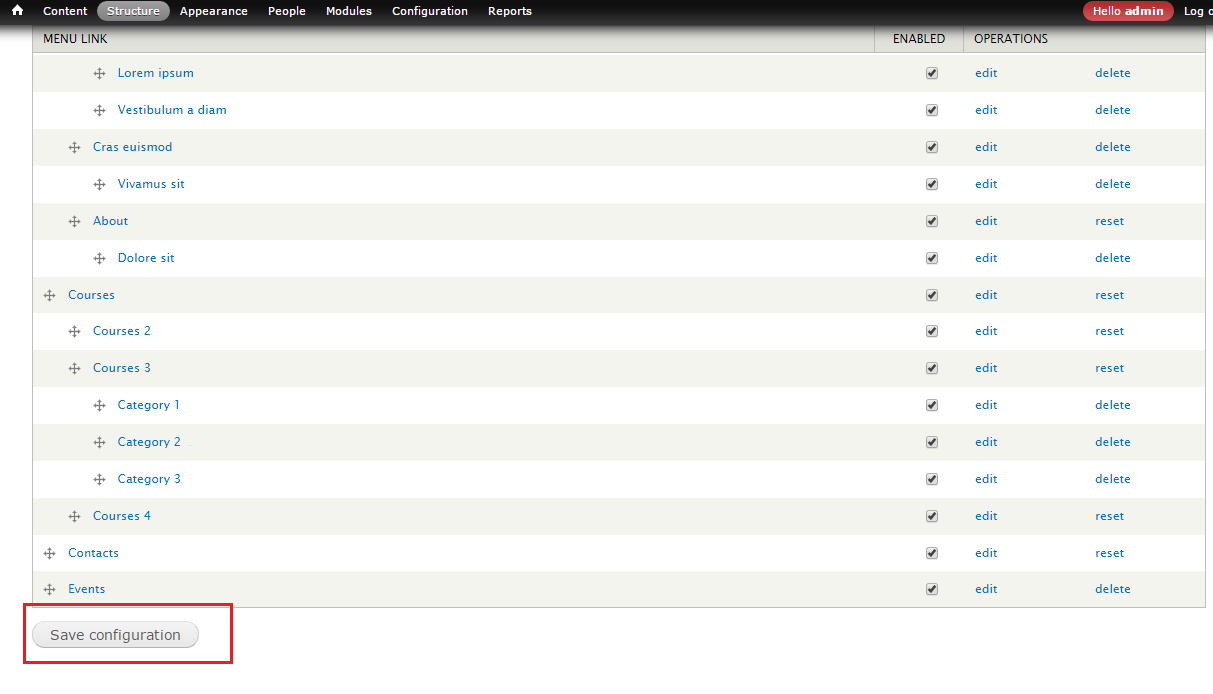
Scroll down and save changes:

We have added one more column to sub menu:

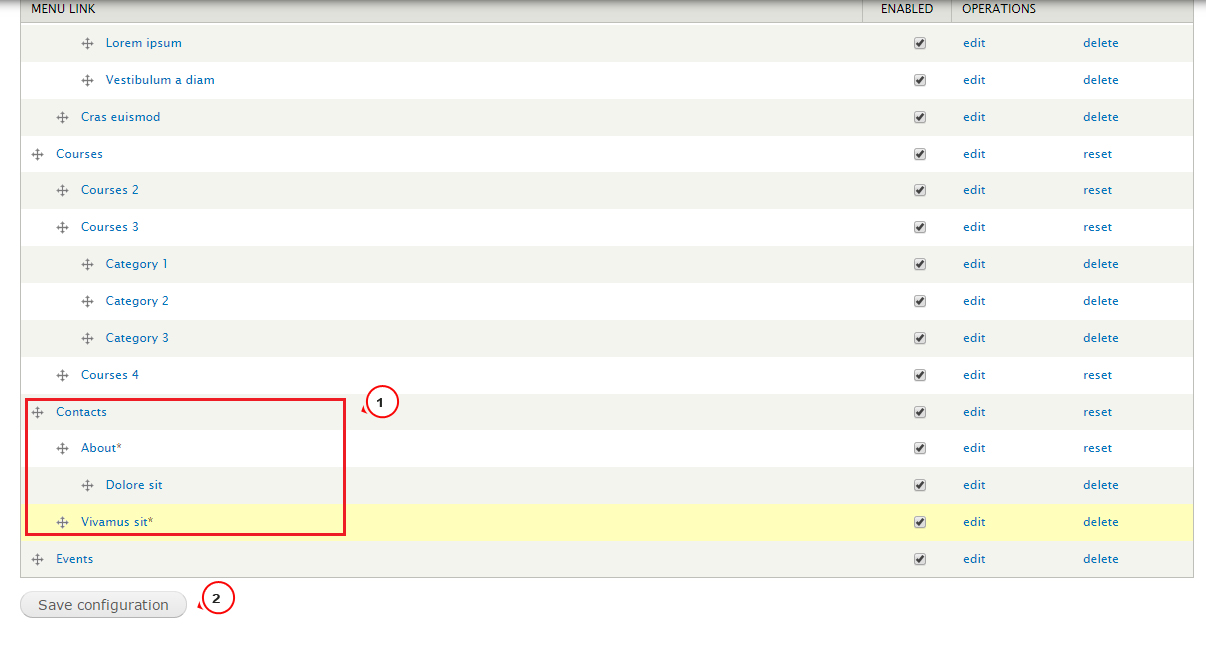
We have added sub menus to Contacts menu and saved changes:

Refresh the page. We can see that sub menus show up in columns:

In this section we can modify settings for menu. We can see that our template has
Horizontal menu type by default:
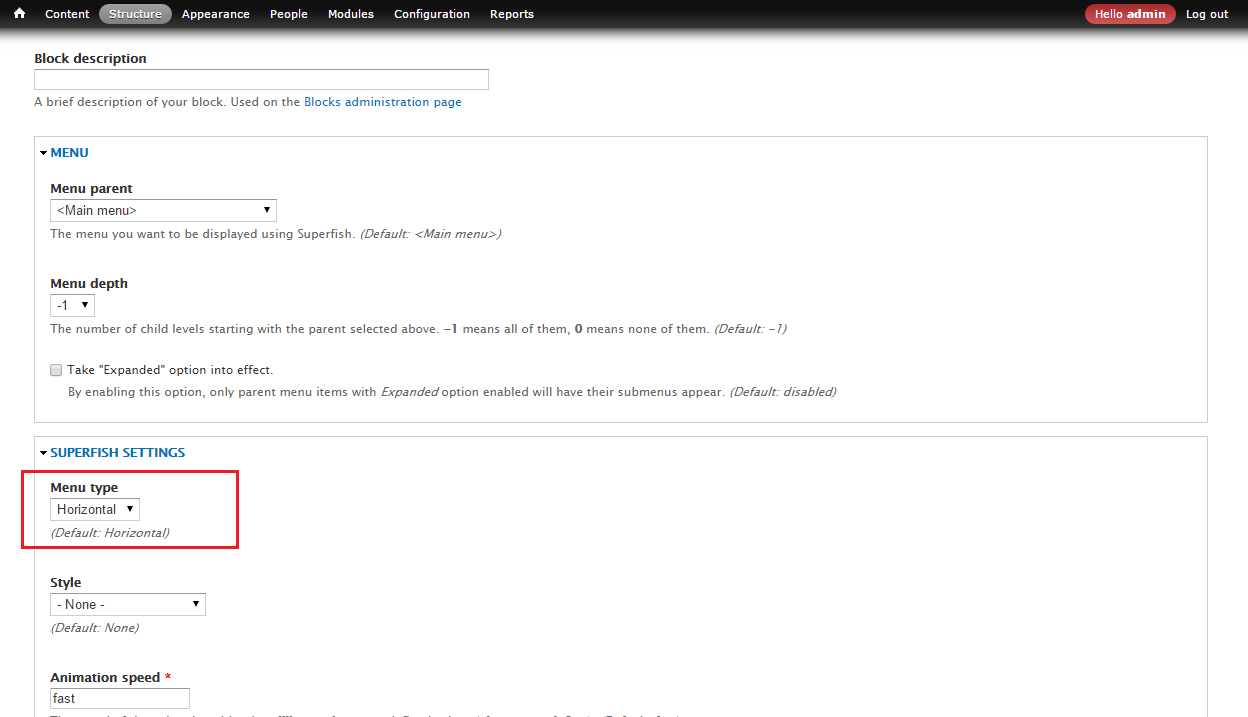
Scroll down and expand Multi-Column Sub-Menus tab. We should specify ID of appropriate menu item. In this case it will be excluded from multi-column layout and we will have drop-down menu:

Open menu links and hover over Edit button of appropriate menu item. You will see ID of menu in the link (you may also click on edit button and ID will show up in browser address bar). In our case ID is 4931:
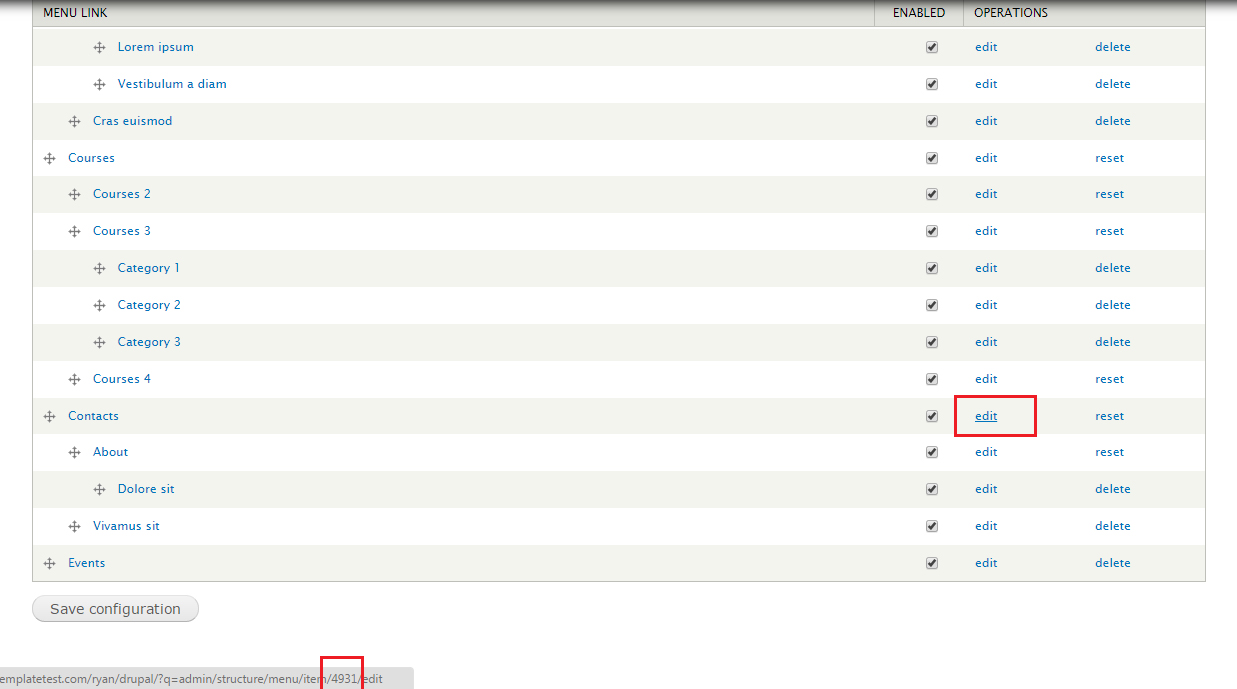
Now we should specify this ID in Exclude below menu items field. You should put comma in order to specify several IDs. No space between comma and IDs. We have added ID 4931:
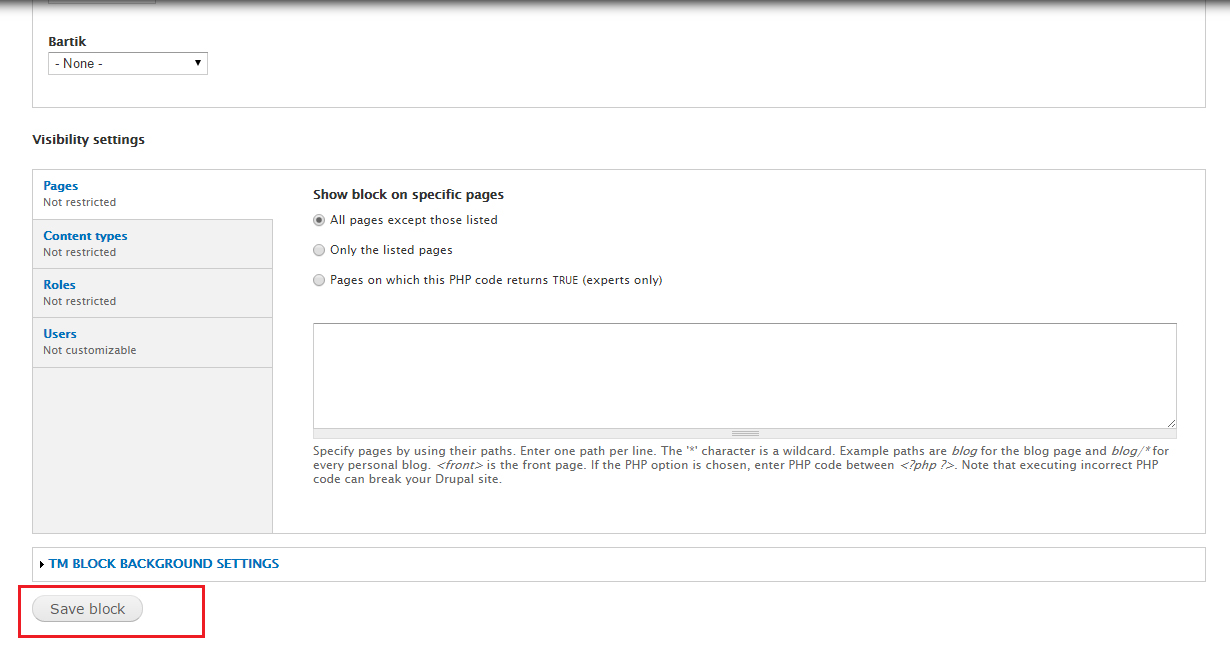
Scroll down and save changes:
Refresh the page. We have added drop-down menu. You can perform the same actions to the rest menus:

Feel free to check the detailed video tutorial below:
