- Web templates
- E-commerce Templates
- CMS & Blog Templates
- Facebook Templates
- Website Builders
FAQs
General Tutorials
Featured templates
MonsterONE Subscrioption


Affiliate Marketing is the fastest growing advertising method around. If you sell products on your site and aren’t offering an affiliate program, you are missing out on this multi-billion dollar industry. However, running an affiliate program through a 3rd party company can be expensive! With WP Affiliate Manager, you can manage, track and pay your affiliates directly from your WordPress website!
What is an Affiliates Manager plugin?
This plugin facilitates the affiliates recruitment, registration, login, management process. It will also track the referrals your affiliates send to your site and give commissions appropriately. You’ll get a full-featured plugin, technical support through our user’s forum and upgrades for free.
Affiliate Manager seamlessly integrates with WooCommerce themes and it makes easy to track affiliate sales.
How to get started with this plugin?
You can install the affiliate manager plugin using the WordPress dashboard or via FTP.
From your WordPress admin panel go to Plugins > Add New > Upload plugin and browse plugin zip file on your computer to upload:
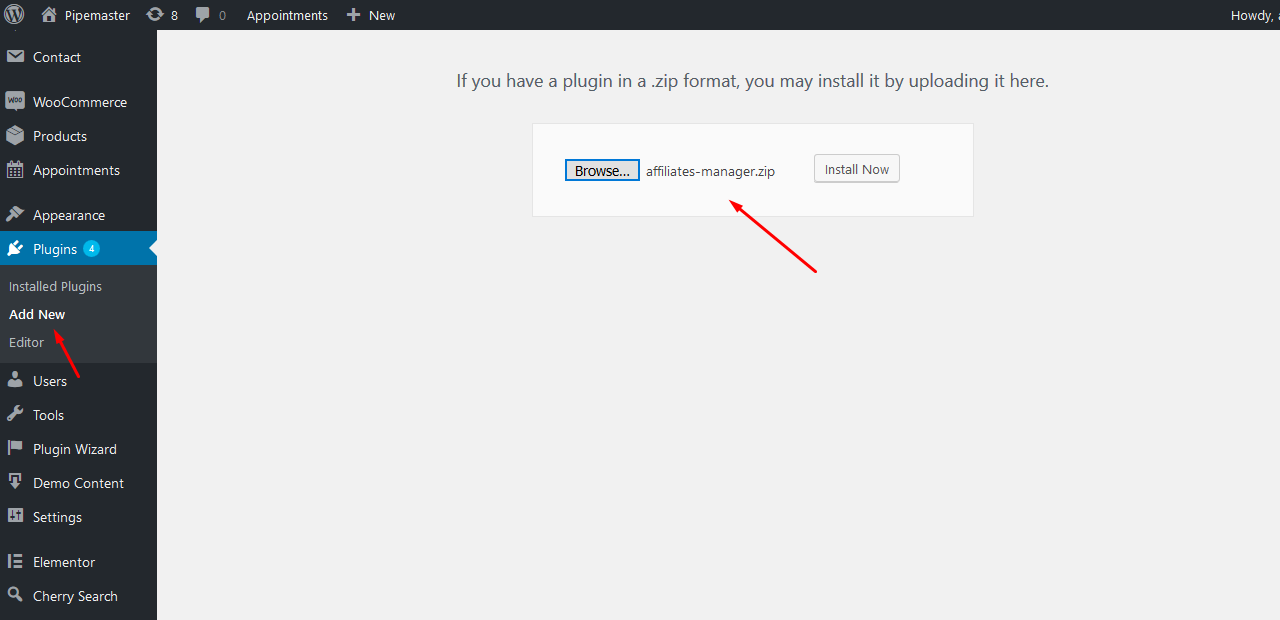
Install and activate this plugin, so it appears then as Affiliates menu in your WordPress dashboard:
That’s it. You can start to configure plugin settings and manage your affiliates, their profiles, account status, and so on from the admin dashboard.
What is the profile of an Affiliate Manager plugin?
There are the following sub-menus of Affiliates section: My Affiliates, New affiliate, My creatives, PayPal Mass Pay, Settings, Click tracking, Commissions and Add-ons.
Let’s learn how to set up each of them:
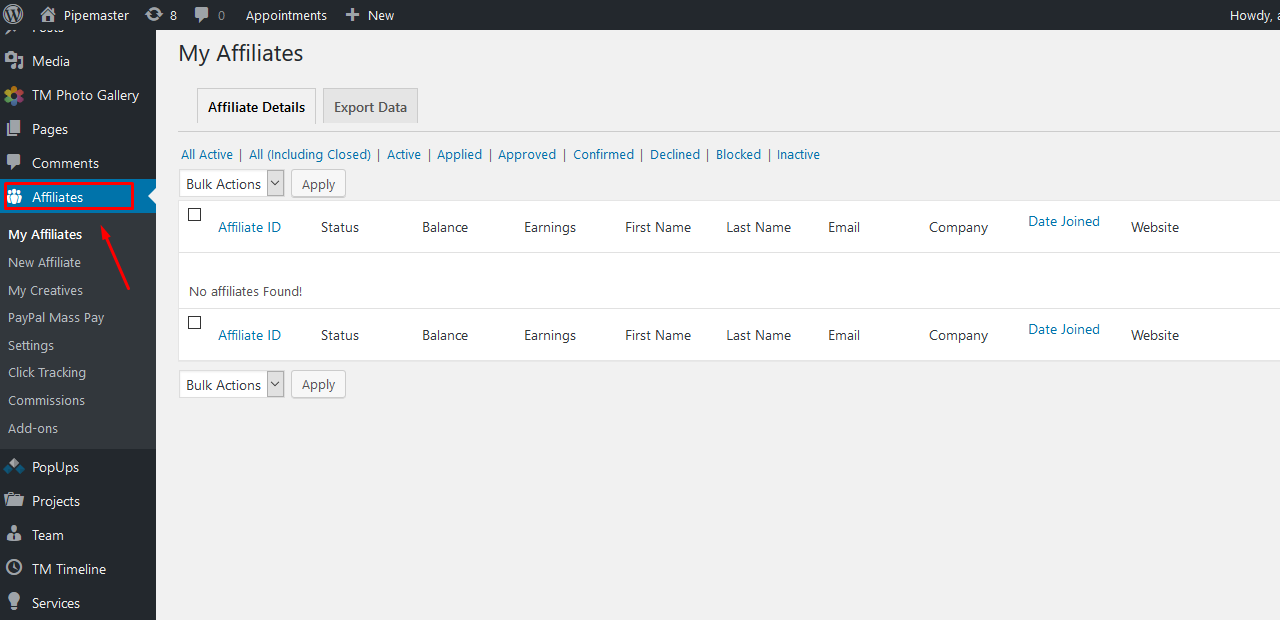
My Affiliates
In this section you can manage all your affiliates accounts:

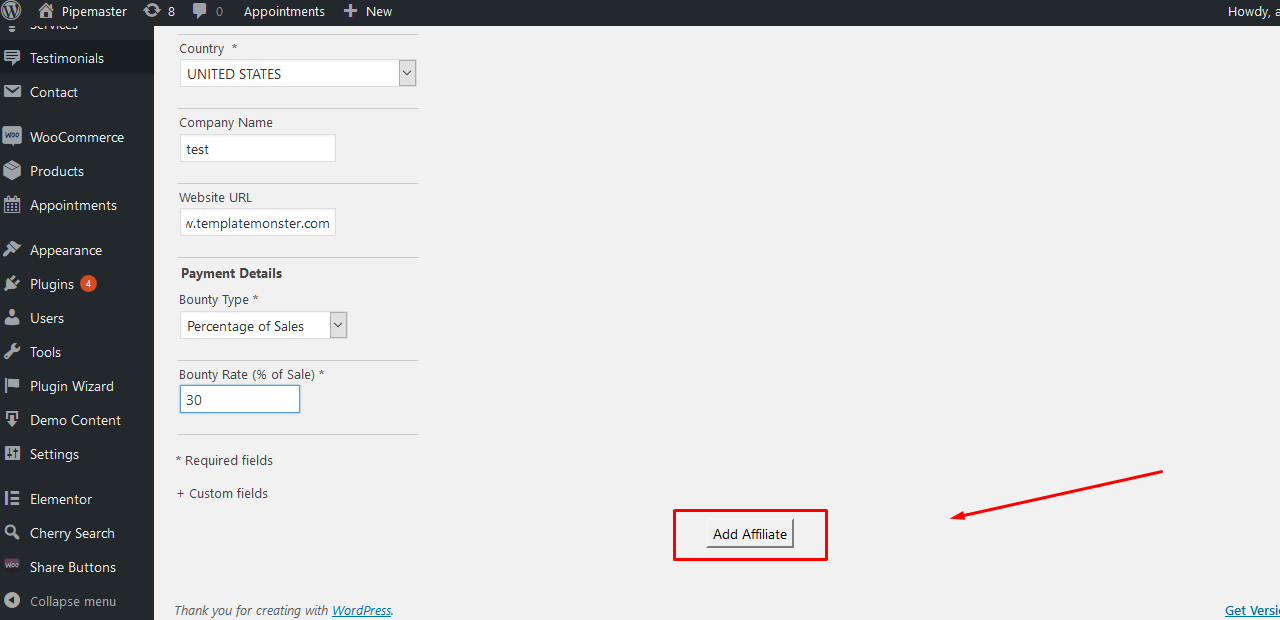
New Affiliates
Affiliates can be added to the system (a) manually from the admin dashboard or (b) your visitors can register for an affiliate account.
Click on the New Affiliates tab from the dashboard, fill in the details and hit the “Add Affiliate” button to create a new affiliate account:
Once the plugin is installed it will automatically create two pages:

Store Affiliate – A welcome page which allows a user to sign up for an affiliate account or login to their dashboard. To edit welcome text of the page you can in Affiliates> Settings> Affiliate registration > Affiliates Homepage Message. In order customize another text displayed by Affiliates Manager you need to follow this guide: https://wpaffiliatemanager.com/how-to-customize-various-text-messages-displayed-by-affiliates-manager/
Register – A page containing the affiliate registration form. When the user clicks the “register” link, it will take them to the affiliate account registration page:
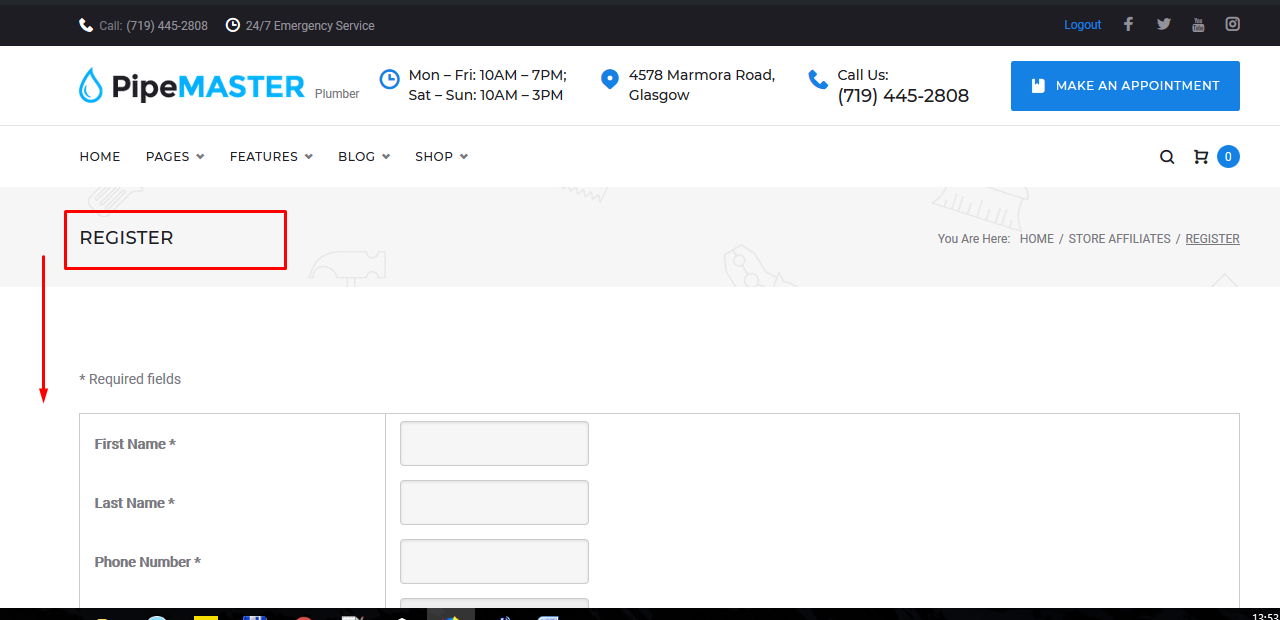
You (the site admin) will receive an email notification when a new affiliate registers. You can then approve or deny the affiliate account.
My Creatives
Creatives are the text or banner links your affiliates will use to drive traffic to your website. This plugin allows your affiliates to be able to log into their affiliate area and get the code for the ad.
The affiliates manager plugin will automatically create ONE default affiliate creative for you when you install the plugin. That one creative is good enough to get you going. In case you need to add more creatives. you need to perform the following steps:
1) From the WordPress admin dashboard, navigate to Affiliates > My Creatives.
2) Click the Create New button and you will see the following form:

Name – Unique name for creative. For example: blue 125×125 banner.
Landing page – Select where you’d like the visitor to be directed when they click the link from you affiliates site. This can be any valid post/page/URL that is part of your WordPress site.
Type – Select Text Link or Image.
3) Once you choose text link or image banner ad type, you will be presented
with (a) options for Text Link Parameters and with (b) Image Parameters:
a)

b)

PayPal Mass Pay
In order to set up PayPal Mass Pay section you need to follow this step-by-step guide: https://wpaffiliatemanager.com/wp-content/uploads/doc/how-to-setup-paypal-mass-pay.pdf
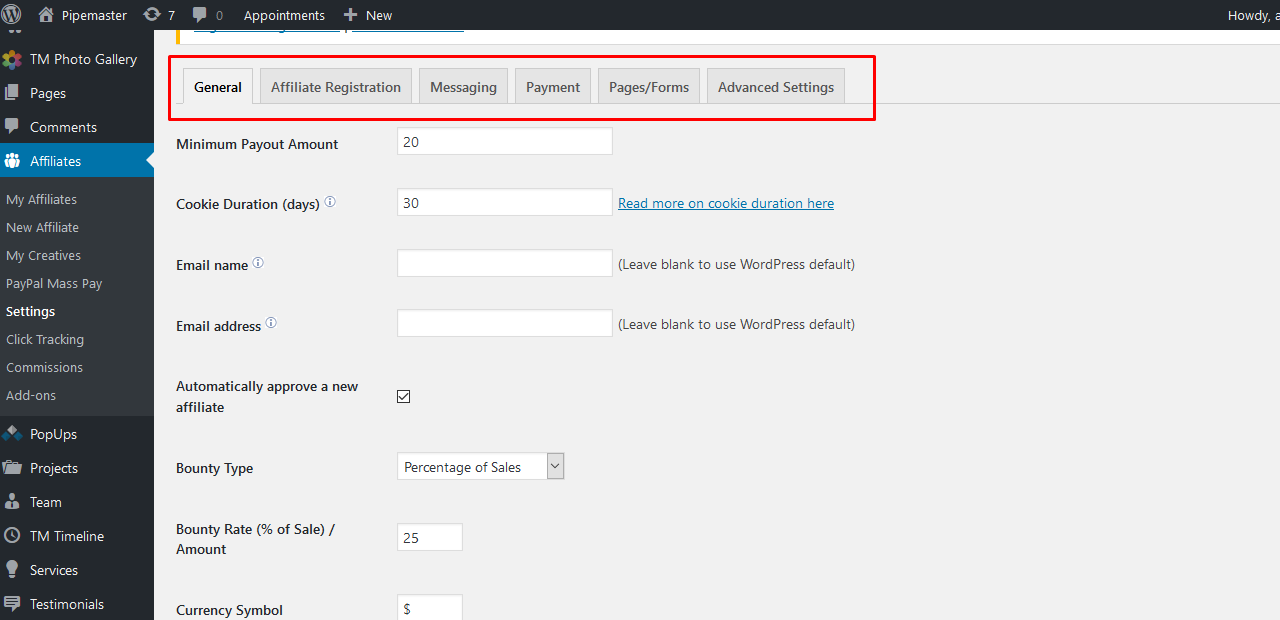
Settings
The Settings section includes the following configuration tabs:
General;
Affiliate registration;
Messaging;
Payment;
Pages/Forms;
Advanced Settings;
Click tracking
Click tracking produces a click stream in a chain of page requests and with every page, a signal is generated. These signals are then gathered and this gives you an idea as to what the users are exploring or clicking within your website. The tab Click tracking shows unique referrals to your website from your affiliates.
Commissions
Affiliates Manager plugin comes with Overall Commissions and Manual Commission options. Overall Commissions tab tracks all commissions of your affiliates. The Manual Commission allows you to manually award commission to an affiliate.
In order to manually add a commission to an affiliate, go Affiliates > Commissions > Manual Commission tab and fill in the form you see below:
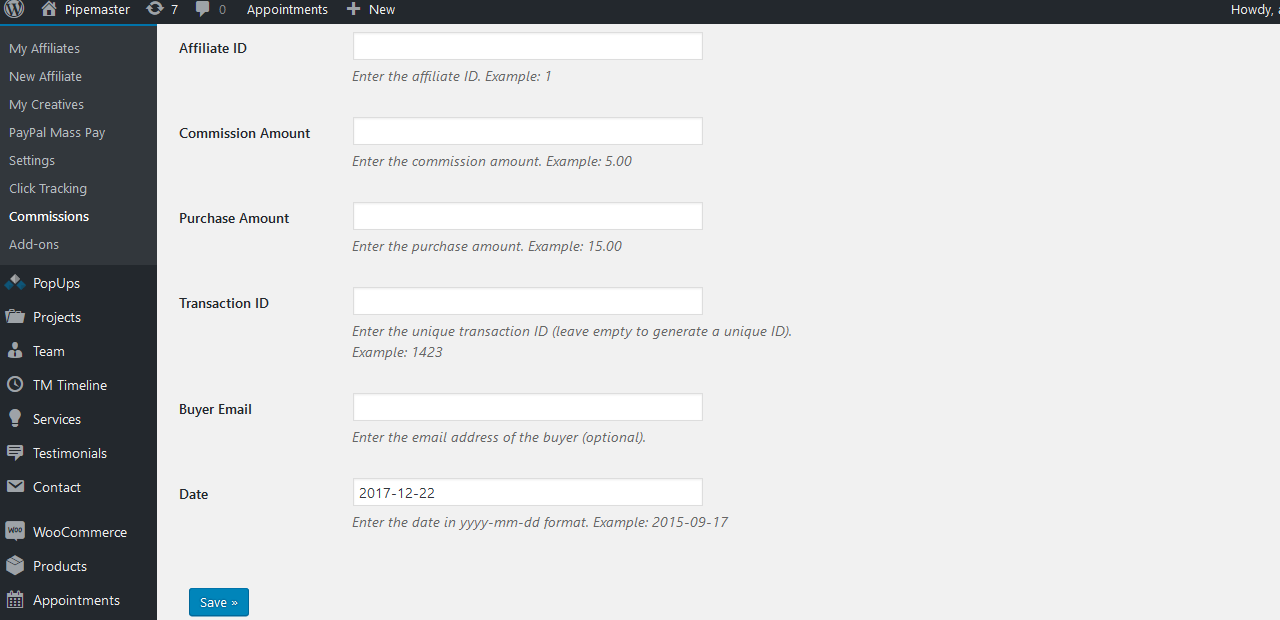
Your newly created commission will be automatically added to Overall Commissions tab.
Add-ons
In this section you can see Affiliates Manager Add-ons.
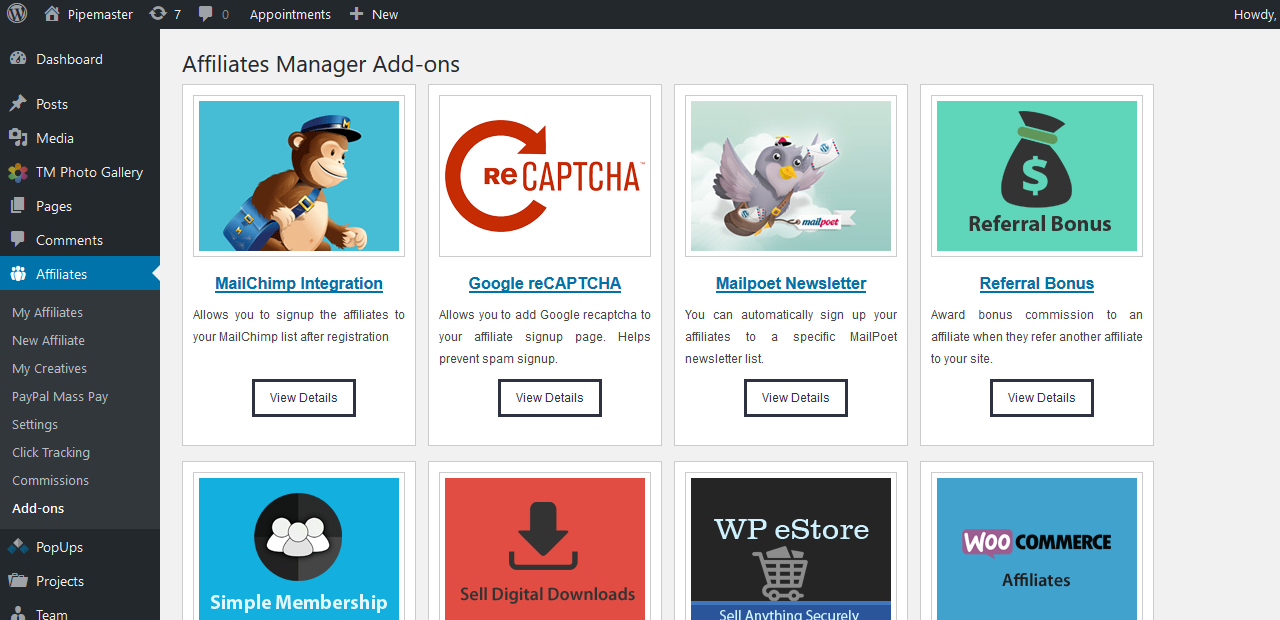
Feel free to check the detailed information about Affiliates Manager plugin, its Integrations, Add-Ons and Extensions on the official plugin website.
Now you’ve got the hang of how to build an affiliate website using WordPress! We wish you a good luck in reaching a ton of customers!