


- Web templates
- E-commerce Templates
- CMS & Blog Templates
- Facebook Templates
- Website Builders
FAQs
General Tutorials
MonsterONE Subscrioption


This tutorial will show you how to change color scheme in WordPress.
WordPress. How to change color scheme (css + images)
Some color settings can be found under Cherry options > General tab. You can check available options there:
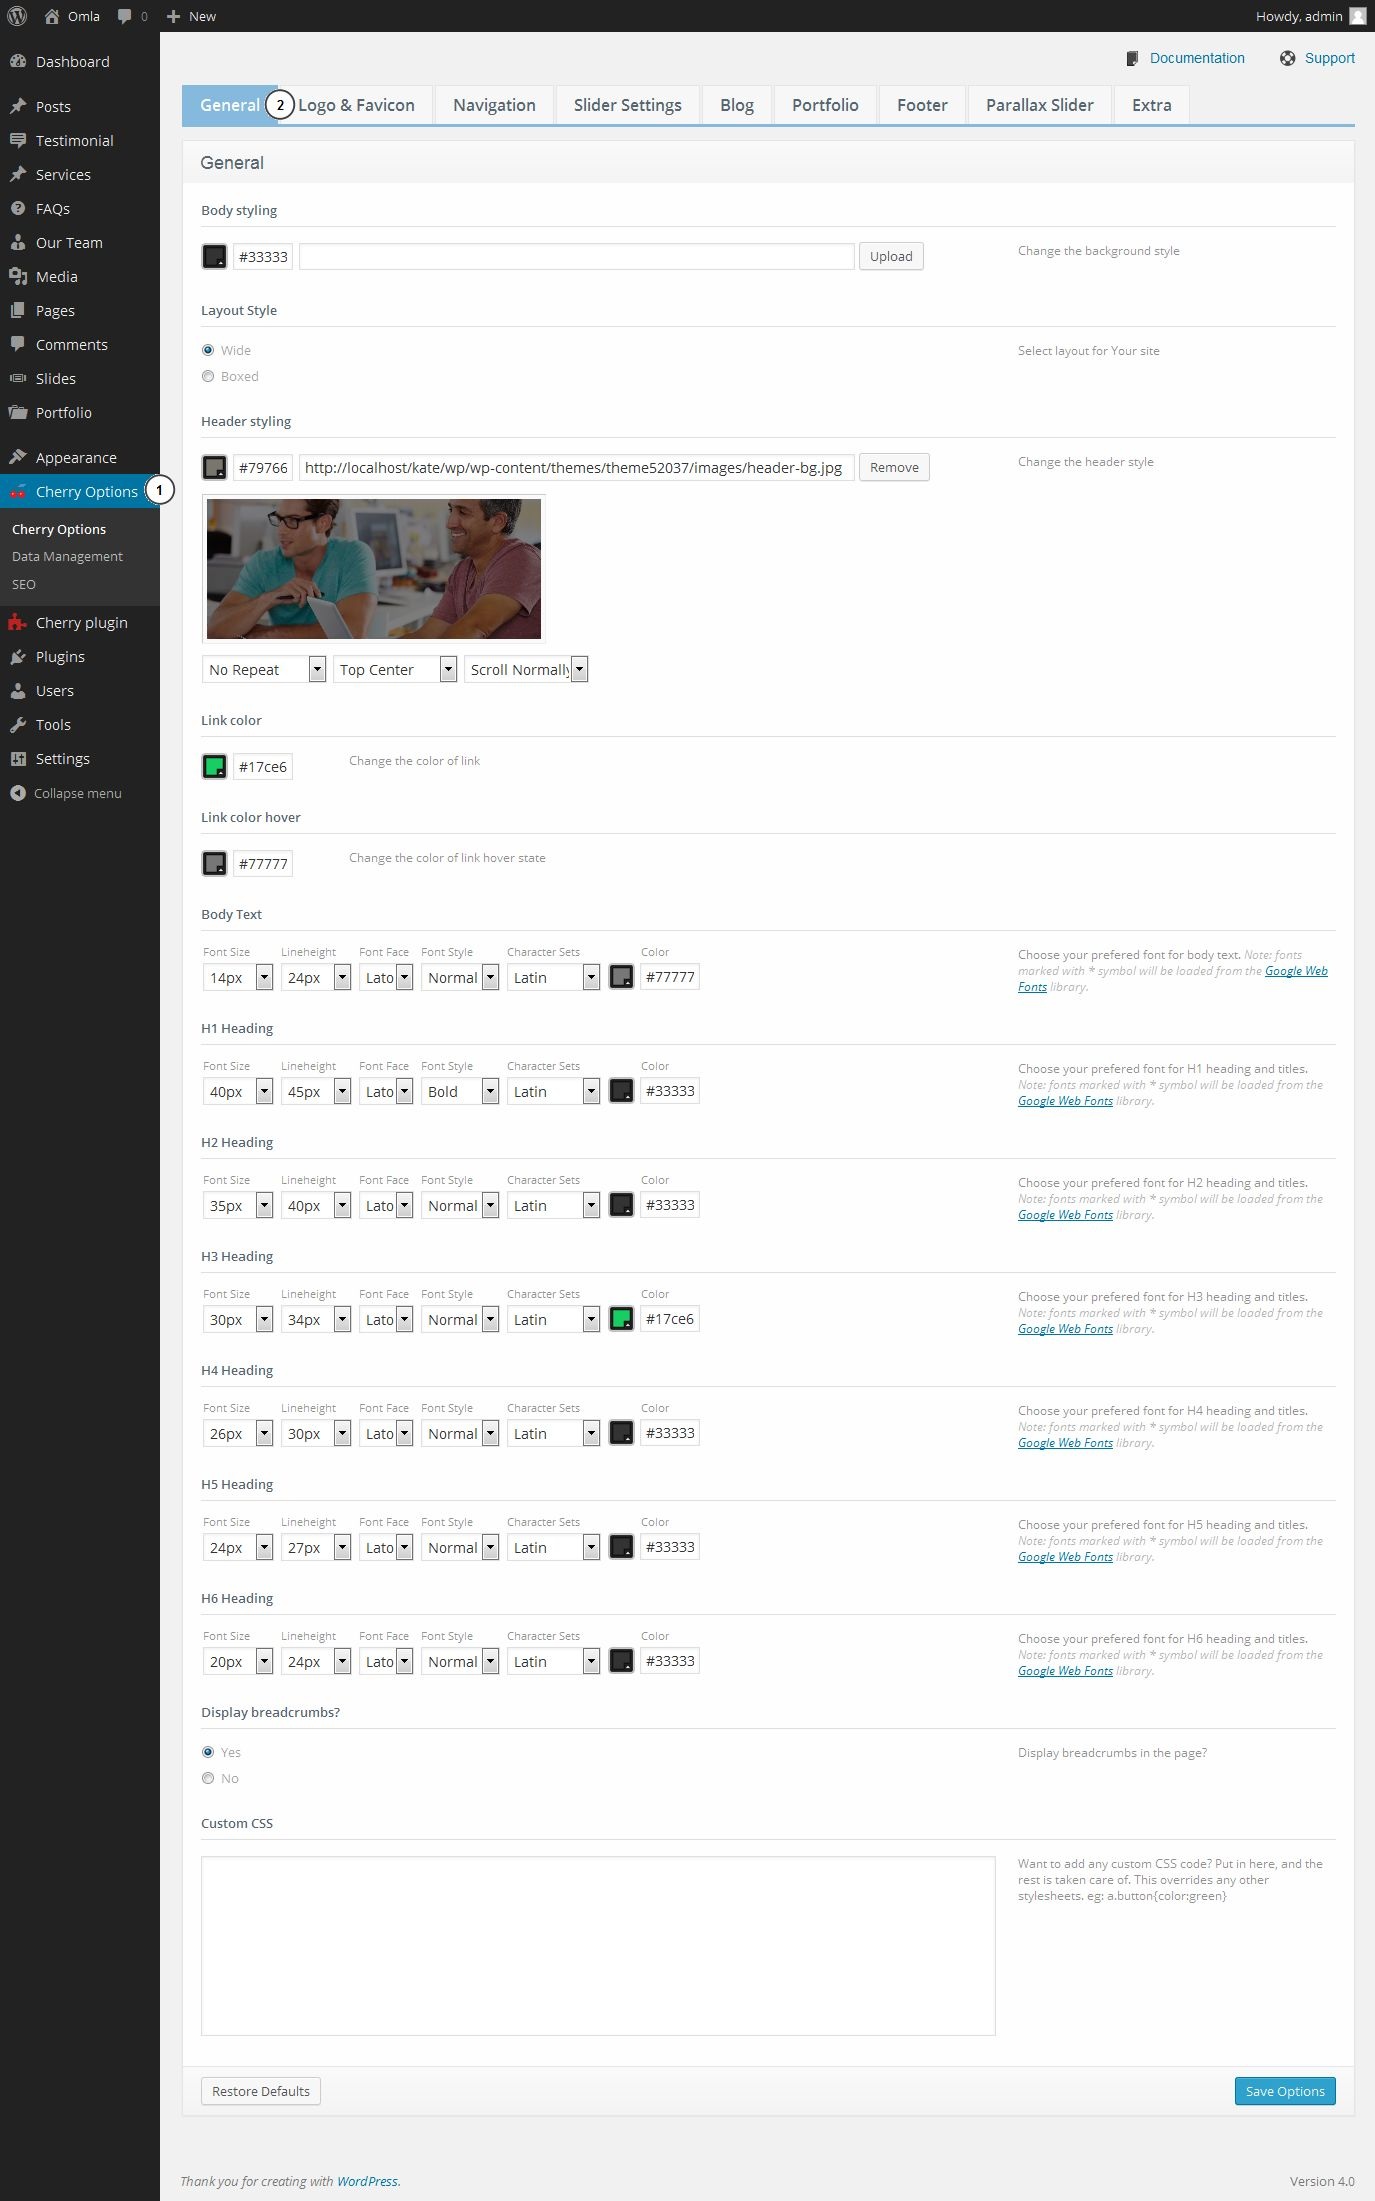
Let’s change Body text color and font size:
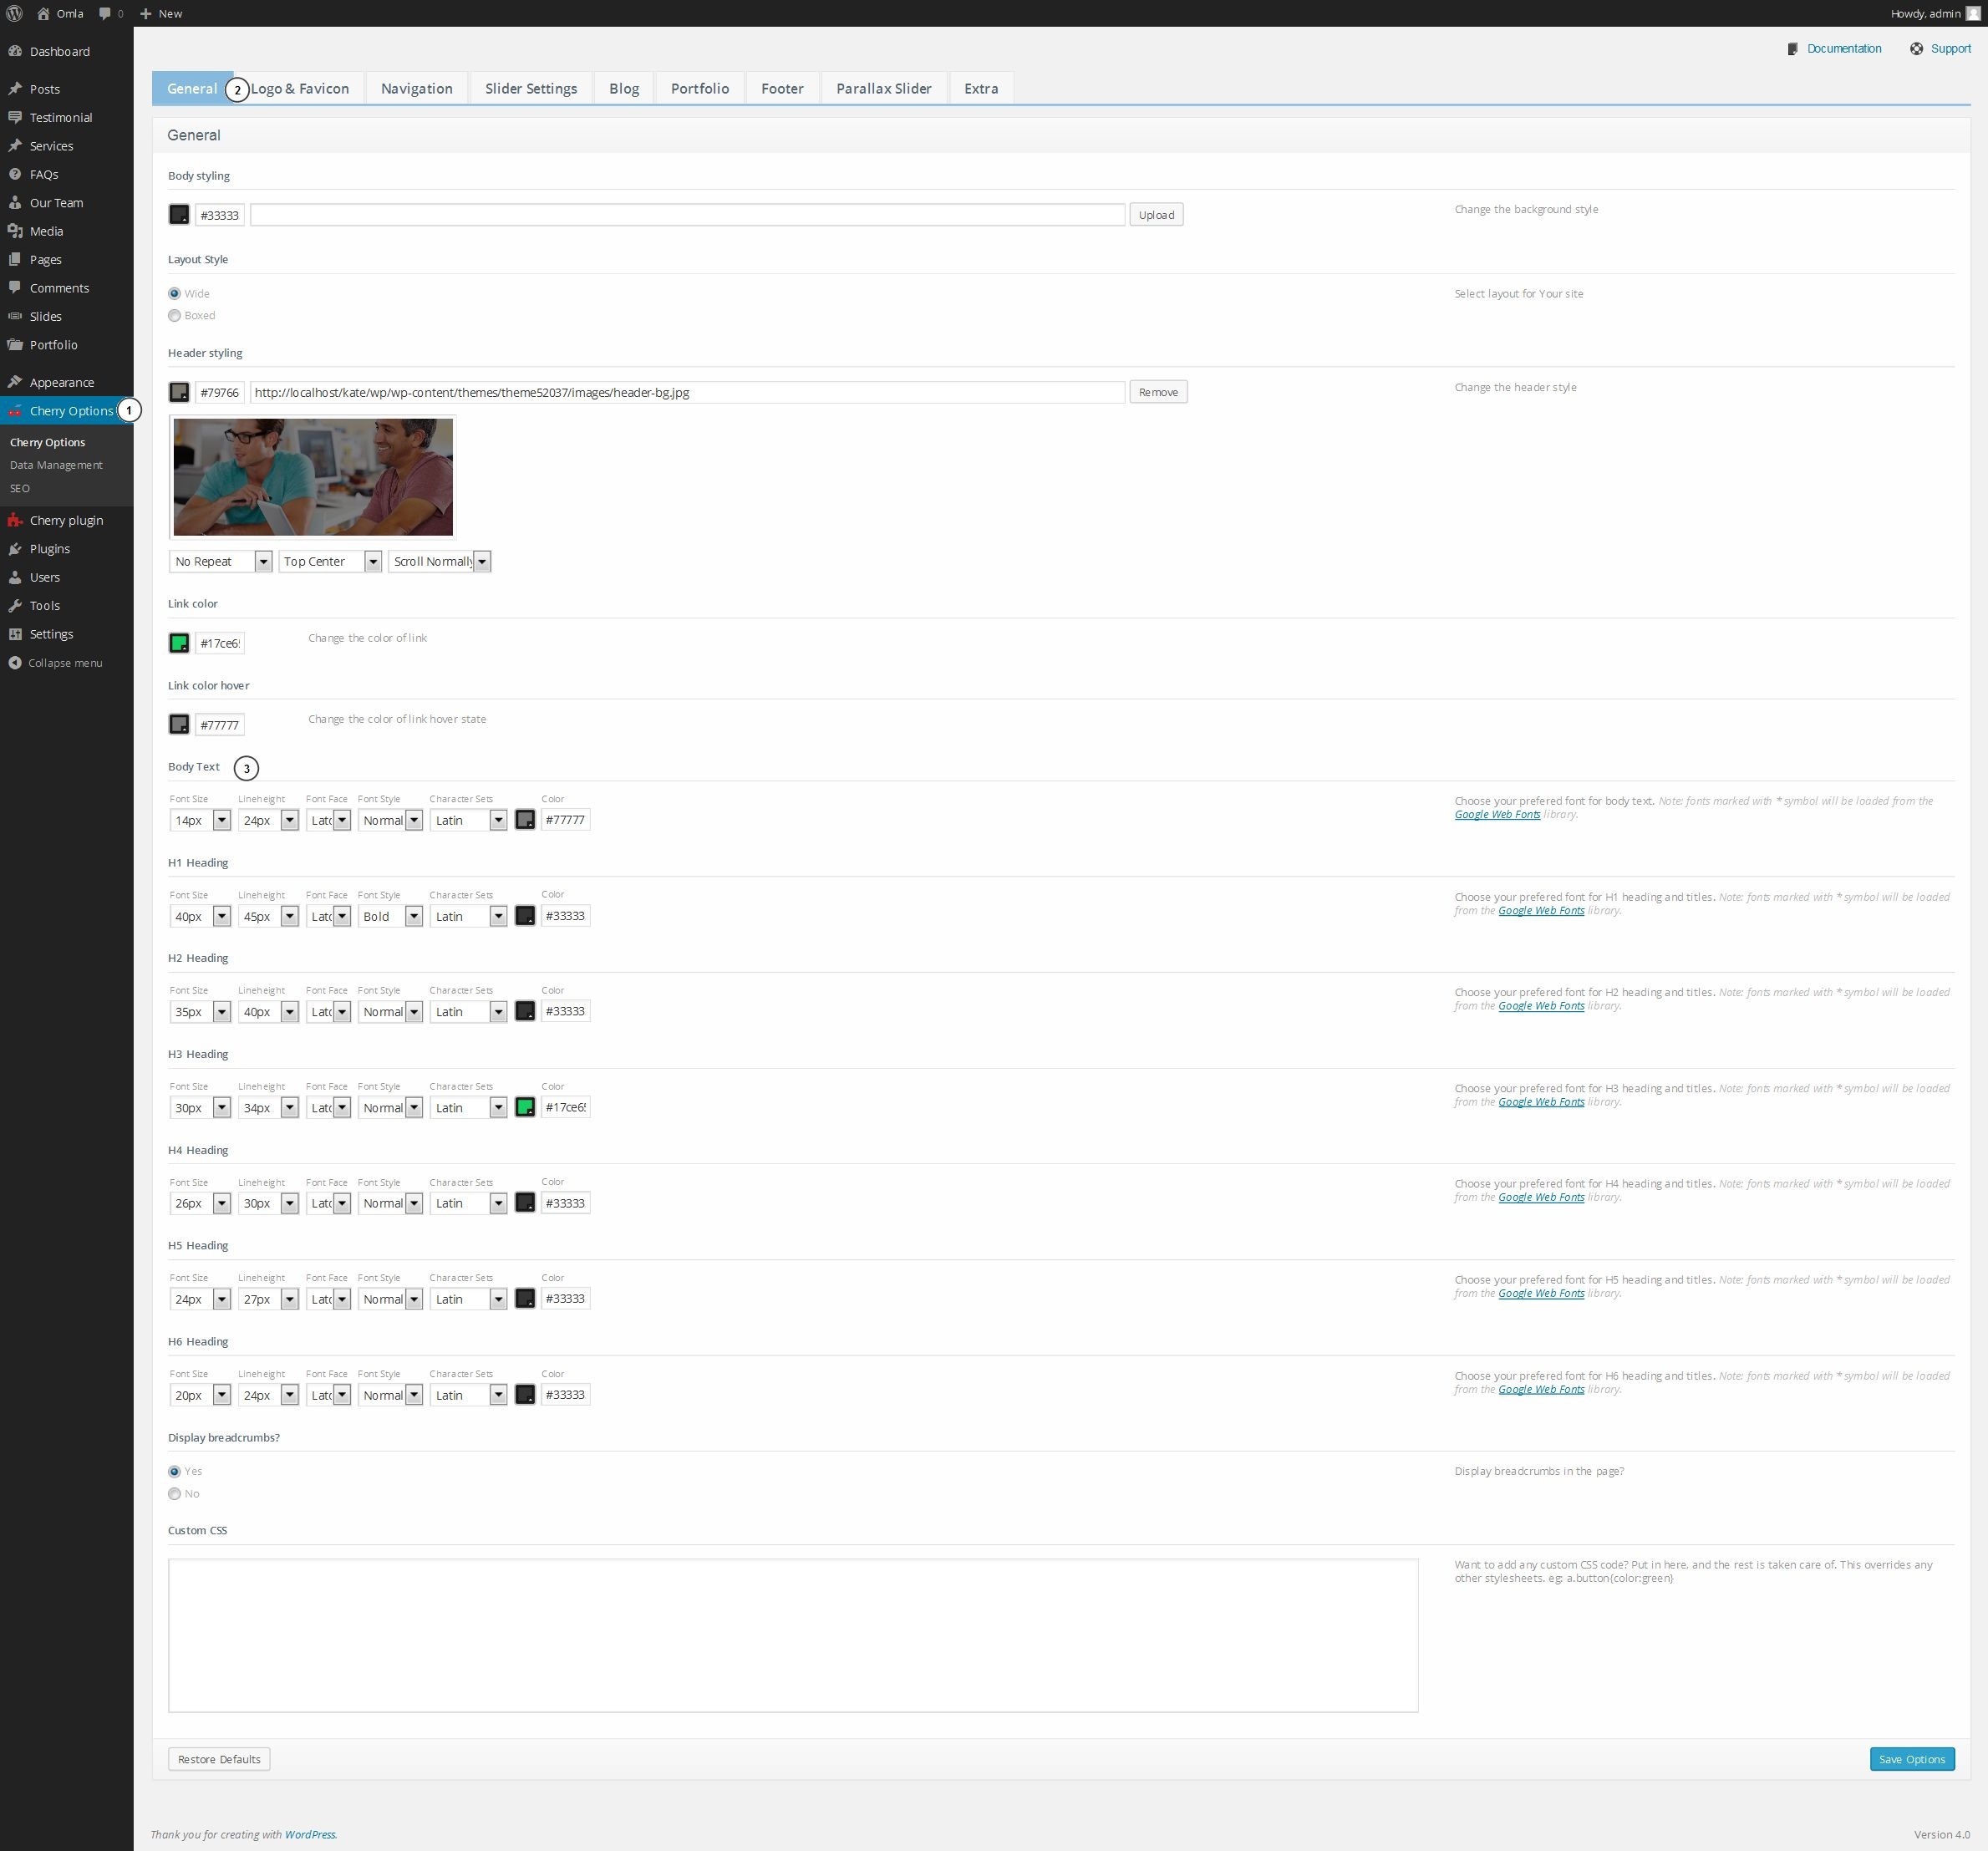
Change color and font size values and click Save options button.
Refresh your page to see changes on the site.
Most of colors are edited in css files. Colors are defined in main-style.css file. In order to change color, you should copy the code from main-style.css file and paste it to style.css file under Appearance > Editor in WordPress dashboard. Feel free to check out the following tutorial to learn more on this.
Let’s change the color of menu button. Inspect element using Firebug software:

Copy css rule and paste it to style.css file:

Change default color code to the desired one and click Update file.
Refresh your page to see changes on the site.
Feel free to check the detailed video tutorial below:
