


- Web templates
- E-commerce Templates
- CMS & Blog Templates
- Facebook Templates
- Website Builders
FAQs
General Tutorials
Featured templates
MonsterONE Subscrioption


This tutorial is going to show you how to add new page templates to your WordPress Cherry Framework template.
WordPress. How to create page templates
Log into your WordPress admin panel.
Go to the Pages -> Add New menu to create a new page with a new page template.
Give your new page a title and save it. In the Page Attributes panel on the right, you can select a page template from those already included into the template. You need to add a new one to this list. All these page templates are located in the wp-content/themes/CherryFramework folder on your FTP. But you will need to add a new page template in the wp-content/themes/theme##### folder on your FTP.
Create a new file in any .php editor like Dreamweaver or Notepad++ and give it a name, e.g. new.php. Add the following content to it:
<?php
    /*
    Template Name: Custom
    */
?>
Save the file and upload it to the wp-content/themes/theme##### folder on your FTP.
Go back to the page you created in WordPress. In the Page Attributes panel, you can select the new page template called “Custom”.

Click Publish. Then click Preview Changes. The page will be completely blank.
Go back to your new.php file to start adding your content. The file may contain anything you need including some static content or some markup that will determine your page content.
You can use elements from other page templates located in the wp-content/themes/CherryFramework folder to create a unique page.
Let’s first add a header and footer to it:
<?php
  /**
  * Template Name: Custom
  */
get_header(); ?>
<?php get_footer(); ?>
If you save the changes, you can see them on your page:
Now you need to decide what kind of content you’d like to see on that page. Let’s say you have no separate page template for the “Our Team” custom posts. And you really like the layout of the Testimonials page template and would like to see the “team” custom posts with the same layout. Under the Appearance -> Editor menu, you can easily determine the name of the file used for the Testimonials page template. It is page-testi.php.

Open this file to edit. Copy only the content part since we already have the header and footer (this is just an example, so your code may be different):
<div class="motopress-wrapper content-holder clearfix">
  <div class="container">
  <div class="row">
  <div class="<?php echo cherry_get_layout_class( 'full_width_content' ); ?>" data-motopress-wrapper-file="page-testi.php" data-motopress-wrapper-type="content">
  <div class="row">
  <div class="<?php echo cherry_get_layout_class( 'full_width_content' ); ?>" data-motopress-type="static" data-motopress-static-file="static/static-title.php">
  <?php get_template_part("static/static-title"); ?>
  </div>
  </div>
  <div class="row">
  <div class="<?php echo cherry_get_layout_class( 'content' ); ?> <?php echo of_get_option('blog_sidebar_pos'); ?>" id="content" data-motopress-type="loop" data-motopress-loop-file="loop/loop-testi.php">
  <?php get_template_part("loop/loop-testi"); ?>
  </div>
  <div class="<?php echo cherry_get_layout_class( 'sidebar' ); ?> sidebar" id="sidebar" data-motopress-type="static-sidebar" data-motopress-sidebar-file="sidebar.php">
  <?php get_sidebar(); ?>
  </div>
  </div>
  </div>
  </div>
  </div>
  </div>
Add the content to the new.php file. Rename: Template Name: Custom to Template Name: Team
Change page-testi.php to new.php in the code.
The code also contains the reference to the loop/loop-testi.php file. This is another file you need to copy. Copy loop-testi.php from wp-content/themes/CherryFramework/loop. And paste it to the wp-content/themes/theme#####/loop folder (if there is no loop folder there, you will need to create it). Rename the file to e.g. loop-new.php and open it for editing. Change the word “testi” everywhere in this file to “team” and save the changes. (You can do this using Control (Command) + F).

Since the loop-new.php is created and modified, you can go back to the new.php file and change loop/loop-testi.php to loop/loop-new.php in the code. The finished code will look like this:
<?php
  /**
  * Template Name: Team
  */
get_header(); ?>
<div class="motopress-wrapper content-holder clearfix">
  <div class="container">
  <div class="row">
  <div class="<?php echo cherry_get_layout_class( 'full_width_content' ); ?>" data-motopress-wrapper-file="new.php" data-motopress-wrapper-type="content">
  <div class="row">
  <div class="<?php echo cherry_get_layout_class( 'full_width_content' ); ?>" data-motopress-type="static" data-motopress-static-file="static/static-title.php">
  <?php get_template_part("static/static-title"); ?>
  </div>
  </div>
  <div class="row">
  <div class="<?php echo cherry_get_layout_class( 'content' ); ?> <?php echo of_get_option('blog_sidebar_pos'); ?>" id="content" data-motopress-type="loop" data-motopress-loop-file="loop/loop-new.php">
  <?php get_template_part("loop/loop-new"); ?>
  </div>
  <div class="<?php echo cherry_get_layout_class( 'sidebar' ); ?> sidebar" id="sidebar" data-motopress-type="static-sidebar" data-motopress-sidebar-file="sidebar.php">
  <?php get_sidebar(); ?>
  </div>
  </div>
  </div>
  </div>
  </div>
  </div>
<?php get_footer(); ?>
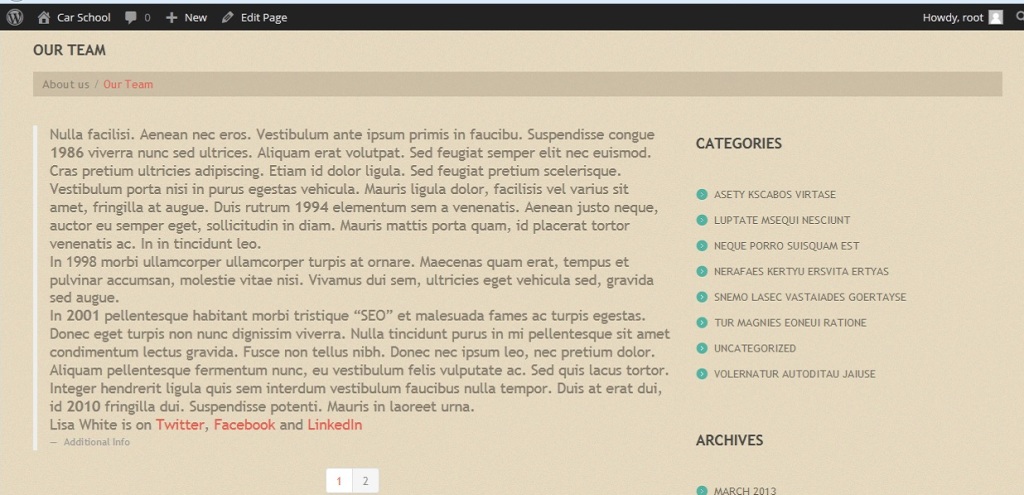
Save the changes and check your new page. It should have the team custom posts on the testimonials layout page.
Feel free to check the detailed video tutorial below:
WordPress. How to create page templates
In case you’re seeking premium themes to put up a professional website, take a look at design wordpress templates. Or check out a wide variety of WordPress templates page for even more beautiful designs.
