


- Web templates
- E-commerce Templates
- CMS & Blog Templates
- Facebook Templates
- Website Builders
FAQs
General Tutorials
Featured templates
MonsterONE Subscrioption


Hello, our team is ready to present you a new tutorial that shows how to deactivate all plugins when not able to access WordPress dashboard.
Sometimes during the troubleshooting process, many resources recommend to deactivate all plugins and activate them one by one.
In some cases you are also locked out of your WordPress admin panel, so you can not deactivate your plugins via the admin panel.
In this article, we will show you how to deactivate all WordPress plugins when you are not able to access wp-admin area.
There are two methods to disable all of your plugins. You will need to use FTP and phpMyAdmin.
Deactivate All Plugins Using FTP
For this method, you will need to either use FTP client or your hosting Filemanager.
Connect to your server via FTP or open hosting Filemanager
Once you are connected, you will need access wp-content folder.
In this folder, you will see folder called plugins. This is where all plugins files are located
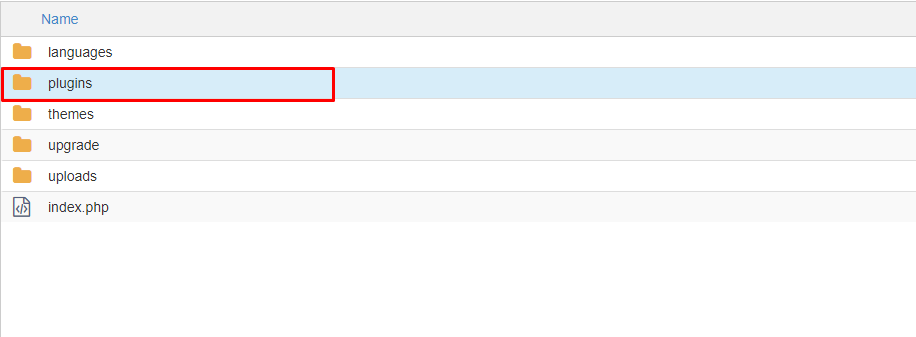
Right-click on the plugins folder and select Rename option. Change the name of the plugins folder (Example: plugins-deactivate). Once you do this, all of your plugins should be deactivated.

Deactivate all plugins using phpMyAdmin
The FTP-based method is easier, however, you can also deactivate all the plugins using phpMyAdmin.
Login to your hosting control panel.
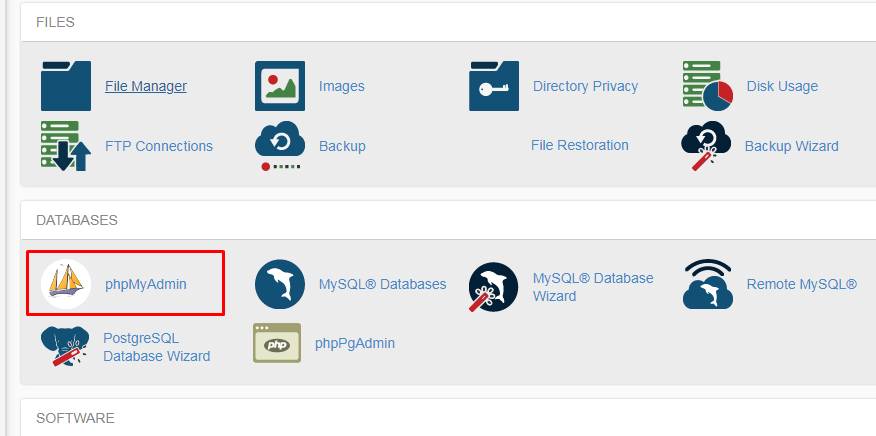
You need to access phpMyAdmin tool. In cPanel, it is usually located in databases section. However, your hosting control panel might look different
Select your WordPress database if it is not selected yet. After that, you will be able to see WordPress database tables.
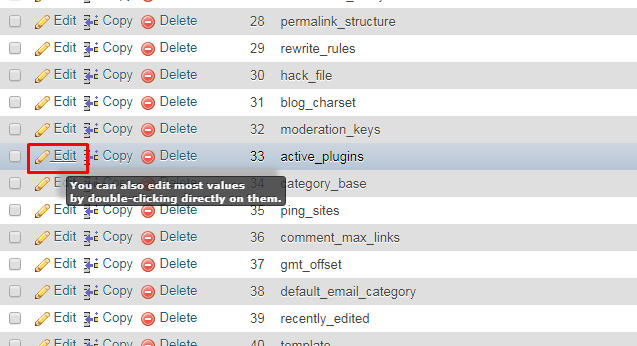
You need to open the wp_options table (wp_ is a default WordPress table prefix . Prefix might be different on your site ). In the wp_options table, you should see rows with different options. Find the active_plugins option and then click on the Edit link.
On the next screen, you will need to change the option_value field to a:0:{} and then click on a Go button.
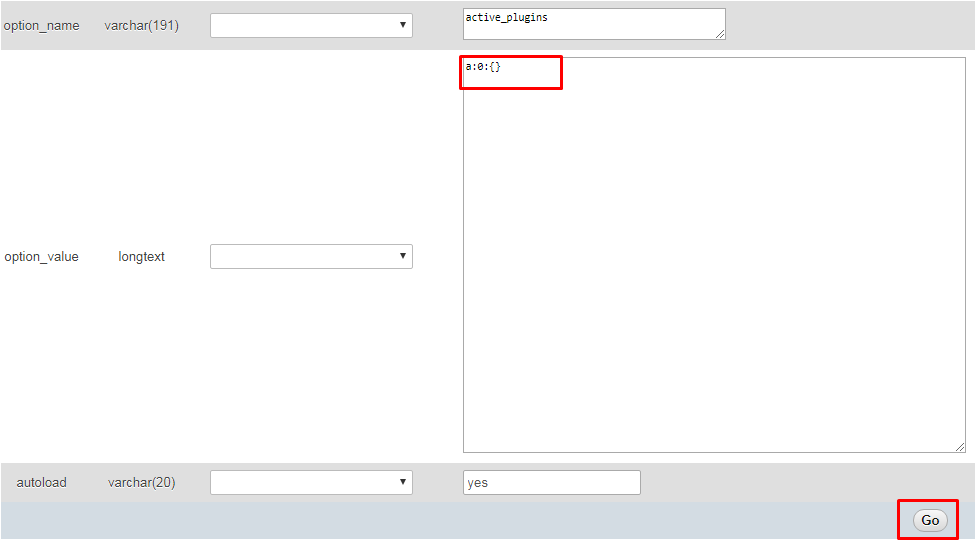
You have successfully deactivated all WordPress plugins using phpMyAdmin. If you want to learn more about working with WordPress, feel free to check the tips and tricks on our blog page.
We would also suggest you to check out the latest collection of premium WordPress Themes to build your very own website.
