


- Web templates
- E-commerce Templates
- CMS & Blog Templates
- Facebook Templates
- Website Builders
FAQs
General Tutorials
MonsterONE Subscrioption


This tutorial shows how to edit Muse templates.
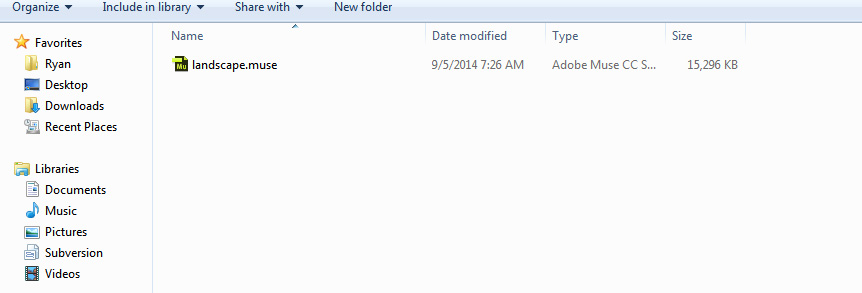
How to edit Muse templatesPlease unzip the template and open sources/AdobeMuse folder. Open .muse file in Adobe Muse editor:
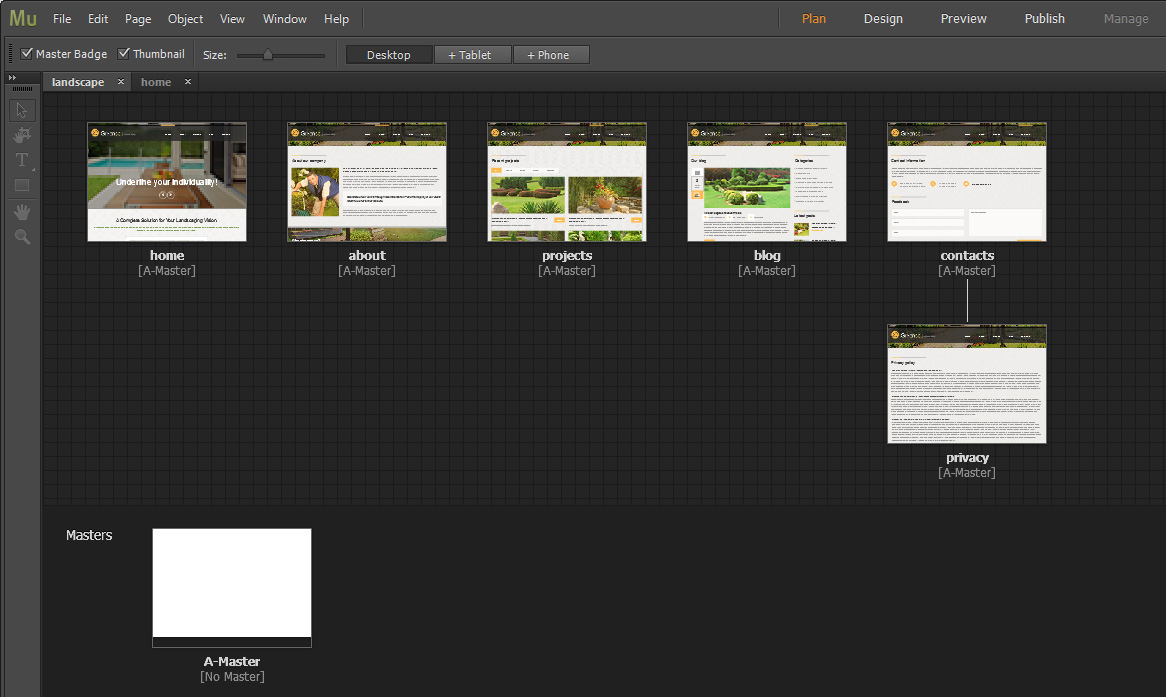
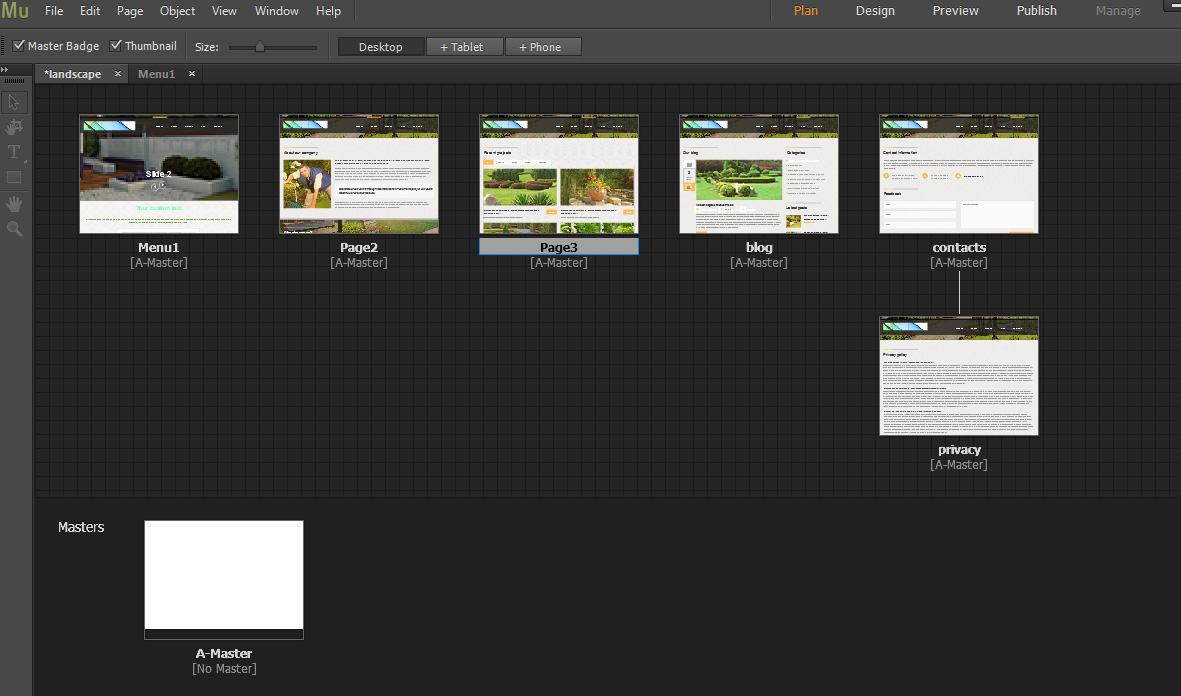
We can see all pages and sub pages in Plan mode. Double-click on the appropriate page in order to open it for editing:
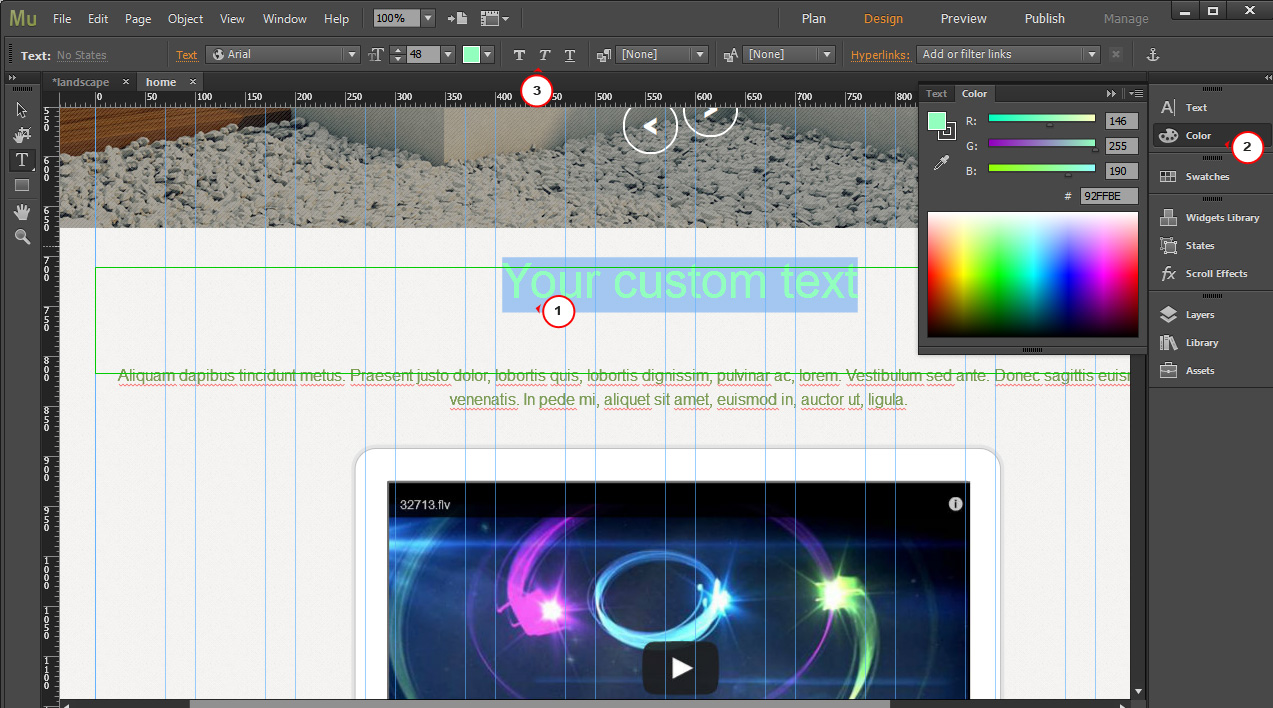
Select the text tool. Click on the appropriate text and change it. Double-click on slider arrows in order to open next slide and change its text:

You can also change text color using Color Widget. The font size can be changed using Text tool options:
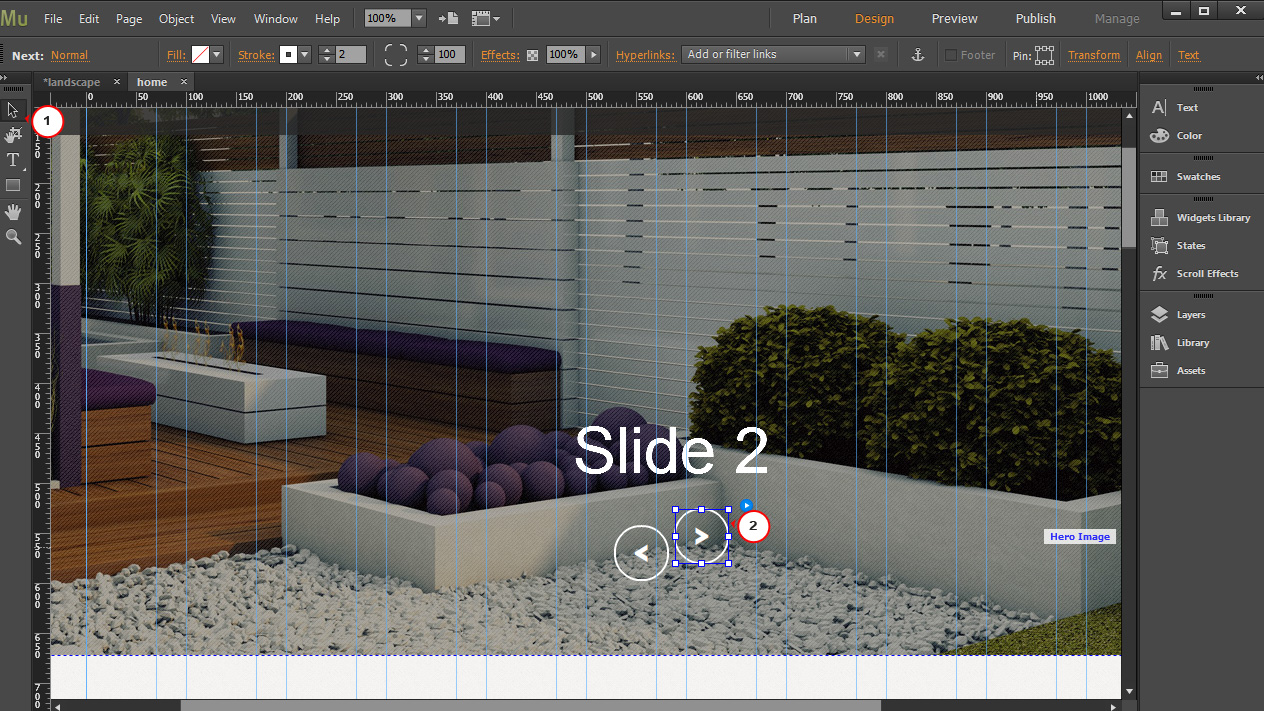
You can select arrows and other elements and move them using the Selection Tool:
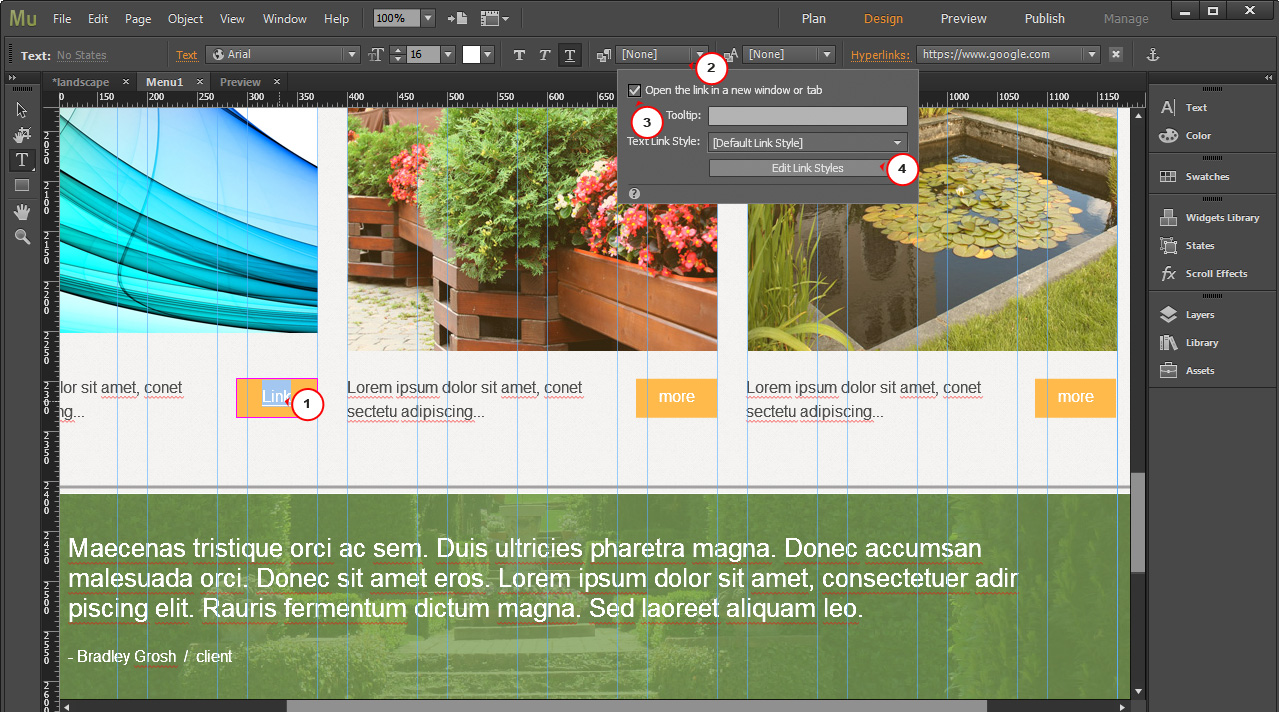
Let’s set the link to more button.
Select text. Click on Hyperlinks section. Check Open link in new window option in case you need the link to be opened in the new window or tab. Select Edit Link Styles:
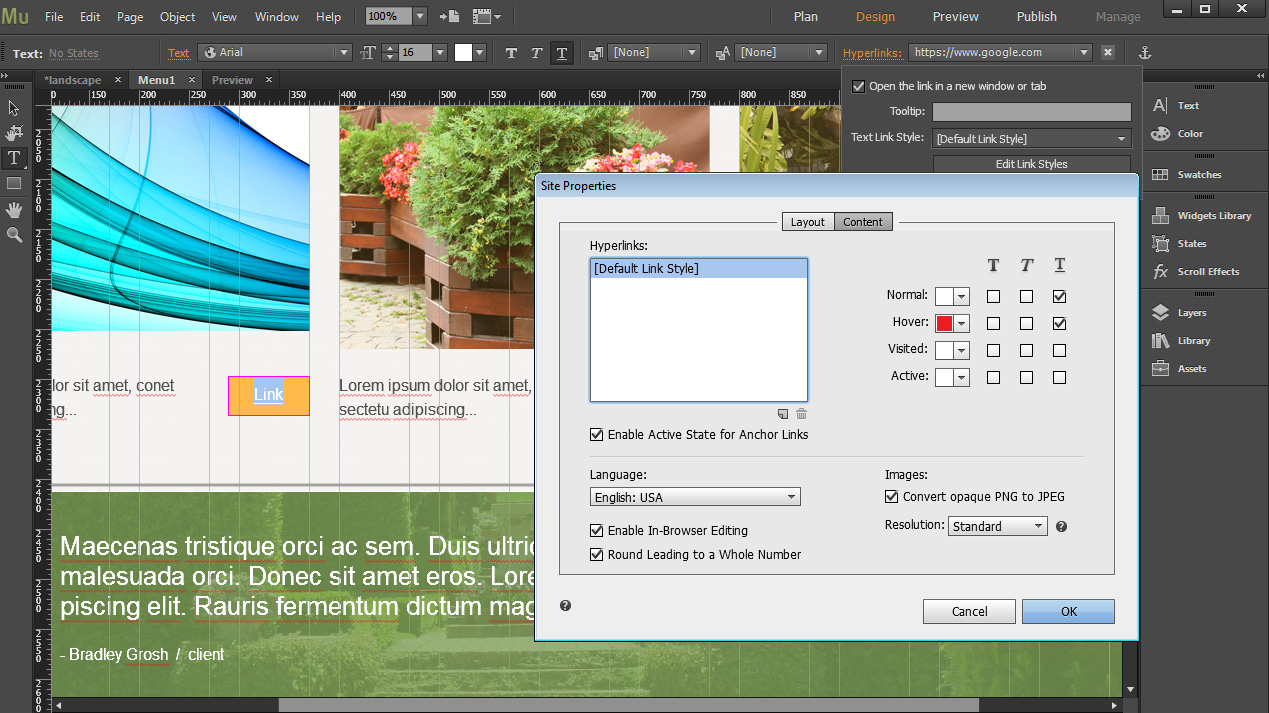
Select colors and styles for the link. Set hover colors, underline, etc.:
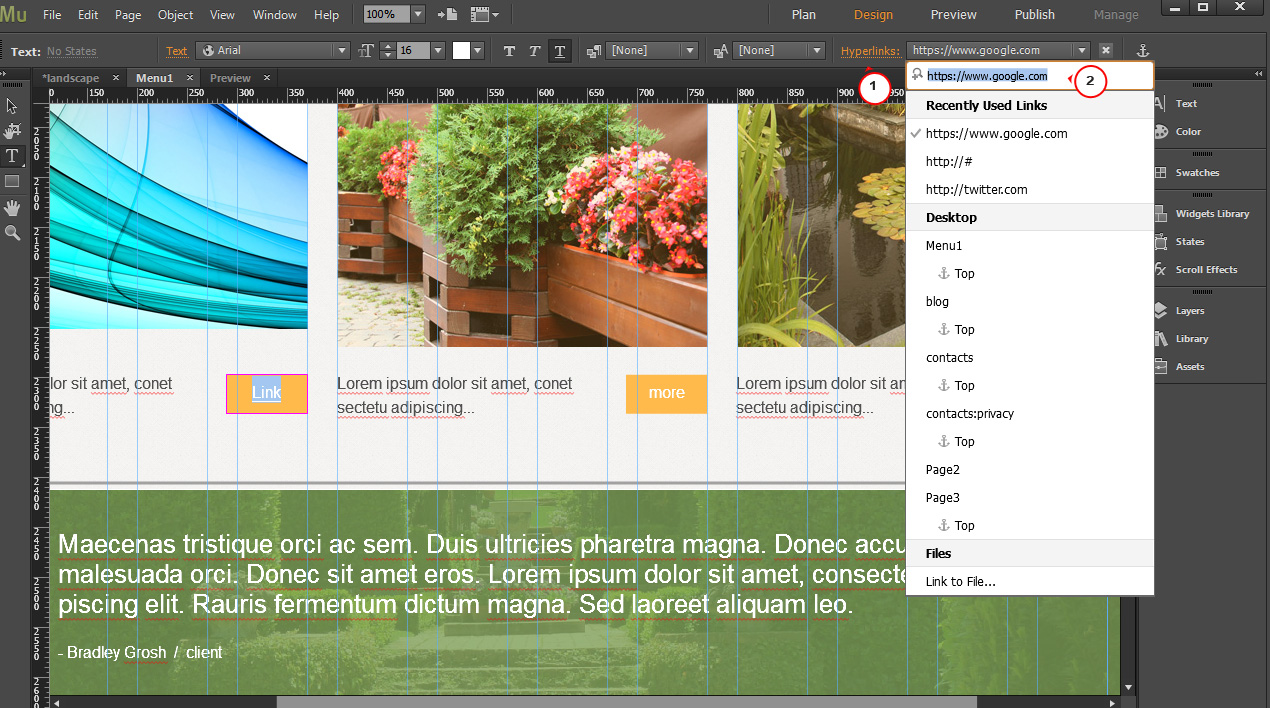
Add the hyperlink and click Enter:
Now we are going to replace the image.
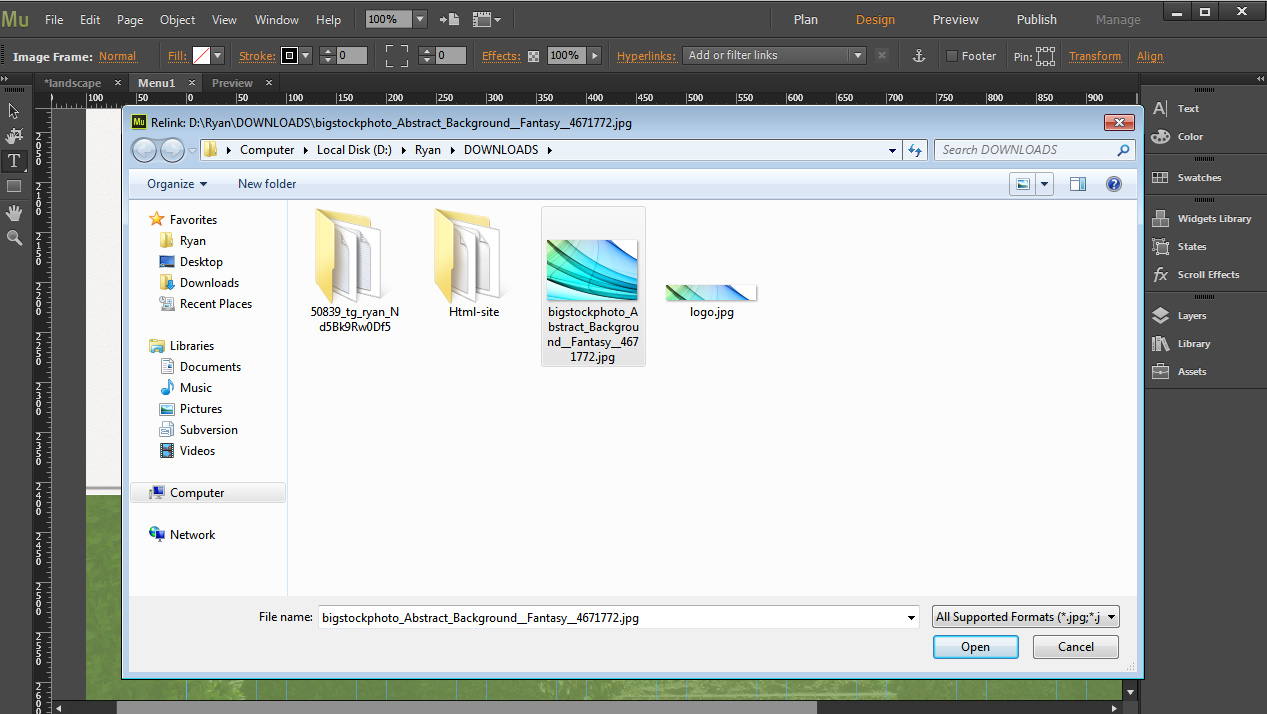
Right-click on the image you would like to replace. Click on Replace Image:

Select the image:
We have changed the image:

In our case template has a logo image. You can replace it as regular image in the way we have specified above.
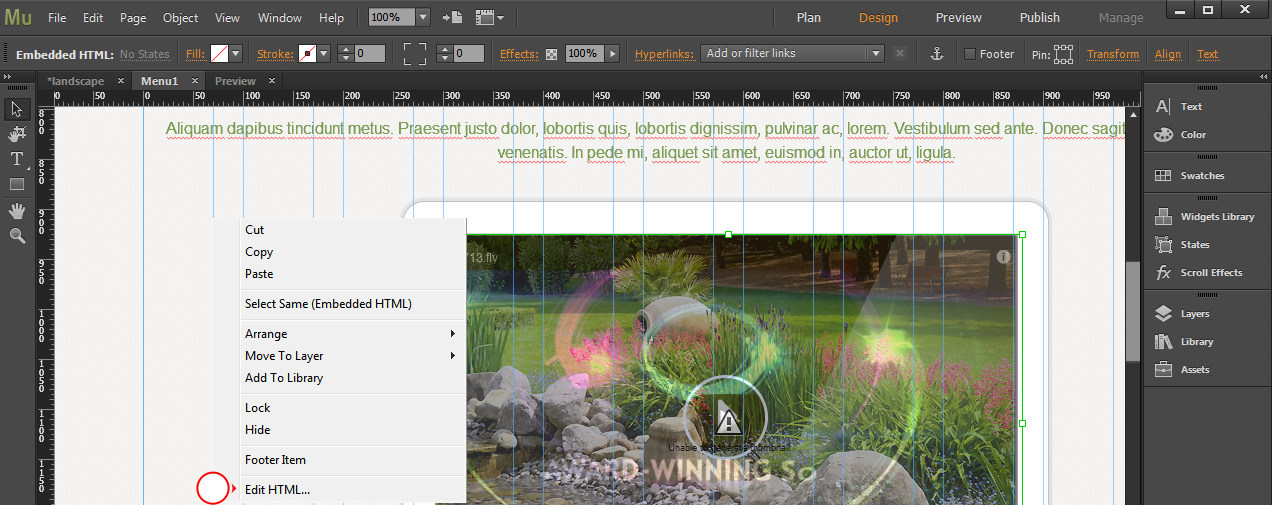
Replacing video.
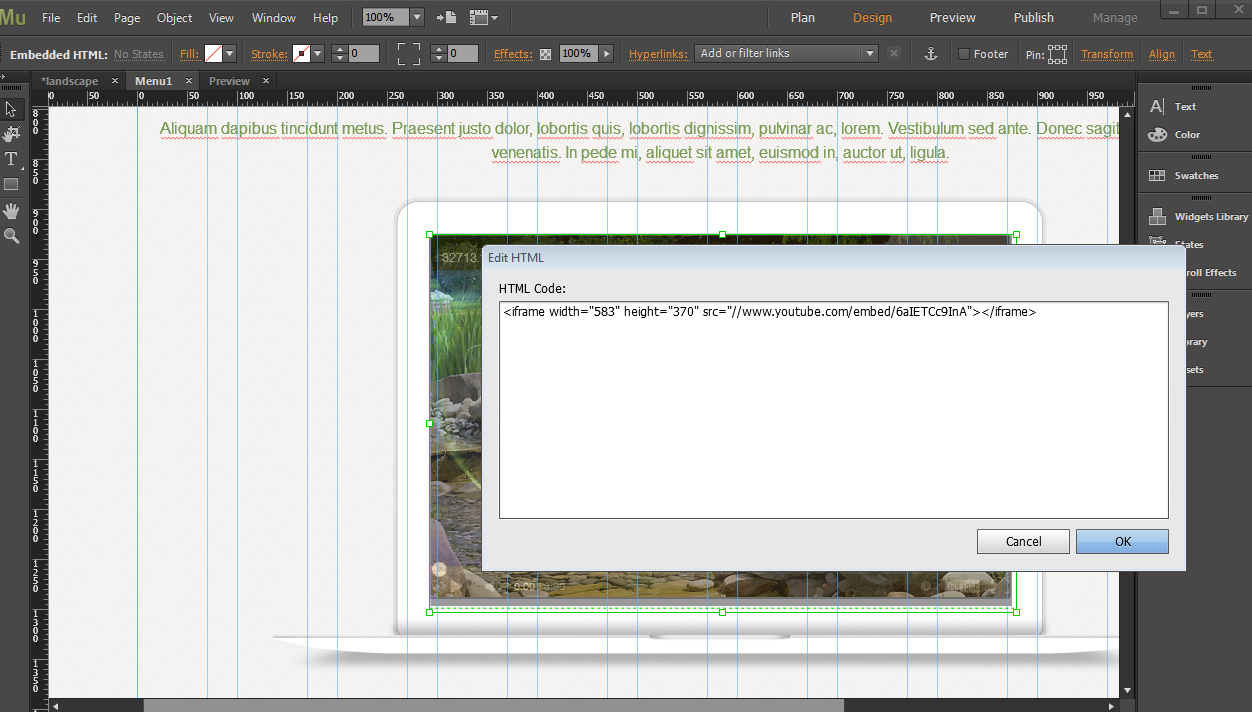
Our template comes with the embedded video. Right-click on the video and select Edit HTML:
Change the embed code:
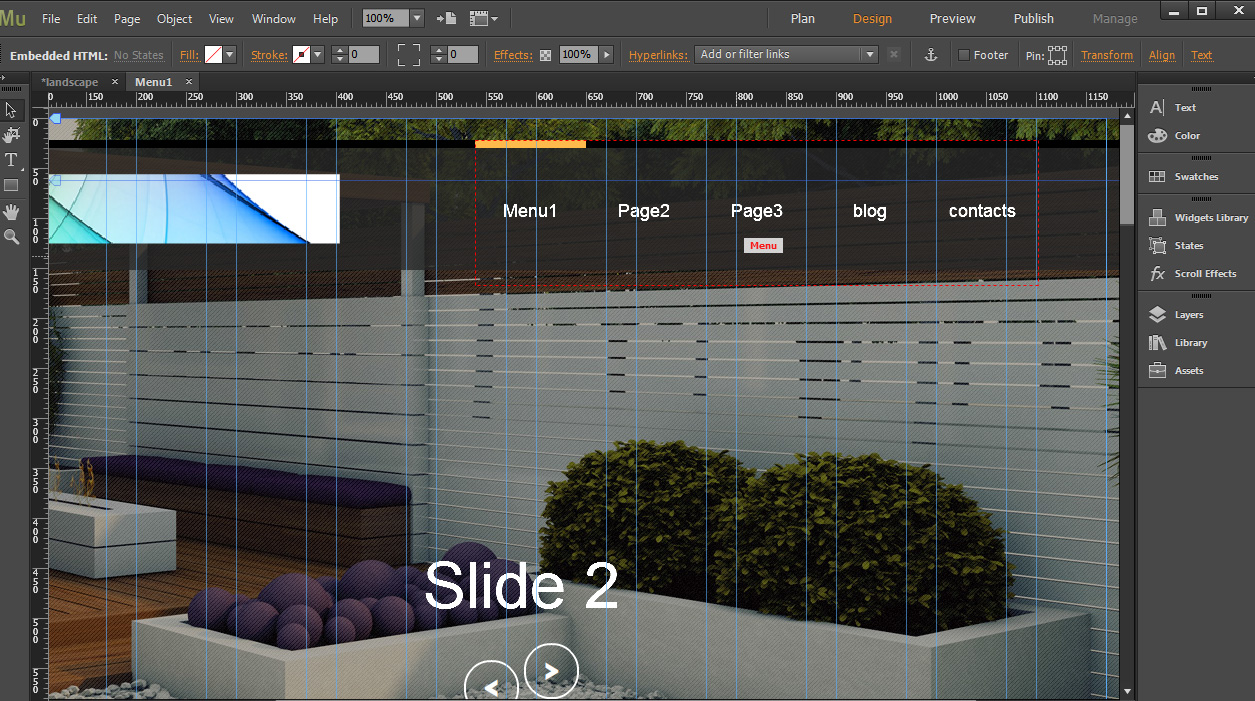
Now we are going to change the menu titles.
We can see the page titles like home, about, etc. Those page titles are used for the Menu titles. Menu titles change automatically when you change the page title:

Go to Plan mode, Right-click on page and click on Rename Page:

Perform the same actions for other pages:
We can see that Menu titles were changed automatically:
Export to HTML.
Save the changes you have performed to .muse file.
Go to File – Export as HTML in order to export your .muse file to html web site:
Select folder and specify your domain name:

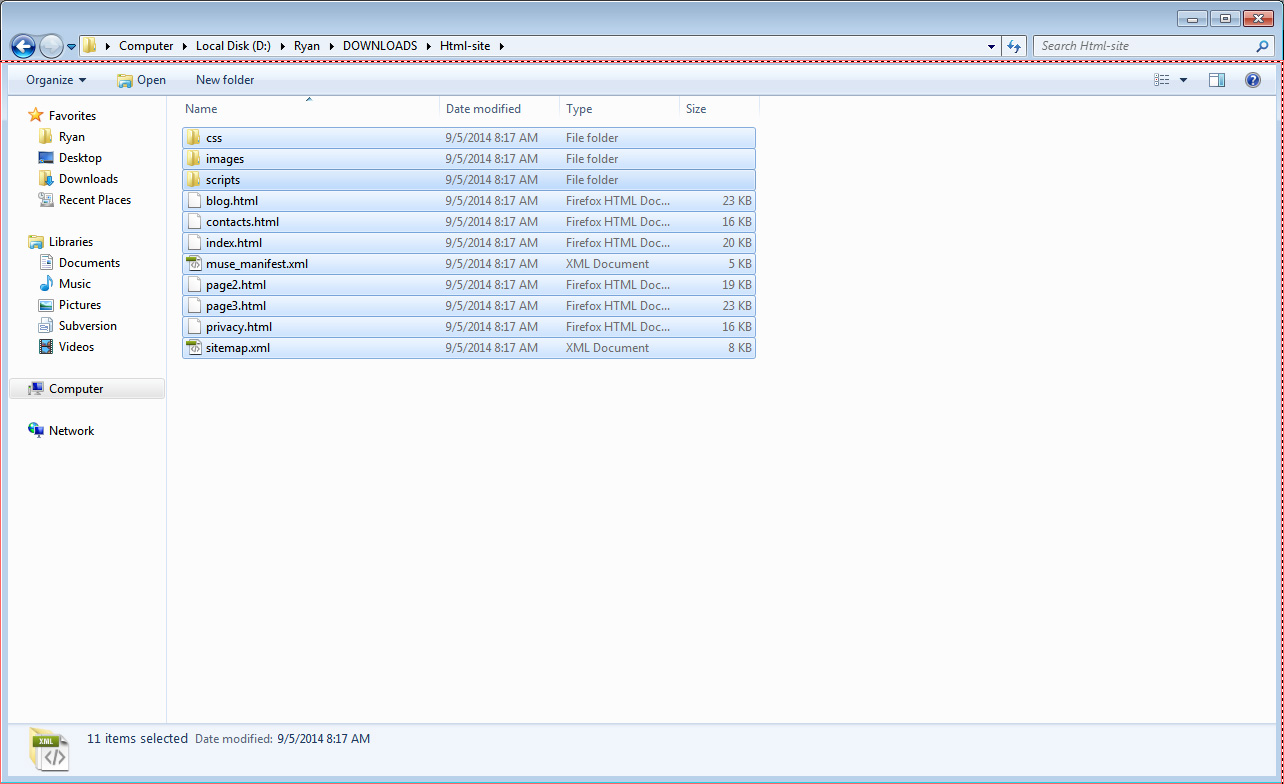
We can see our web site files. Please upload them to live server or localhost in order to check how your site looks and works. Please note that not all elements will display in case you open web site locally (without uploading it to live server):
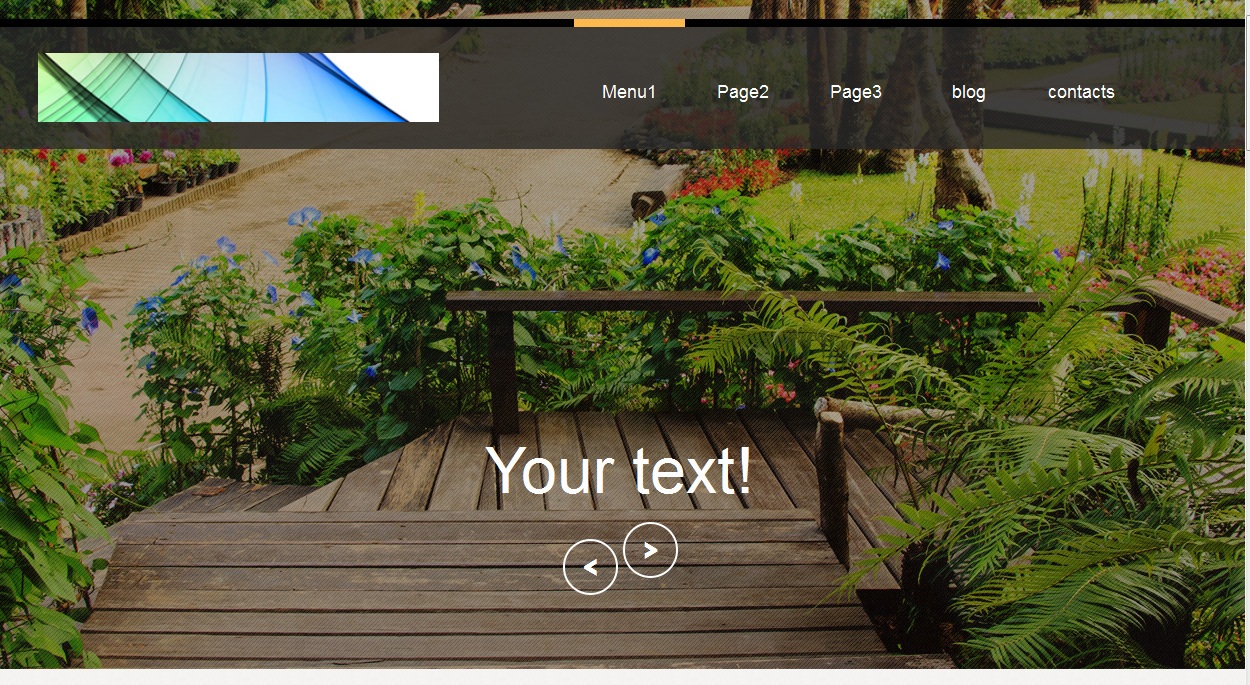
We have uploaded the web site to server and opened it. This is how our modified template looks:
Feel free to check the detailed video tutorial below:
How to edit Muse templates