


- Web templates
- E-commerce Templates
- CMS & Blog Templates
- Facebook Templates
- Website Builders
FAQs
General Tutorials
Featured templates
MonsterONE Subscrioption


WordPress is a flexible platform that allows you to add additional features to your site using plugins. There are thousands of plugins on official WordPress site. You can find needed plugin on the Plugins page on WordPress.org.
Have you already select plugin you want to install? We are going to show you how to do plugin installation.There are three simple ways to install plugins on the website:
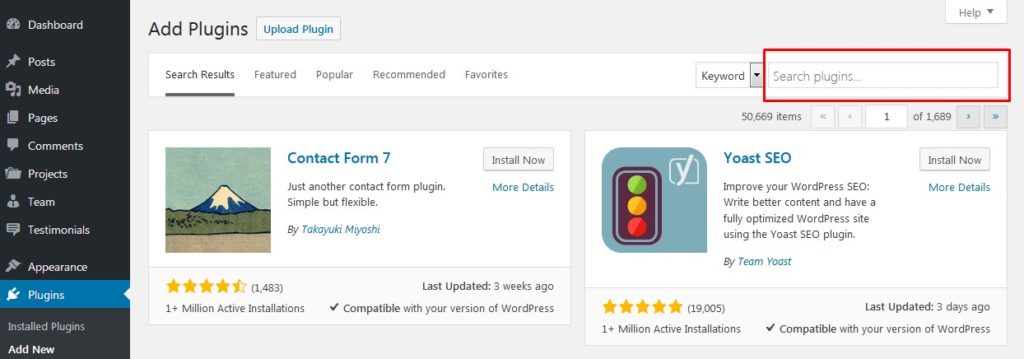
You can easily install plugins from WordPress plugins page using the search option.
Please, note! If your website is hosted on WordPress.com you will not have the Plugins section in your website backend. This option is disabled on WordPress.com. To be able to install plugins there upgrade to their business plan. You will not have an issue with plugins installation on the other hosts.
To access it, navigate to Plugins > Add New page in your WordPress back-end. If you know plugin name, type it into the search field on the right side. In case you haven’t chosen the plugin yet, you can enter the functionality you are looking for to the same field.
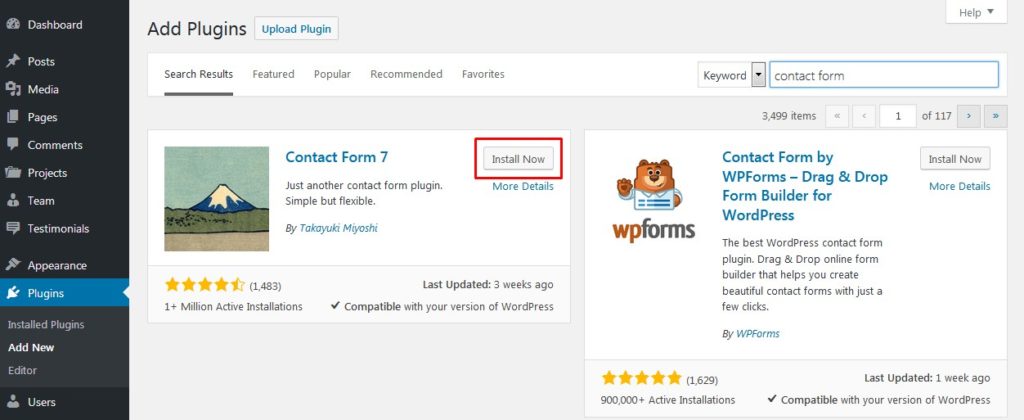
Select a plugin that suits the best and click on the Install Now button.
Once a plugin is installed, activate it by clicking Activate button.
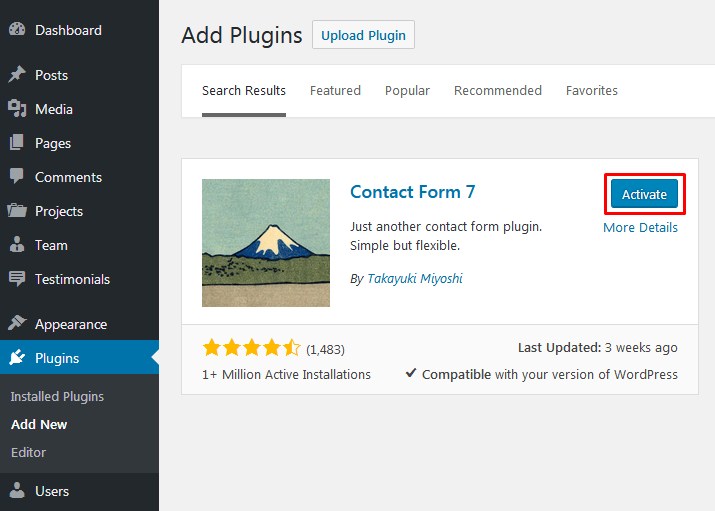
Plugin installation is finished. You can configure your plugin now. Plugin configuration depends on the plugin you picked. We recommend checking plugin’s documentation for more details.
Paid plugins cannot be installed from the search section. To install them, you need to upload plugin file to your website manually.
First, download the plugin from its official source. Save it on your computer and proceed to the next step.
Navigate to Plugins > Add New page in WordPress admin panel to upload the downloaded plugin file.
Click on the Upload Plugin button at the top of the page.

Browse plugin file using Browse button you will see.
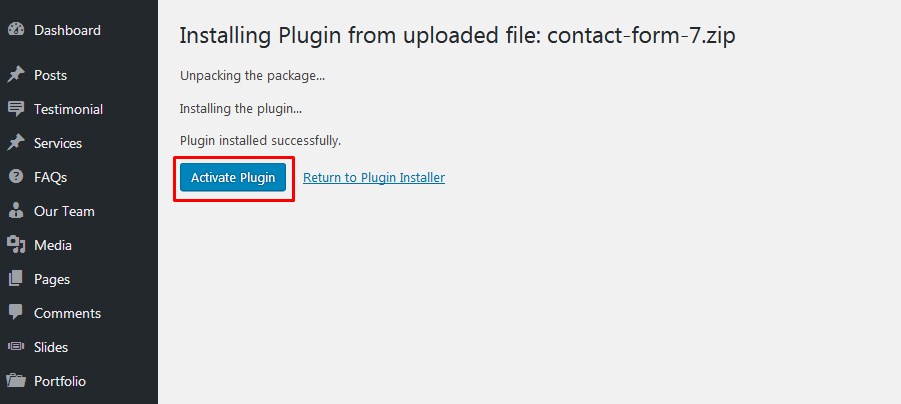
Click Install Now to start plugin installation.

Wait awhile. WordPress started plugin installation. Once the plugin is installed you will get a success message. Don’t dismiss it! Click Activate plugin link to finish plugin installation.
Done! The plugin is installed. You can configure it now.
You may consider this way to be not user-friendly. But it could really help you. Some hosts have restrictions that limit you from plugins installation. In this case, you will need to upload plugins directly to your server. You can do that using FTP or hosting cPanel File Manager tool.
Download plugin file and unzip it on your computer.
Connect to your server using FTP or hosting cPanel.
Open wp-content/plugins directory. Drop the unzipped plugin folder to this directory.
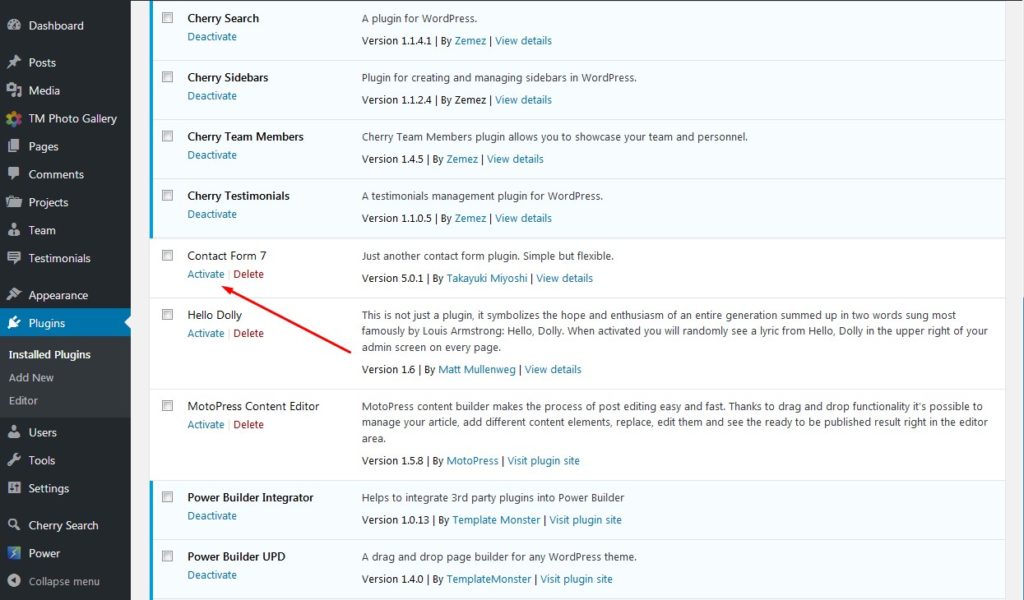
Once the files are uploaded open Plugins > Installed plugins page in your WordPress admin panel. Locate a plugin you have uploaded and activate it by clicking Activate button under the plugin’s title.
That is it! You know you how to install a WordPress plugin now. We hope it was useful. More instructions are coming.
In case you’re searching for premium themes to build a website from scratch, look through WordPress Themes.
