


- Web templates
- E-commerce Templates
- CMS & Blog Templates
- Facebook Templates
- Website Builders
FAQs
General Tutorials
Featured templates
MonsterONE Subscrioption


If you ever thought about trying to create a website, that might have seemed tricky at the beginning. But there are lot of instructions online, and the installation process looks not that hard, so you finally decided to give it a try – and that’s great! Let us learn how to install WordPress together and build a beautiful website – at this time, on the local server.
At first, you may just want to play around with the settings, and probably avoid extra expenses if possible. Luckily, there is no strict need to pay for the hosting account, as you can use the local hosting software for free. Some of the localhost examples are WAMP, XAMPP, MAMP, etc. It is also convenient for use, as you can run the WordPress installation on your computer, with no network access required. We will be glad to show you how to install WordPress to the WAMP localhost in a few simple steps. In brief, you will need to download WAMP, download WordPress, and install them both, one after another. Let’s check the entire process.
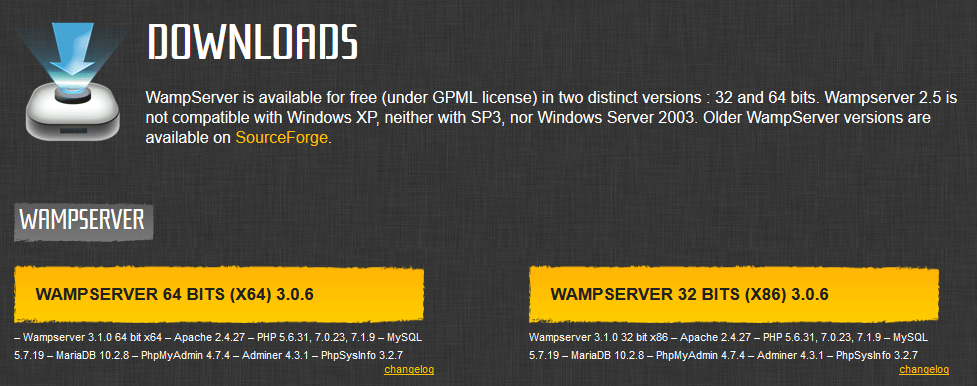
Visit the http://www.wampserver.com/ ( WAMP official website) and click the ‘Start using WampServer’ button. Then, choose the version that meets your computer specifics, for example, WAMP server for Windows 10: ‘WampServer 64 bits (x64) 3.0.6’ and use the preferable way of the download. We will use the ‘download directly’ option.
Locate the newly downloaded EXE file on your computer and double-click it to start the installation.
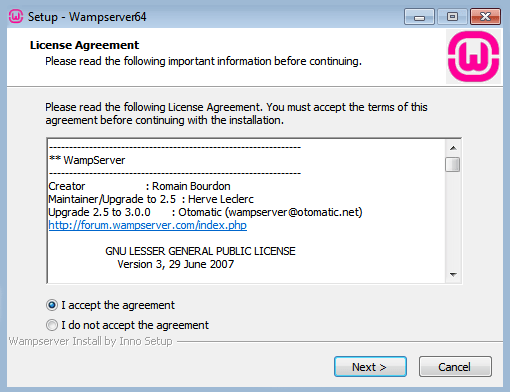
You will need to check the license agreement, accept its terms and click on the Next button to proceed.
Then, choose the destination folder to install the WAMP server there. You can select your desktop, for example, the main thing is to have is easily accessible.
When all the preparations are done, click Next and let the system do an installation. The wizard will inform you when the task is completed.
Now, let’s make sure if everything was done correctly. Find the WAMP shortcut on your desktop and double-click it to run the local server environment on your computer. WAMP icon will be always available in the tray. It will allow you changing the server parameters if needed, and managing the server itself – like, reach the database, select the PHP version and define memory limits, etc.
You have successfully downloaded and installed the WAMP software, so now you’re almost ready to go for the big goal – install WordPress to a local server. But there are still some preparation steps you should do, such as download WordPress and create a database for it. In order to create a database at WAMP, please, perform the following steps:
Click on the WAMP icon in the tray and choose phpMyAdmin, it will open http://localhost/phpmyadmin page in the browser.
Log into your phpMyAdmin using ‘root’ as a username. There is no password by default, so just press the GO button to login.
Go to the ‘Databases’ tab at the top and enter the name of your new database under the ‘Create database’ title.

Finally, click on the Create button – you have just created a database for your website, my congratulations!
It’s a hight time to download WordPress now, so please, open the new tab in the browser. Visit the http://wordpress.org/download page to download the latest version of WordPress. Unzip it, you will find the ‘wordpress’ folder inside. Copy this folder to your WAMP root directory (it is a \wamp\www\ folder).
On this step, you’re fully prepared to install WordPress, so let’s go. Open your site in a browser by typing the ‘localhost/wordpress’ in the browser address bar. Next, perform these steps to complete the WordPress installation:
Select a language for your website and click Continue.
Press the ‘Let’s go’ button to install the WordPress locally.
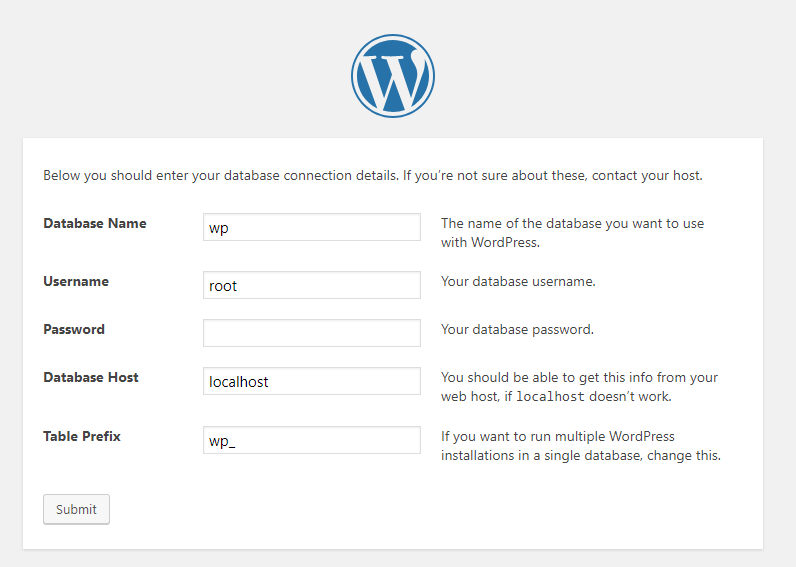
Enter your WordPress database details to the input fields. Tip: the database title is the one you created previously, the username is root, password field should be empty, the hostname is localhost and prefix should remain as wp_.
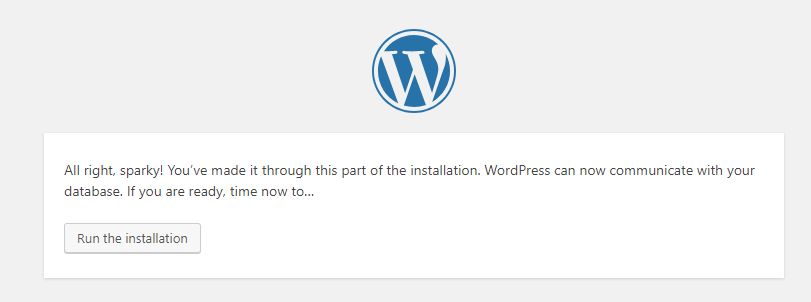
If all the details are correct (and they surely are), you will get the ‘All right’ message. Click on the ‘Run The Install’ button then.
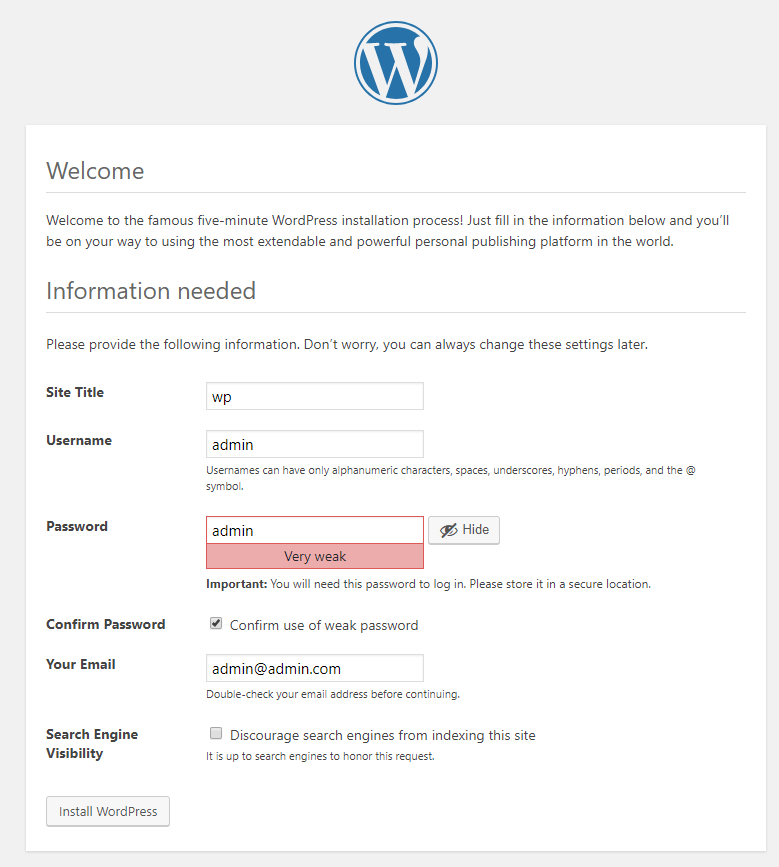
Fill in the fields on the next page up to your liking. You will be asked to specify the desired site title, username and password for WordPress administration, as well as your email address.
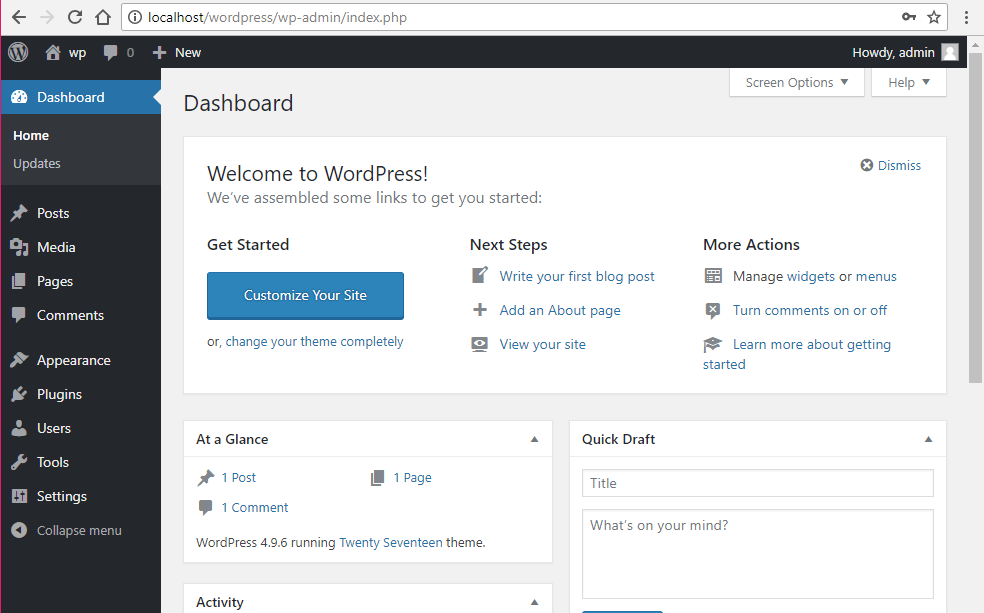
Enjoy the success message and feel free to login to your newly installed website. WordPress setup is finished, so you can start customizing it by installing the theme, plugins, add your content, and so on.
Wish you good luck with the site!
We hope this step-by-step guidance was useful for you. Feel free to check our blog to learn more tweaks on how to manage your WordPress website as a guru of the web design!
We would also suggest you to check out the latest collection of WordPress themes to build your very own website.
