


- Web templates
- E-commerce Templates
- CMS & Blog Templates
- Facebook Templates
- Website Builders
FAQs
General Tutorials
MonsterONE Subscrioption


This tutorial shows how to use post tags in WordPress.
WordPress. How to manage post tags
Every post in WordPress can be filed under one or more Tags. This aids in navigation and allows posts and to be grouped with others of similar content.
Usually tags are displayed under each post. Template tags are used within your blog Templates to display information dynamically or otherwise customize your blog, providing the tools to make it as individual and interesting as you are.
When someone viewing your blog clicks on one of these Tag links, a Tag archive page with all the posts belonging to that Tag will be displayed. In addition, if using Widgets, the Tag Cloud Widget can be added to the sidebar to display all the Tags used in a cloud.
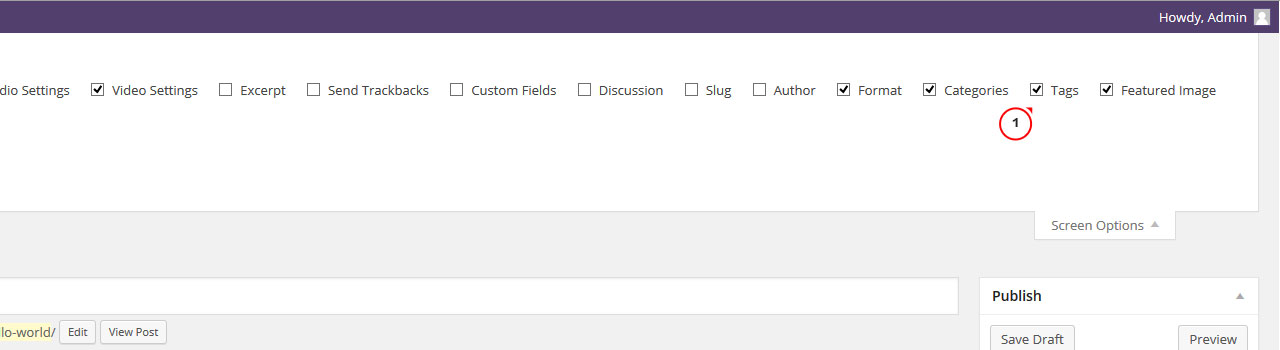
The tags could be assigned while creating/editing posts. Check screen option on the post editing page to enable the tags block:
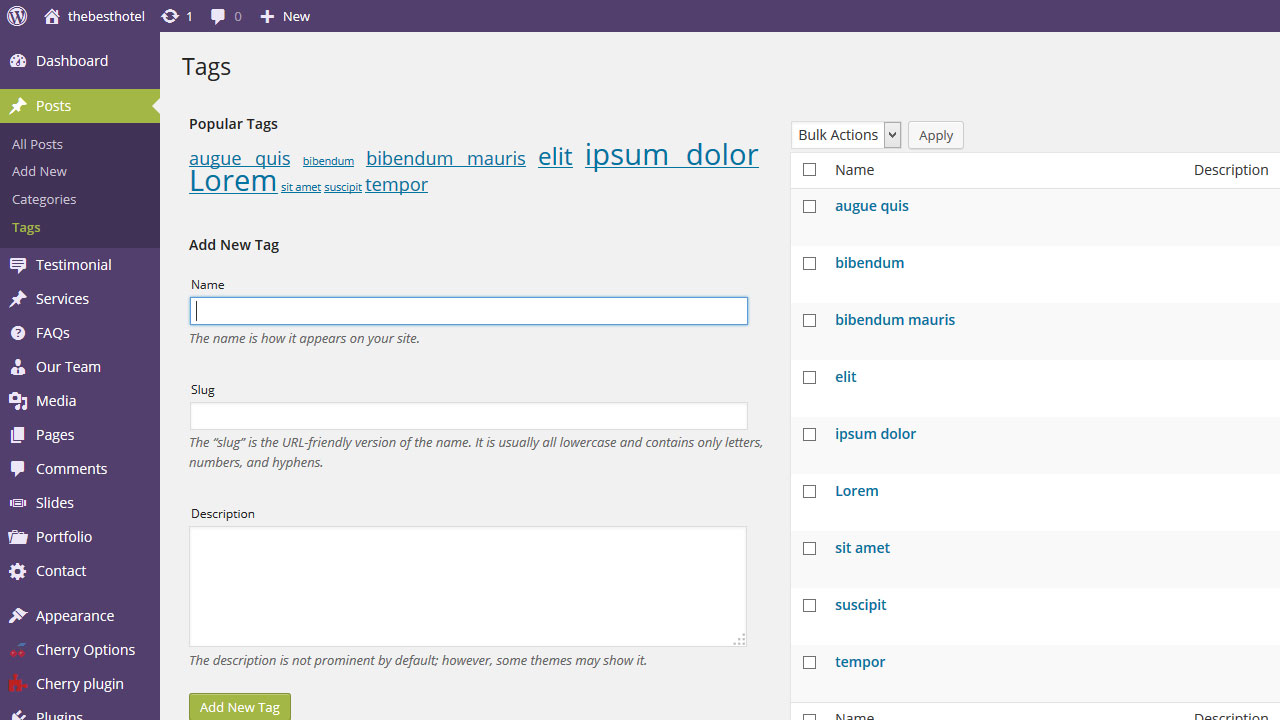
All tags could be managed through the WordPress admin panel, under Posts -> Tags:
Unlike Categories, Tags have no hierarchy, so there is no Parent->Child relationship like that of Categories. But like Categories, Tag names must be unique.
You can create new Tags, edit or delete the existing ones.
Popular Tags:
In this section a Tag Cloud displays the forty-five (45) most popular Tags – i.e. the Tags that are most used on posts. With the proper capability, each Tag can be clicked to edit that Tag. If no Tags have been assigned to posts, then this section will not appear.
Add New Tag:
This part of the Screen, which is conveniently linked to from the top of the Table of Tags, allows you to create a new Tag. There are three pieces of information associated with each new Tag: the name, description, slug, and number of posts containing that Tag.
Table of Tags: This table lists all of your Tags by row. Tags are displayed alphabetically by Tag Name.
Screen Options: The Screen Options allow you to choose which columns are displayed, or not displayed, in the underlying Table. Clicking on the Screen Options tab shows a list of the columns with a check-box next to each column. Check the box for each column you want to be displayed in the Table, or uncheck the box to not display that column. In addition, you can set the number of Tags that will show up in the Table of Tags. Click the Screen Options tab again to close the Screen Options.
Search Tags: above the Table, to the right, there is a search box where you can enter a word, or series of words, and click the “Search Tags” button to search and display all the Tags meeting your search words.
You can find all details about tags following this link .
Feel free to check the detailed video tutorial below:
