


- Web templates
- E-commerce Templates
- CMS & Blog Templates
- Facebook Templates
- Website Builders
FAQs
General Tutorials
Featured templates
MonsterONE Subscrioption


WordPress is the most popular CMS nowadays, no wonder lot of people looked for the way to post their news in a handy and distraction-free way. Thereby, and Automattic company created a special WordPress desktop application for this purpose. Today, we’re going to present you an extremely easy to follow guidance on how to use such an APP for your self-hosted blog. Let’s check it in details.
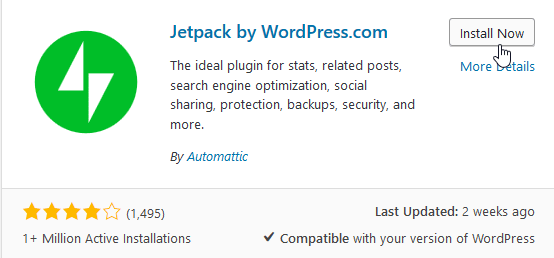
The first thing you need to do, is to install the JetPack plugin to your WordPress website. It can be done at the ‘Plugins’ -> ‘Add new’ section in the dashboard – just look it up using the search field at the top right, then press ‘Install’, and, finally, activate the plugin. If your site is based on wordpress.com, you’ll have it already setup.
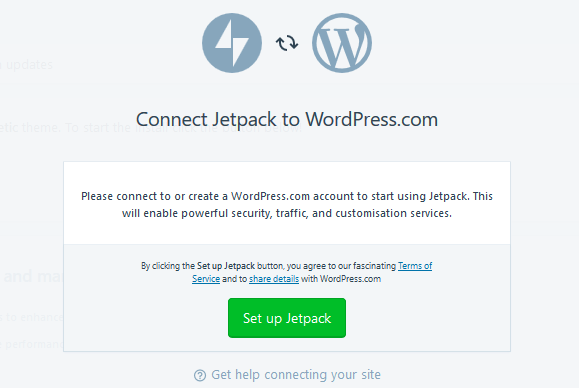
On the next step, system will ask you to connect JetPack with your account on WordPress.com. To do so, click the ‘Set up Jetpack’ button and login to WordPress.com on the next page. If you don’t have an account yet, create it using the ‘Sign Up’ option (select the paid plan you want, or scroll down the page to see a ‘Start with free’ button, this will let you register the free account).
Now you’re fully prepared to using the WordPress Desktop APP. Download and install it to your desktop from https://apps.wordpress.com/desktop/, and feel free to launch the APP. Once it opens, log into the WordPress.com account with your username and password.

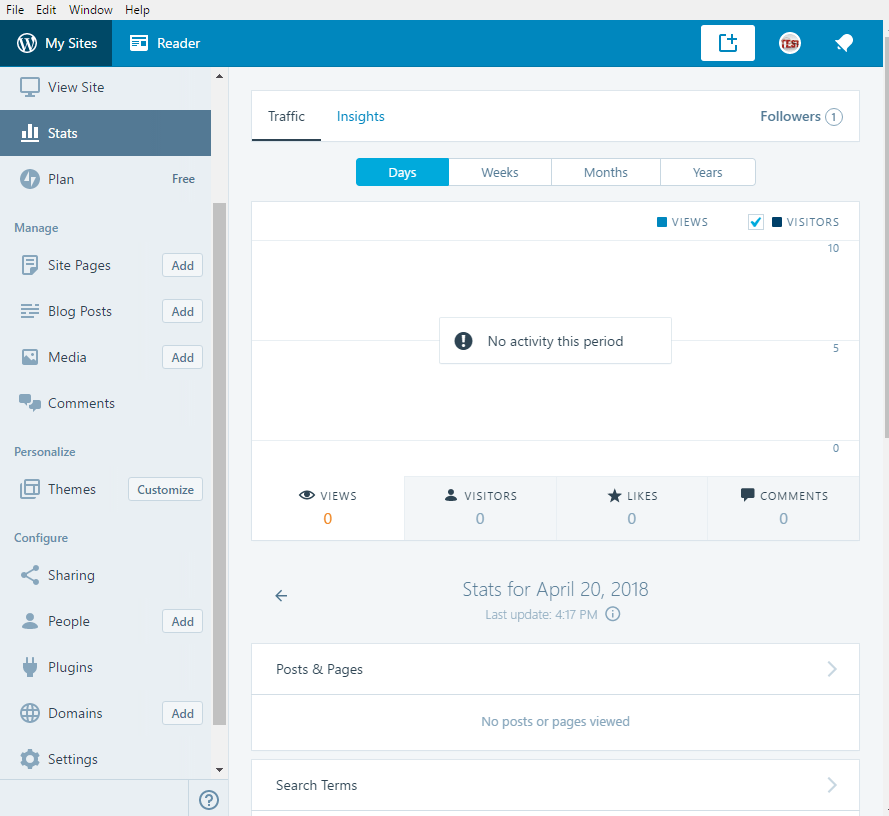
Ready, now you can see the WordPress.com dashboard on your computer – all the required functionality settings are gathered in the left sidebar, while the right side of the screen shows your posts and an option to write more.
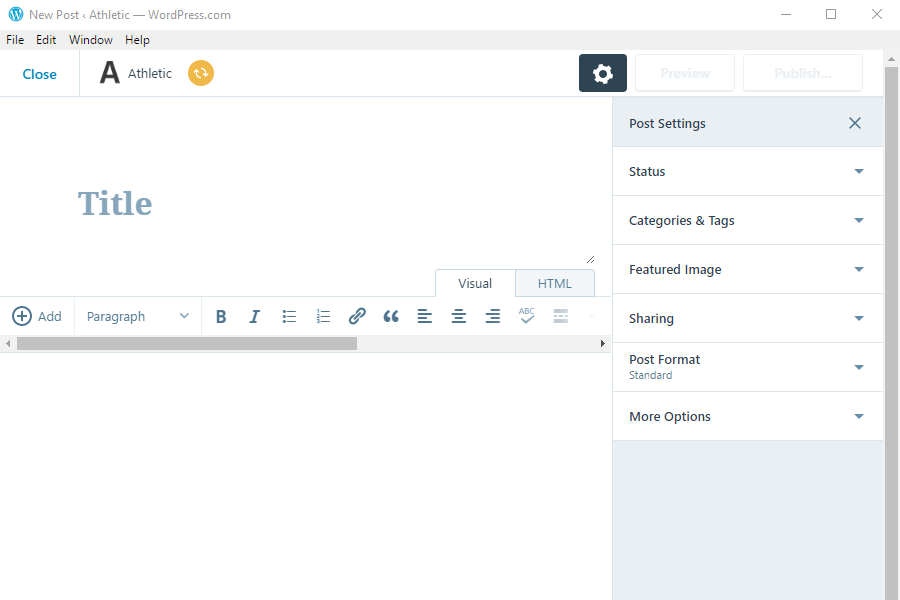
During the post writing, the right-side panel also allows you to define the post status, post scheduling, categories and tags, featured image, etc.
In addition, except for writing the posts, you may install or delete custom themes and plugins directly from the APP, manage the comments, create new users and much more. It’s a great tool for online-bloggers, as it even has the Sharing section that can be configured to automatically share new posts on social media.
The only thing you should keep in mind, is that the APP is just the way to manage your live website, so it requires instant connection with the site – means, it can not save your posts to the computer, but needs Internet connection to publish the posts on the blog.
That’s actually all, we hope this step-by-step guidance was useful for you. Feel free to play around with the settings, and wish you lot of subscribers! Also, you may check our blog to learn more tweaks on how to manage your WordPress website as a guru of the web design!
You may be looking for more website building options, so look through WordPress Themes.
