


- Web templates
- E-commerce Templates
- CMS & Blog Templates
- Facebook Templates
- Website Builders
FAQs
General Tutorials
Featured templates
MonsterONE Subscrioption


Our Support team is ready to present you a new tutorial that will show you how to set up and configure a gallery page in Joomla.
Joomla 3.x. How to set up and configure a gallery page
Gallery page is a Gallery View type menu item that will display articles from specific category.
Navigate to Content > Category Manager > Add new. Add a new category. In case you would like to have a filter with subcategories, you will need to create subcategories in Category Manager as well, select the main category as parent for subcategories:
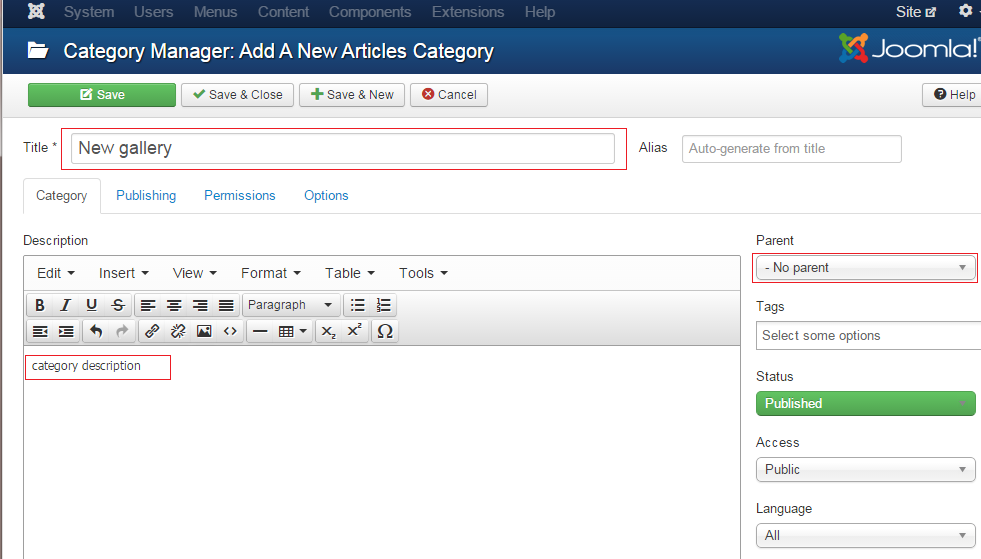
Click on Save when you are done.
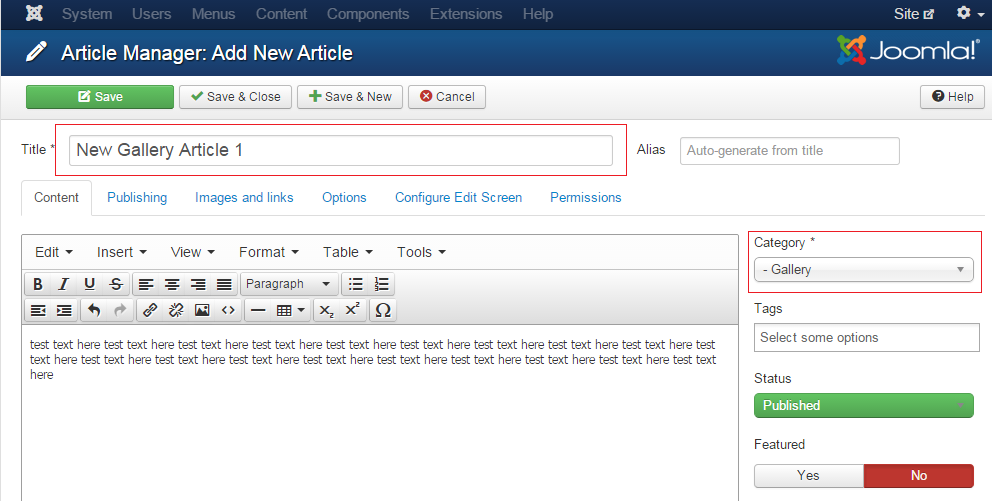
Now you will need to create gallery articles and assign them to the created category (or its subcategories). Navigate to Content > Article Manager > Add new. Type in your title, article text and select the category on the right:
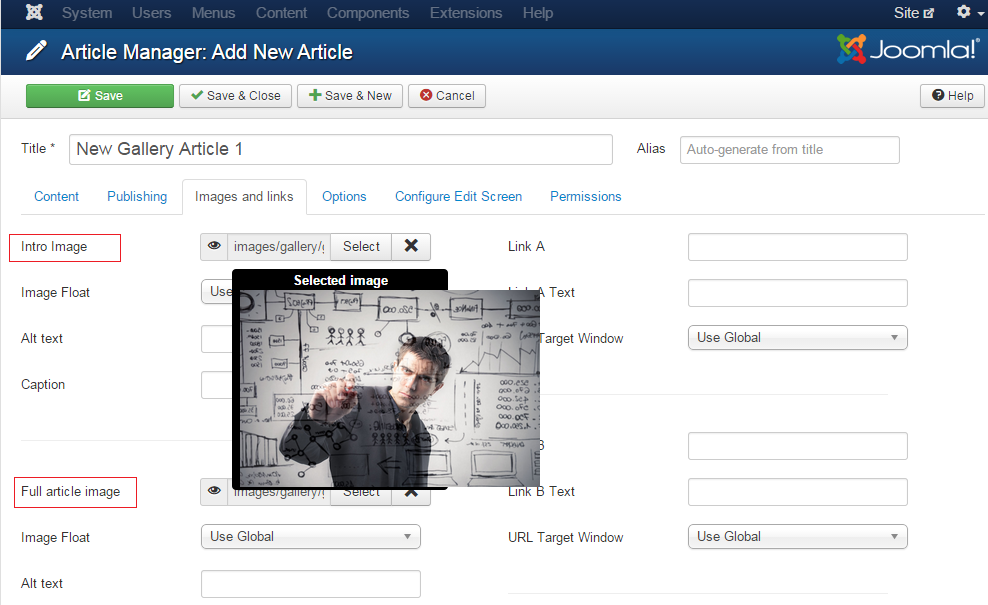
Open Images and links tab, select the Intro Image and Full article image:
In options tab, scroll down and make sure to set the Alternative Layout to Gallery. Other Options can be set to Use Global or configured according to your needs.
When you are done with creating articles and assigning them to category, you will need to create a new menu item.
Navigate to Menus > Main menu (or your menu title) > Add new.
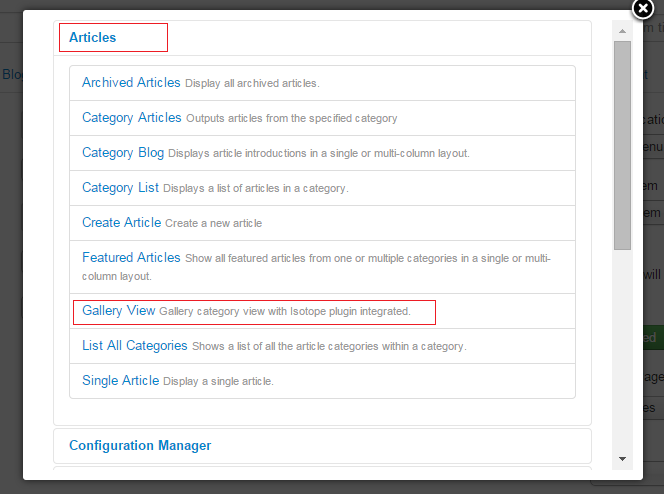
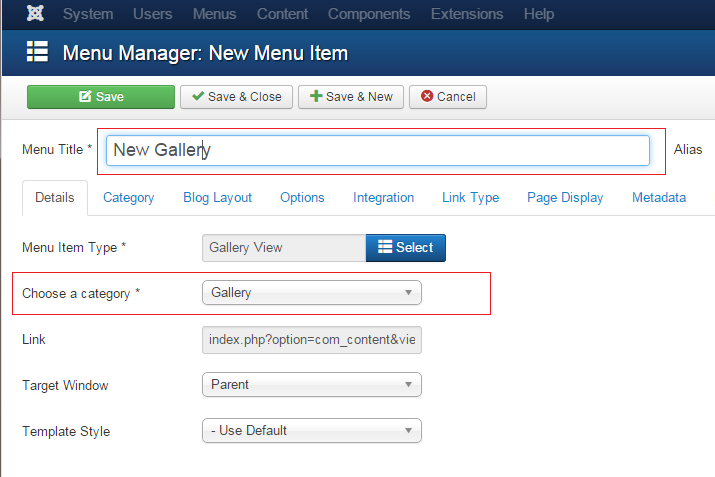
Click on Select next to Menu Item Type *, select Articles > Gallery View:
Type in your title, select a category you have created:
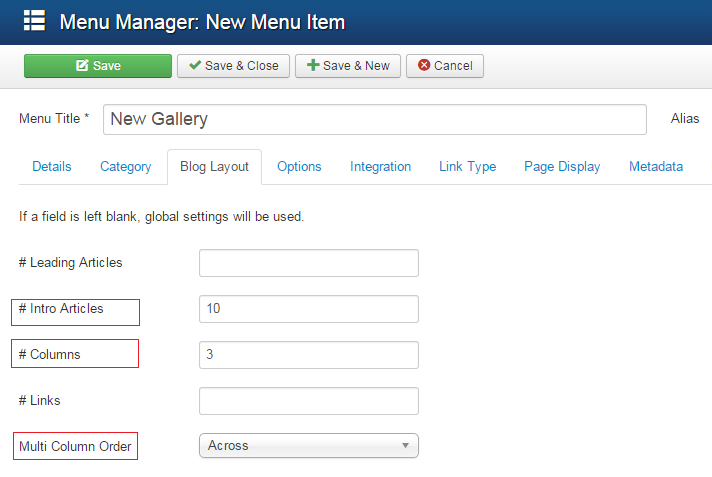
Click on Blog Layout tab. Fill in the #Intro Articles and #Columns fields with the number of articles you would like to display on the page and number of columns you would like to have, select Across for Multi Column Order. Other Options can be set to Use Global or configured according to your needs:
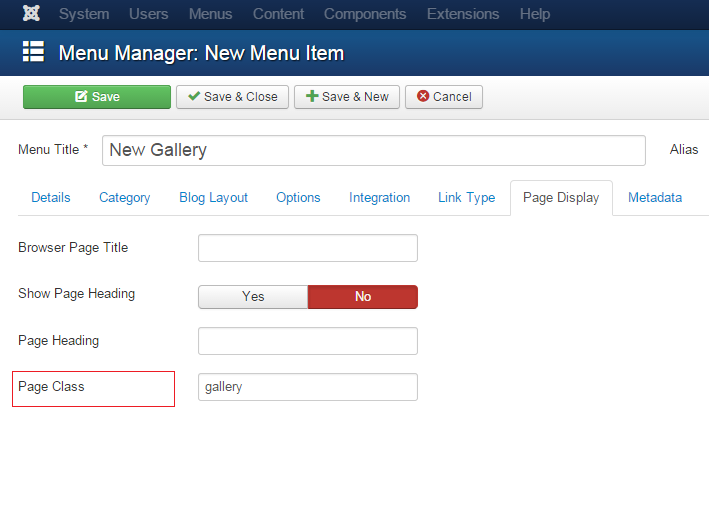
In Page display tab, add Page class – gallery:
Save the menu item when you are done.
Check the result on your site.
Feel free to check the detailed video tutorial below:
Joomla 3.x. How to set up and configure a gallery page
.jpg)
