


- Web templates
- E-commerce Templates
- CMS & Blog Templates
- Facebook Templates
- Website Builders
FAQs
General Tutorials
MonsterONE Subscrioption


The following tutorial is going to show how to manage banners in Loaded 7 templates.
Loaded 7. How to manage bannersLog into your Loaded 7 admin panel (by default admin panel URL looks like www.site.com/admin, where www.site.com is your webstore URL).
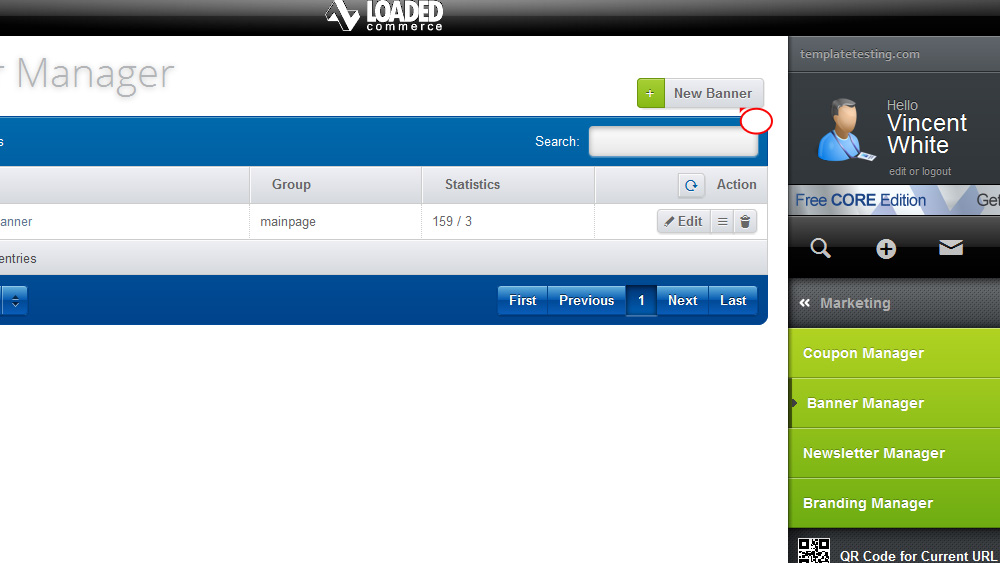
Navigate to Marketing->Banner Manager.

To add a new banner, click the New Banner button.
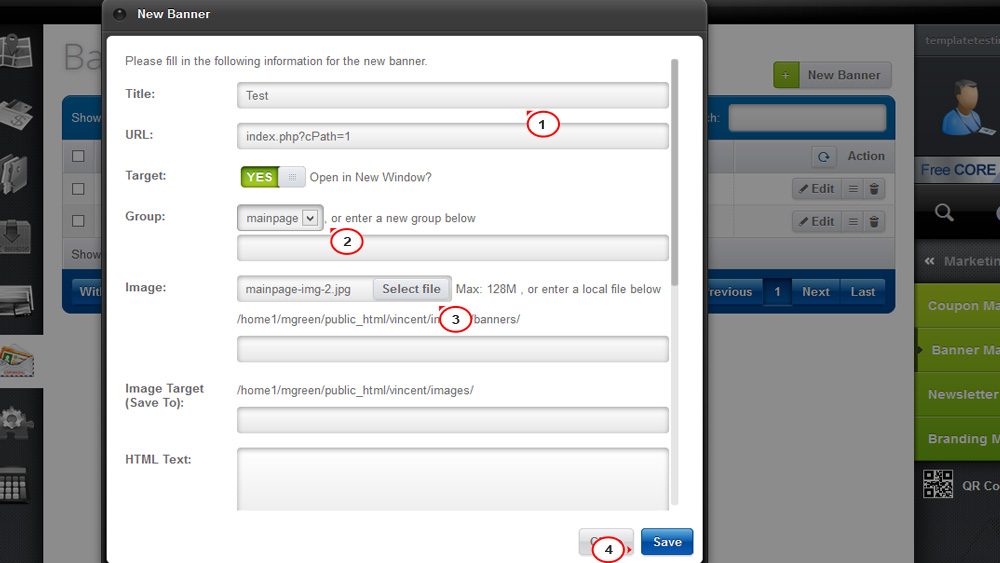
 You will be able to edit the following data in the pop up which will appear:
Title: Enter the title of your banner.
URL: Type in the URL link for the new banner.
Target: Decide whether the banner opens in a new window or not.
Group: Select one of the existing groups or create your new banner group
Image: If the banner is an image file located in your computer, click the Select button and browse the image or enter the local command path for the image.
Image Target (Save To): If you have it, enter the path for the Image Save To location.
HTML Text: If the banner is HTML code generated, type or copy and paste the code here.
Scheduled Date:/Expiry Date: Enter the scheduled start date, followed by the expiration date.
Maximum Impressions: Enter the maximum number of impressions, or page views, that the banner will be active for.
Active: Enable or disable your banner.
After filling in all the data, click the Save button to save the changes.
NOTE: Please, scroll down to the bottom of the dialog box and check the following notes for some additional information:
Banner Notes;
Image Notes;
Expiry Notes;
Schedule Notes;
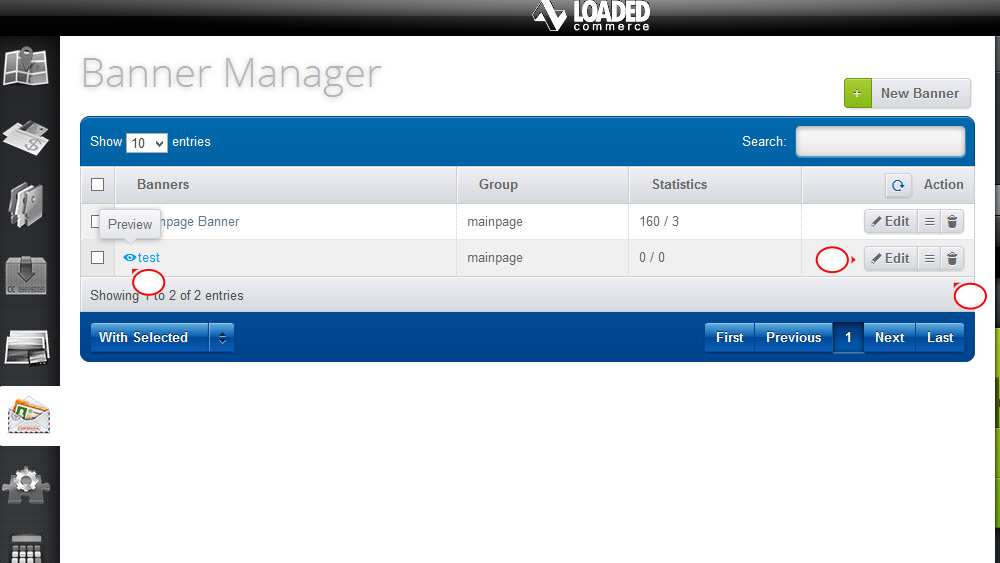
Press the Preview button or check the front end to see how your new banner looks.
If you need to edit an existing banner, just click the Edit button in the Marketing->Banner Manager menu. You will get the same dialog box as the Add a New Banner one. You can follow the above steps, changing the information that you need. Then press the Save button to confirm.
Deleting a Banner. In the Marketing->Banner Manager menu, check the banner you need from the list and click the Delete button.
 Confirm deleting. We’ve just removed a banner we do not need.
Feel free to check the detailed video tutorial below:
Loaded 7. How to manage banners