


- Web templates
- E-commerce Templates
- CMS & Blog Templates
- Facebook Templates
- Website Builders
FAQs
General Tutorials
MonsterONE Subscrioption


The following tutorial is going to show you how to work with Category pages.
Loaded 7. How to work with Category PagesAdding a new category
Log into your website admin panel.
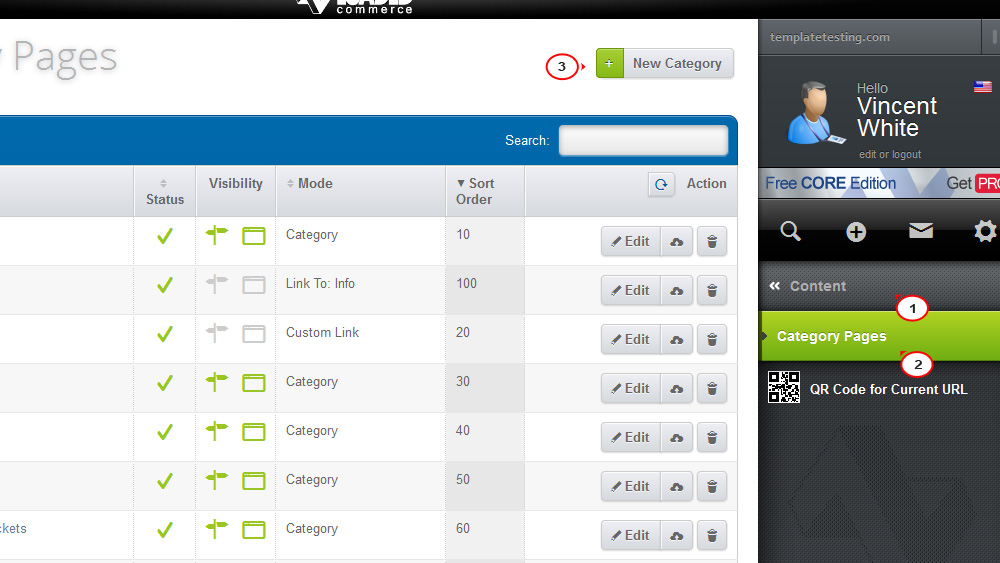
Navigate to the Content-> Category Pages menu and click the New Category button.
When the New Category Page gets opened, you will need to fill in the new category with your data. The category information is divided into two tabs:
Content
Upload the image for your new category. Either drag the image file from your file manager to the Drag and Drop section, or click the Upload a File button and browse the required image file on your desktop. When you upload the correct file, a preview of the image will appear.
Enter the Title for your new category. You can use up to 26 characters and spaces.
Fill in the category Nick, the shortened form of the title that will appear in the menu listing. It is limited to 21 characters and spaces.
Type the Listing blurb of your new category (that is a short description of the category).
Add the description of the category into the Content field.
The Permalink option allows to create a search friendly link to your category.
Add Meta Keywords for search engine optimization.
Product Category – a page with a product listing.
Information Category – a category for the information pages.
Page – a static page with some content.
Link To – default links to the Loaded 7 core pages.
Custom Link – additional links to the webpages you need.
Choose the parent category or leave your new category to be the root one in the Parent field.
Decide if you want the category to be enabled or not.
Set the Visibility of the new category.
Page only type allows to make your category to be a Standard HTML page, Photo album or FAQ.
In Data, you can configure category Access and Management settings if you have the required Loaded 7 version.
Click Save or Save & Close to save the new category.

Editing a category
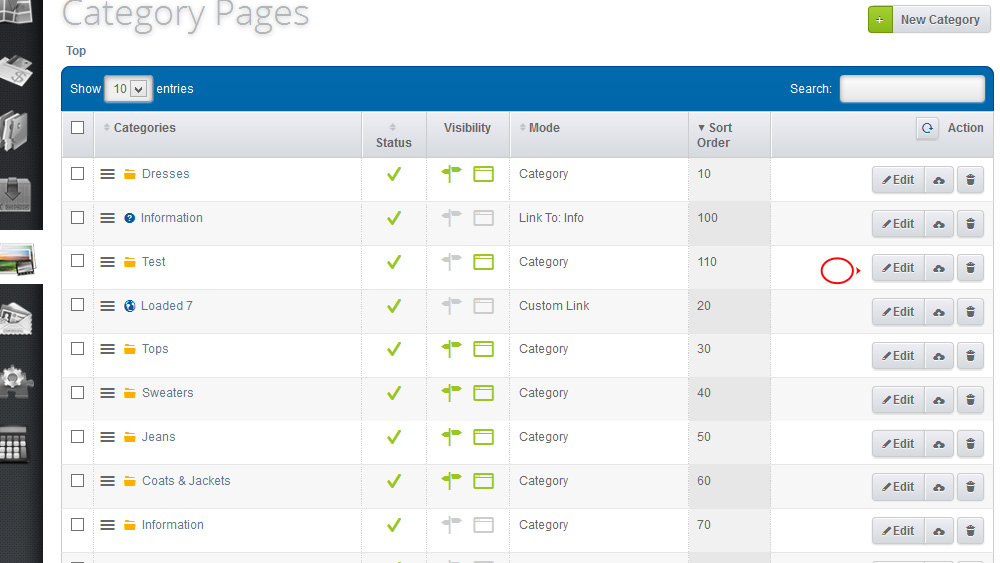
Click the Edit button for the category you are going to modify.
Change the information in the fields you need.
Click the Save or Save & Close button to save the changes.
Moving a category
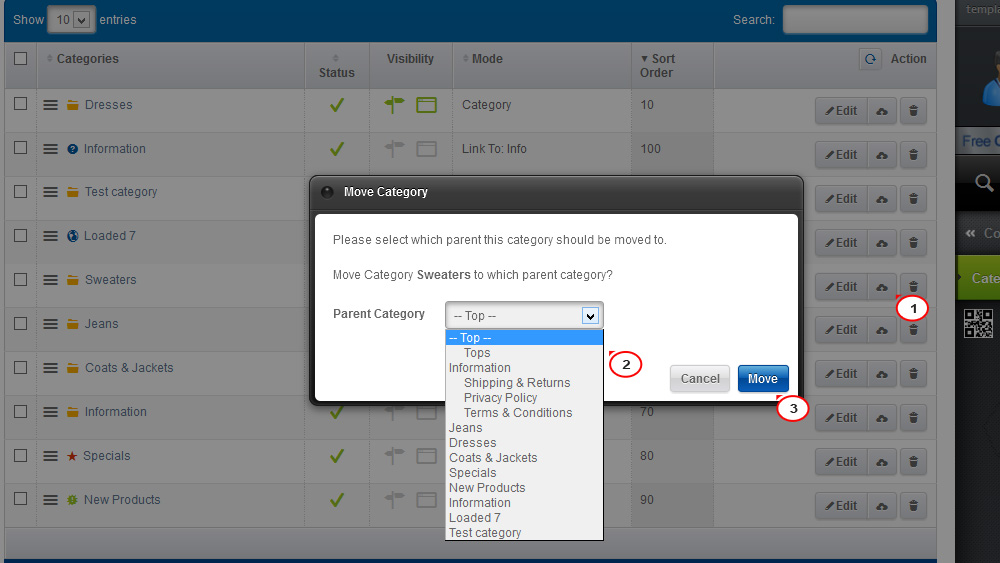
To move a category under some other parent category, click the Move button.
Select the category you are moving the item to with the drop-down menu when the pop up window appears.
Click the ‘Move’ button to confirm your request.
Deleting a category
Click the Delete button for the category you would like to delete.
Click Delete in the pop up window to confirm the removal.
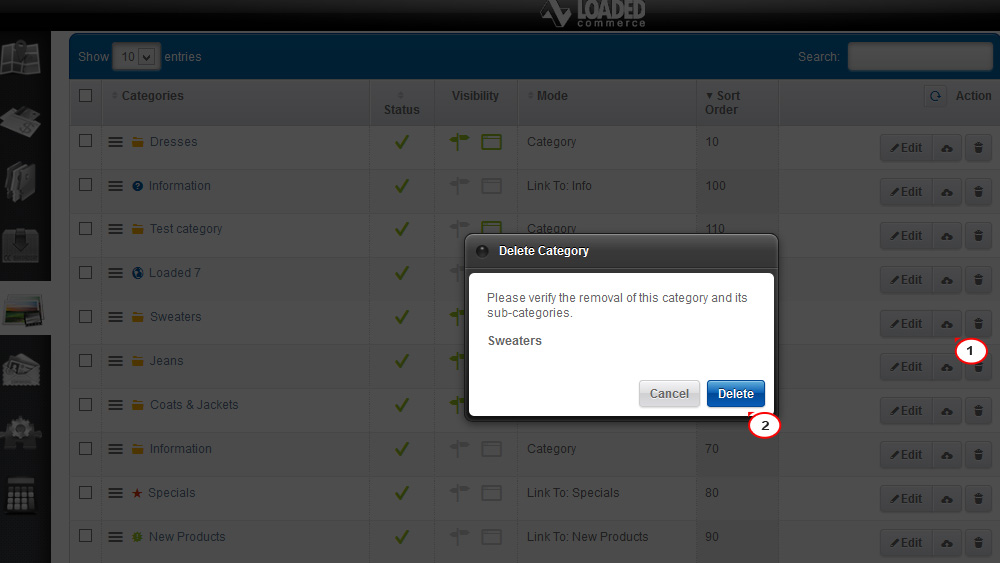
NOTE: When you click Delete, not only the following category, but all sub-categories attached to it will be deleted as well.
Check your website front end. We managed to add a new category and to remove the old one successfully.
Feel free to check the detailed video tutorial below:
Loaded 7. How to work with Category Pages