


- Web templates
- E-commerce Templates
- CMS & Blog Templates
- Facebook Templates
- Website Builders
FAQs
General Tutorials
Featured templates
MonsterONE Subscrioption


This tutorial will show you how to add links to slides in your Magento store.

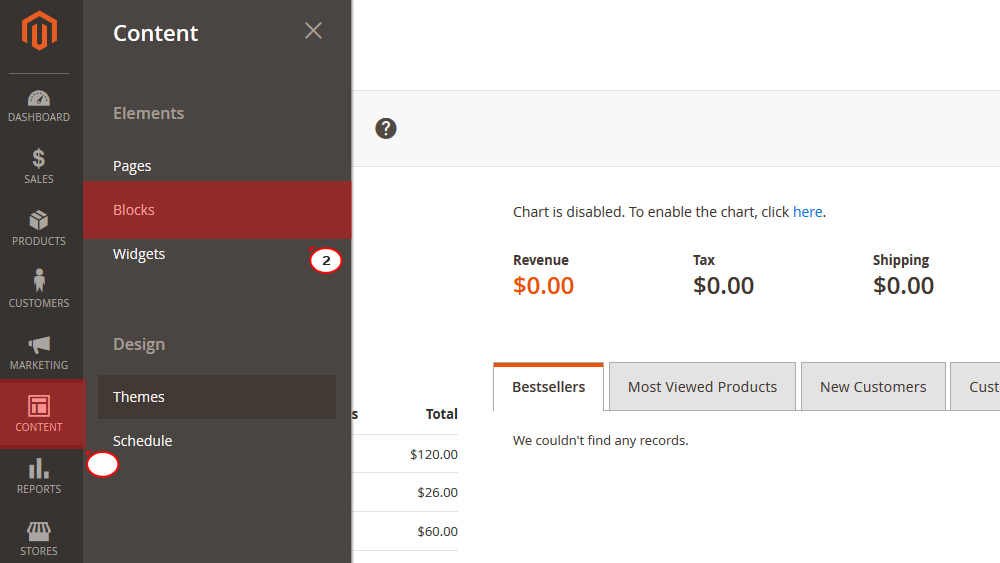
Open Magento Admin Panel and navigate to the Content -> Blocks -> Slider block section. Then click on the Edit button.

Locate the line for the slider picture. It usually looks as follows:
<div class="slide" data-src="{{media url="wysiwyg/slide-1.jpg"}}">
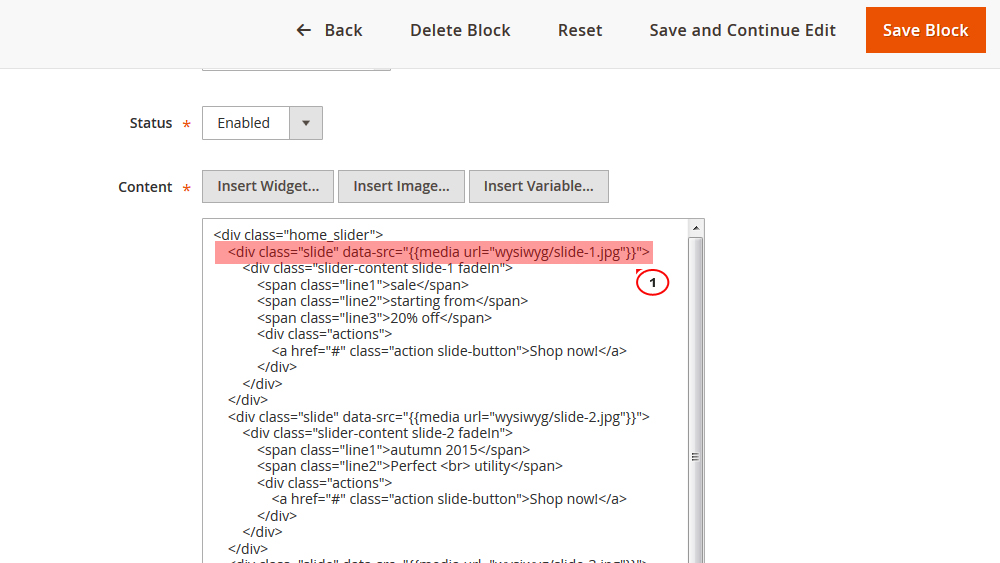
Add the data-link=”###” to the line, right before the closing tag. Replace ### with the actual URL key of the required page on the website:
<div class="slide" data-src="{{media url="wysiwyg/slide-1.jpg"}}" data-link="{{store_url}}women.html">Alternatively, you may use an external link instead. In this case format of the URL should be as follows:
<div class="slide" data-src="{{media url="wysiwyg/slide-1.jpg"}}" data-link="http://www.your_website_url.com">Save changes once you are done with all the modifications:
Refresh your website to see the changes applied.
Feel free to check the detailed video tutorial below:
Magento 2.x. How to assign links to slides