


- Web templates
- E-commerce Templates
- CMS & Blog Templates
- Facebook Templates
- Website Builders
FAQs
General Tutorials
Featured templates
MonsterONE Subscrioption


This tutorial is going to show you how to add more slides to slider in Magento.
Magento. How to add more slides to slider
In order to add more slides to slider, you should perform the following steps:
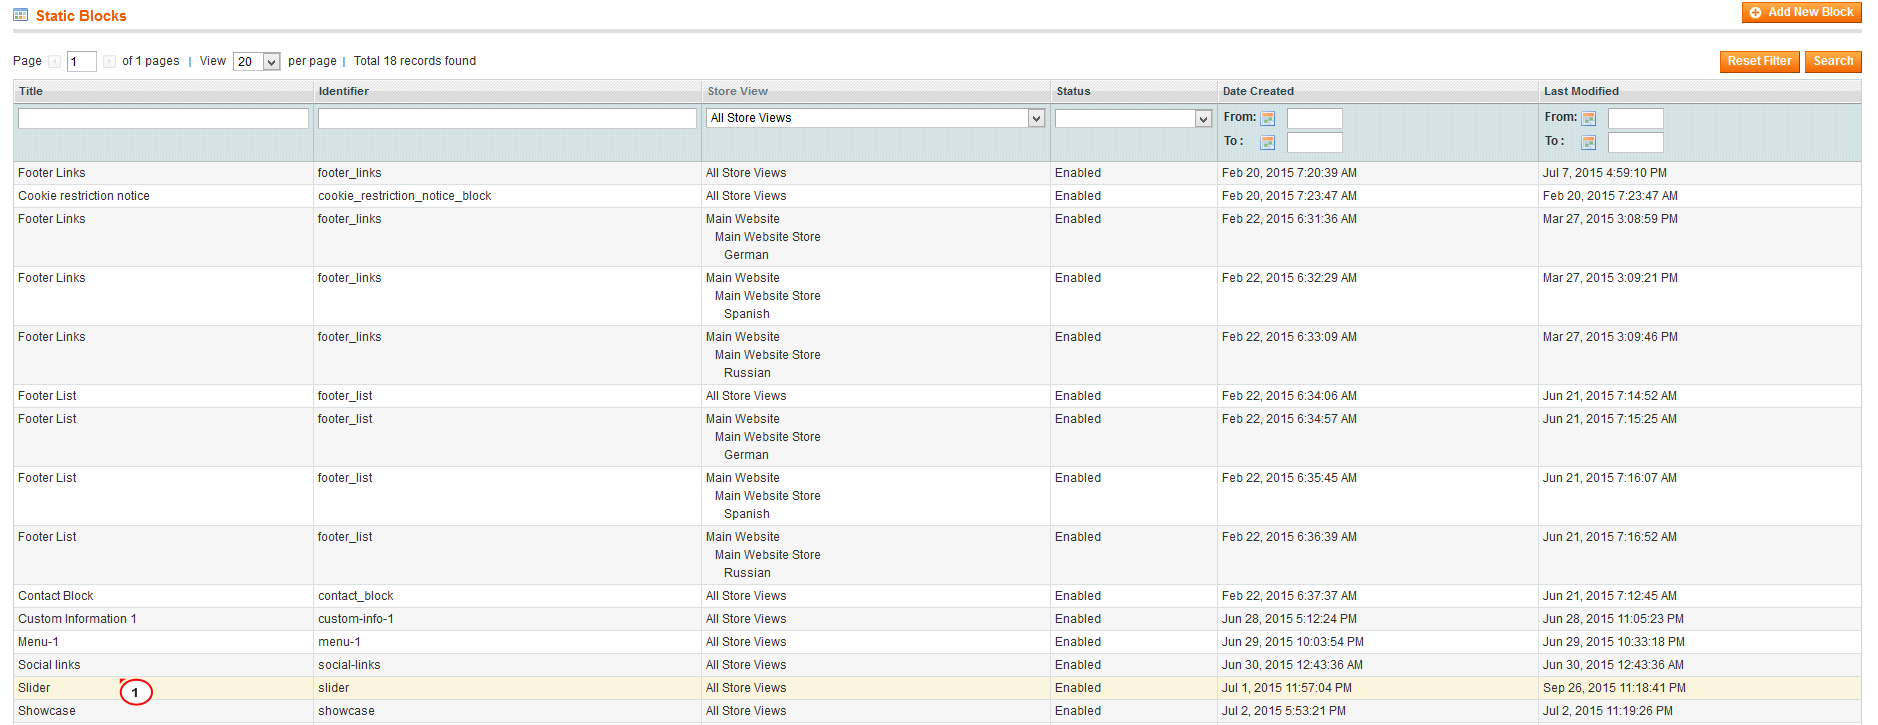
Open admin section, go to CMS->Static Blocks:
![]()
Find Slideshow block and open it:
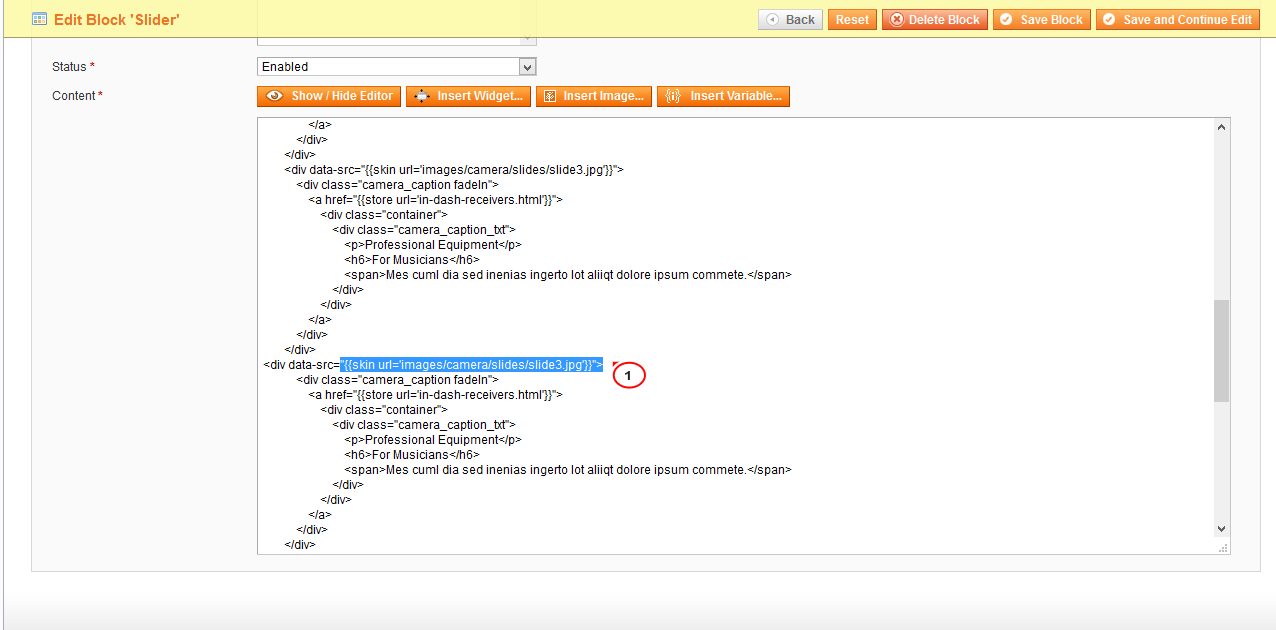
Open Content field. There you will find code for slider:

In order to add new slide, you need to copy part of the code that is related to the slide. Copy the following code and locate it above or below of the existing code:
           <div data-src="{{skin url='images/camera/slides/slide3.jpg'}}">
               <div class="camera_caption fadeIn">
                 <a href="{{store url='headphones.html'}}">
                  <div class="container">
                   <div class="camera_caption_txt">
                     <p>The Best</p>
                      <h6>Musical Instruments</h6>
                       <span>Mes cuml dia sed inenias ingerto lot aliiqt dolore ipsumcommete.</span>
                       </div>
                       </div>
                       </a>
                     </div>
                   </div>

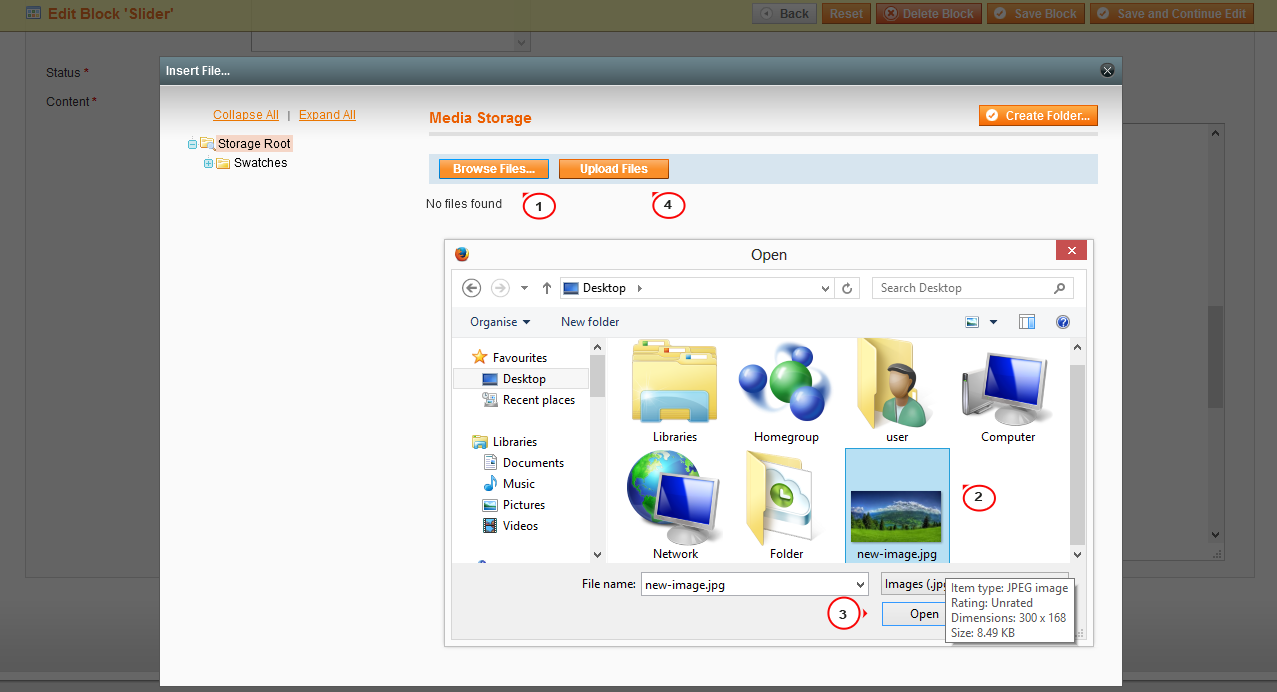
In order to display new image in slider, start from the new line. Navigate to the Top menu and click on Insert Image button. Press Browse button and click on Upload button in order to download a new image from your computer:
Select new image and press Insert File in the right corner of the form:
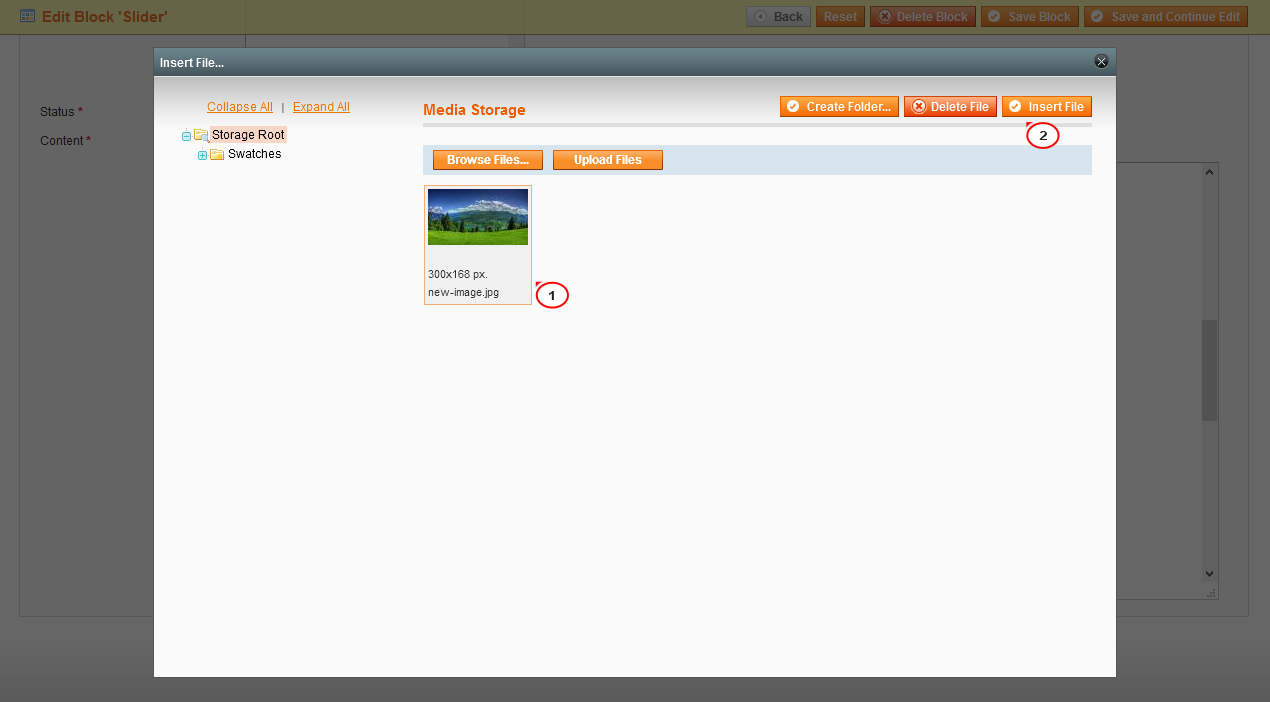
After that steps you will get directory for new image:
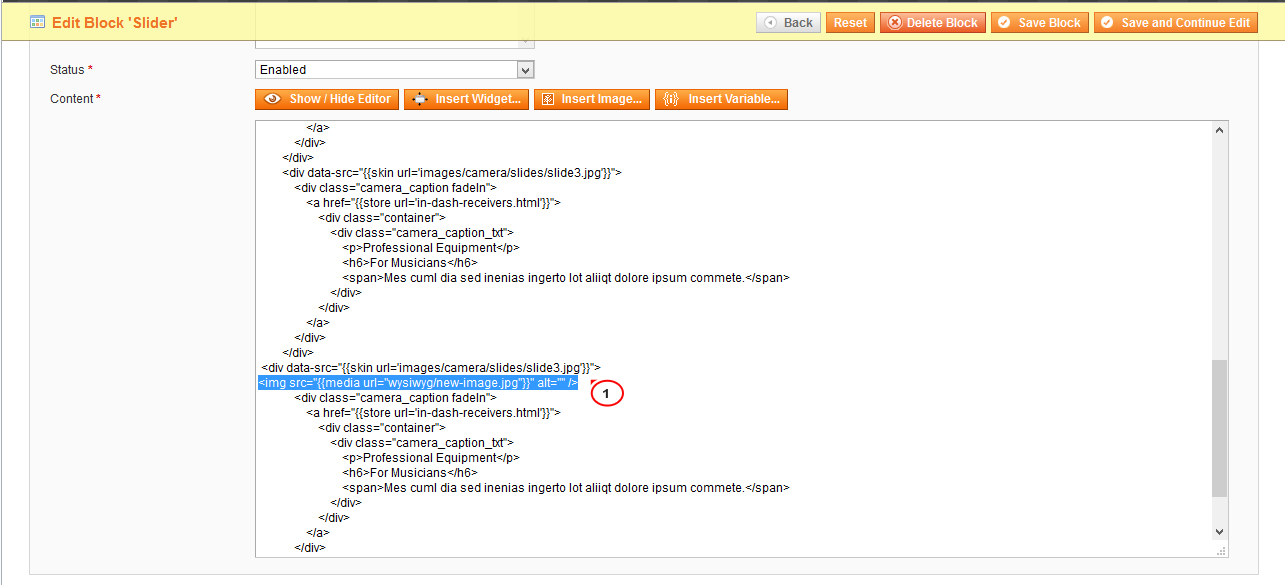
In order to display the new image in slider, replace “{{skin url=’images/camera/slides/slide3.jpg’}}”> with newly created directory “{{media url=”wysiwyg/new_image.jpg”}}” alt=”” />. Keep original coding structure:

Remove all parts of code that we will not use: <img src.
After all changes, code should look in such a way:
           <div data-src="{{media url="wysiwyg/new_image.jpg"}}" alt="" />
               <div class="camera_caption fadeIn">
                 <a href="{{store url='headphones.html'}}">
                  <div class="container">
                   <div class="camera_caption_txt">
                     <p>The Best</p>
                      <h6>Musical Instruments</h6>
                       <span>Mes cuml dia sed inenias ingerto lot aliiqt dolore ipsumcommete.</span>
                       </div>
                       </div>
                       </a>
                     </div>
                   </div>
Save changes and refresh your website. Now we can see that slide is added.
Also you can add a new slide in the following way:
Change name of image in skin url directory for example from slide3.jpg to slide4.jpg .<div data-src=”{{skin url=’images/camera/slides/slide4.jpg’}}”>. Keep original coding structure:

Upload new image with name slide4.jpg in the following directory: skin/frontend/themes/themeXXX/images/camera/slides/.
Save changes. Now we can see that new slide is added.
.jpg)
Feel free to check the detailed video tutorial below:
