


- Web templates
- E-commerce Templates
- CMS & Blog Templates
- Facebook Templates
- Website Builders
FAQs
General Tutorials
Featured templates
MonsterONE Subscrioption


In this tutorial we will show you how to manage Olark Live Chat extension in Magento.
Magento. How to manage Olark Live Chat extension
Olark Live Chat lets you answer the customers’ questions immediately while they keep shopping. Additionally, you can see how your customers browse your store, what is in their carts, and what they are looking at.
In order to add the Olark Live Chat to your Magento store, follow these steps:
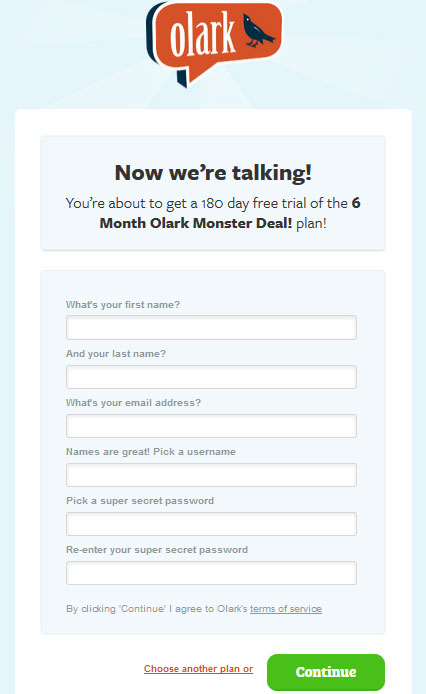
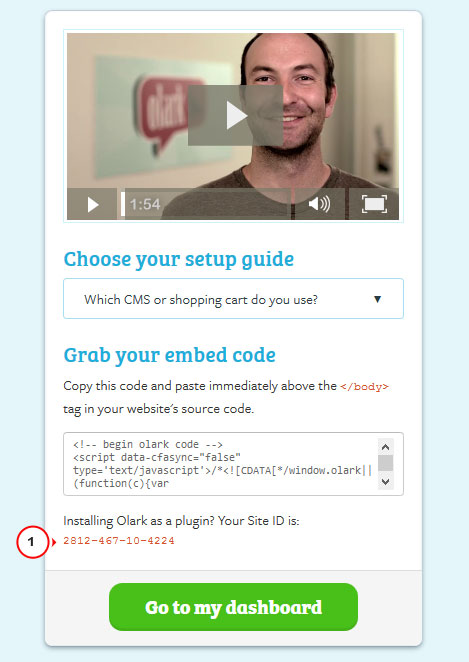
Create an account on the official Olark site in order to get a special Olark Site-ID which allows to use on-line chat built in the template.
Note! You can get a free trial 6-month bronze package. In order to get it, follow the link, fill in your registration data:
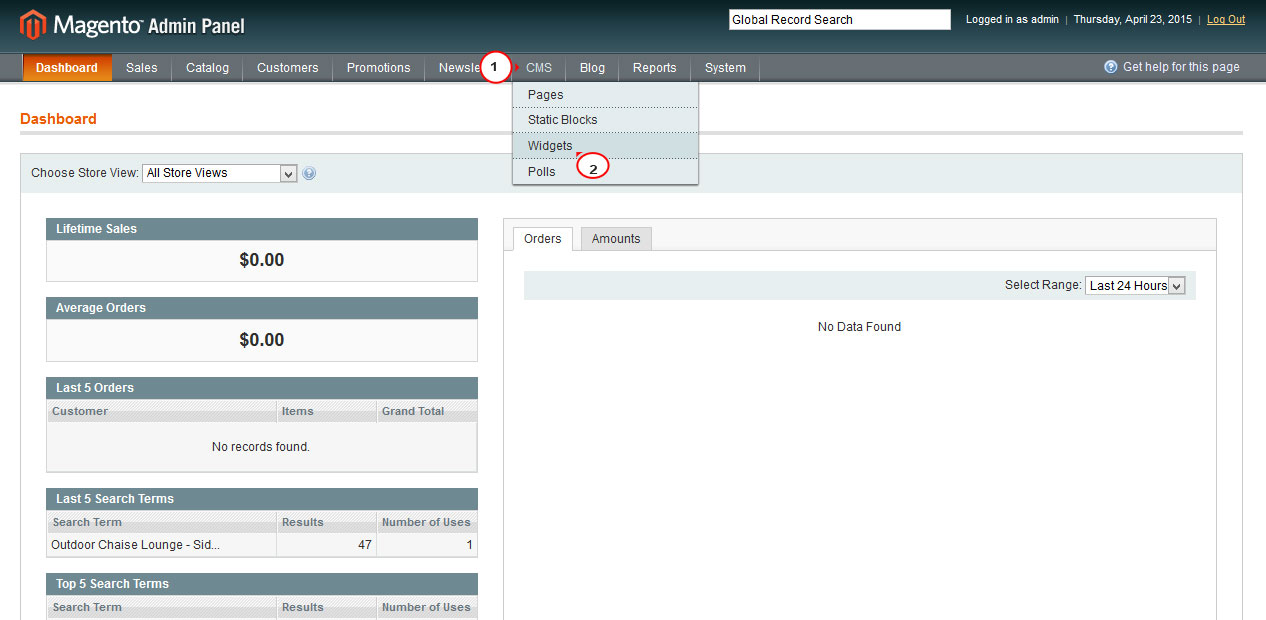
Log into your admin panel, and go to CMS->Widgets section:
Press the Add New Widget Instance button in the top right of the page:

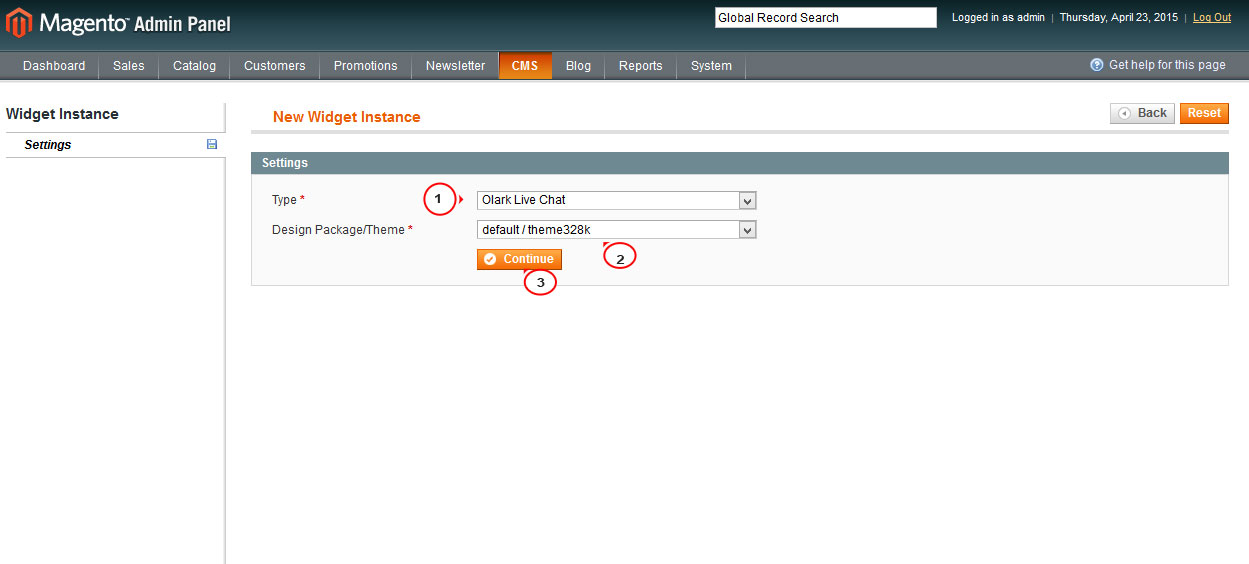
In the Type drop-down menu select the Olark Live Chat option, choose your theme in the Design Package/Theme and click the Continue button:
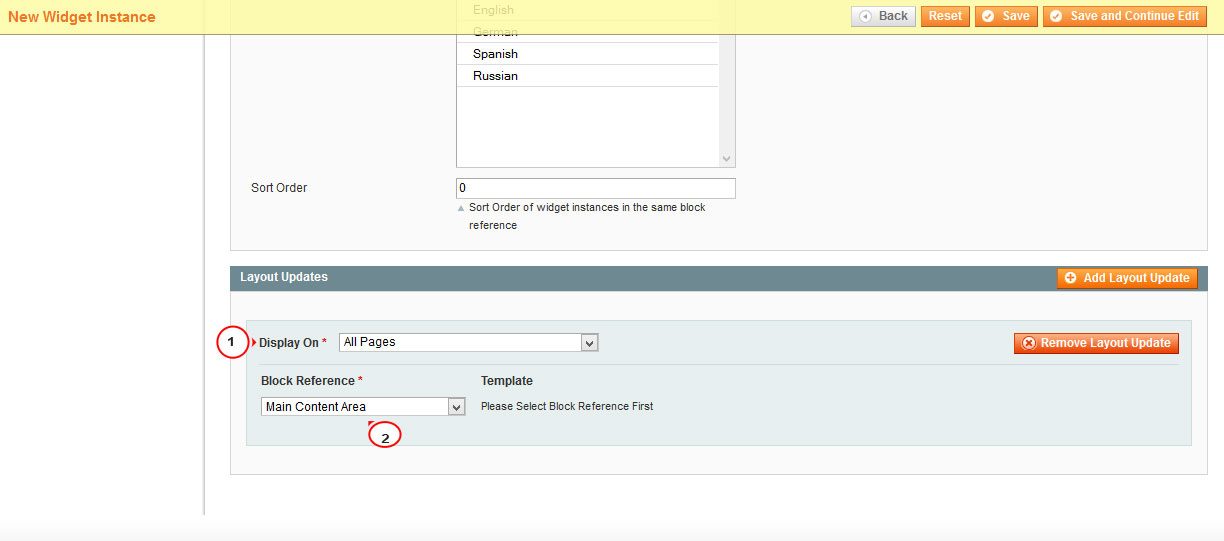
Input the widget name in the Widget Instance Title field, assign it to a definite store view or to all of them, then press the Add Layout Update button:

In the field Display On you have to select All pages. For the field Block Reference select the Main Content Area:
Get the Olark Site-ID from your created account:
Return to the Widget Options tab in your admin panel and input the copied ID into the required field, press the Save button in the top right:

You may need to clear Magento cache in case some cache types got invalidated:

The Olark Chat widget should appear in the bottom of your site:

For more details check the following instruction:
.jpg)
We hope the tutorial was useful for you. Feel free to check the detailed video tutorial below:
