


- Web templates
- E-commerce Templates
- CMS & Blog Templates
- Facebook Templates
- Website Builders
FAQs
General Tutorials
Featured templates
MonsterONE Subscrioption


In this tutorial you will learn how to set number of columns in category listing in Magento template(s).
Magento. How to set number of columns in category listing (for Magento 1.8.x+ templates)
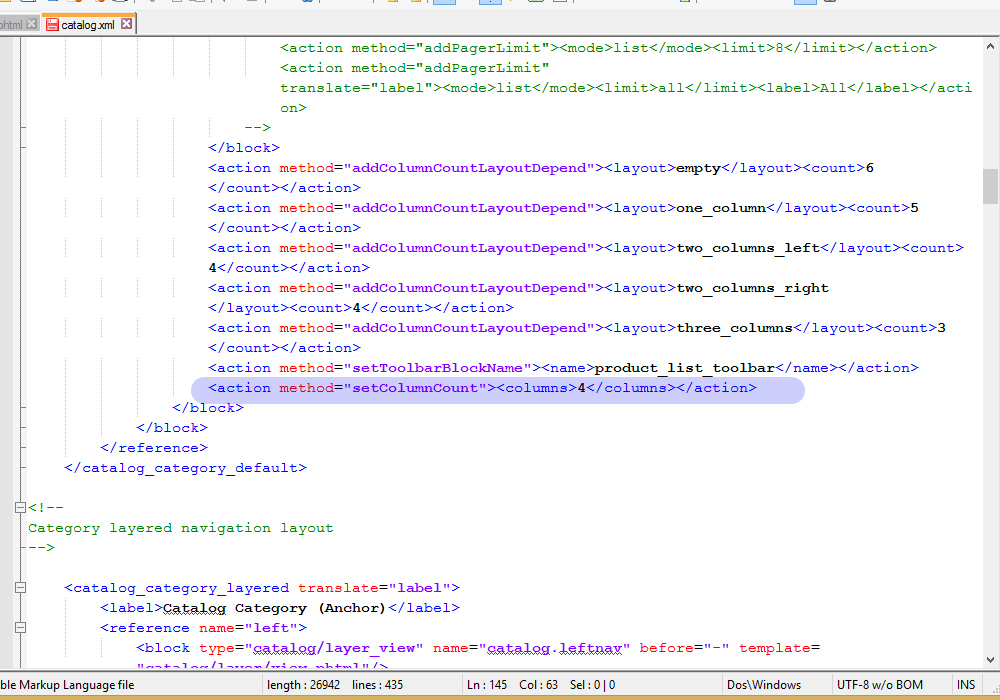
Using your file manager, go to app/design/frontend/default/themeXXX/layout/catalog.xml file:

Here, we can set number of columns for Anchor and/or non-Anchor categories.
Find the following code:
<action method="setColumnCount"><columns>3</columns></action>
Change it to the following:
<action method="setColumnCount"><columns>4</columns></action>
Save this file and upload to the server.
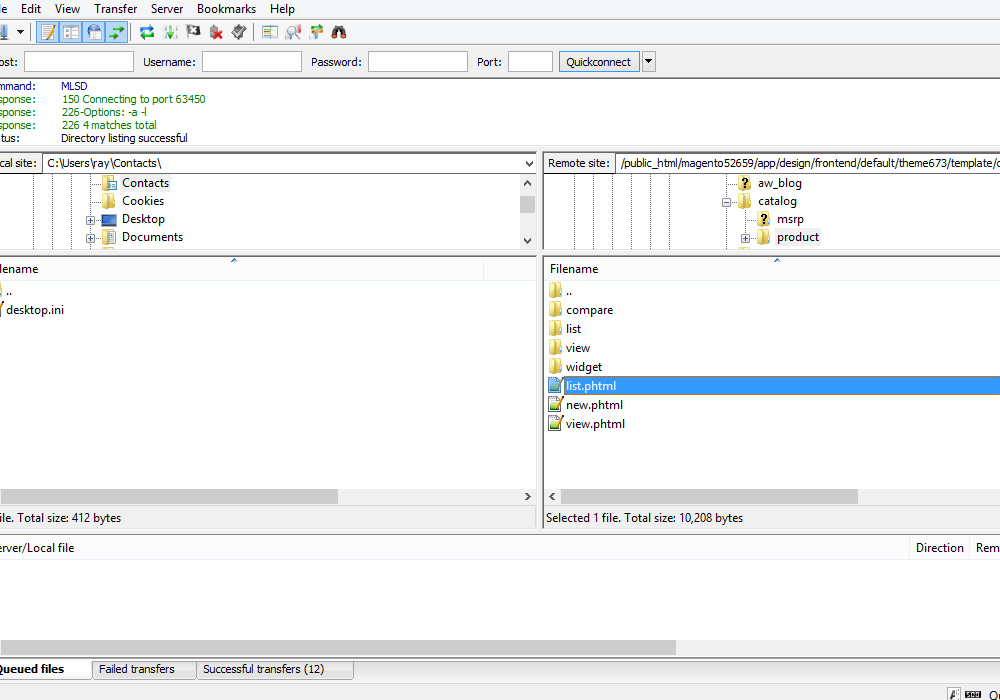
Now open app/design/frontend/default/themeXXX/template/catalog/product/list.phtml file:
We need to edit the code for “Grid Mode”.
Under the “products-grid row” class, find the following code: col-xs-12 col-sm-4:
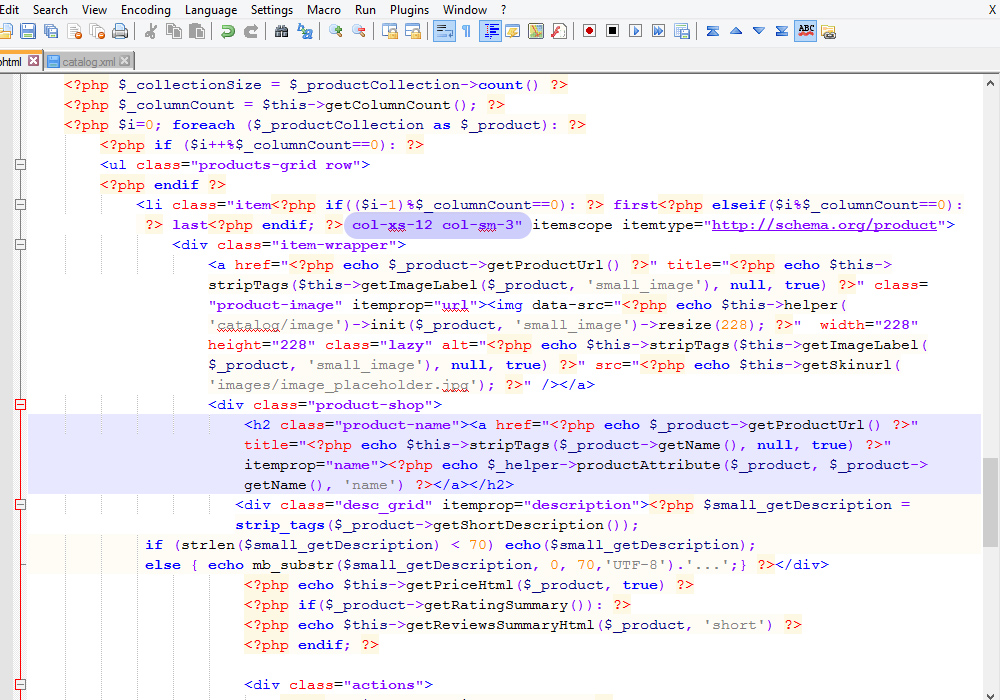
Change it to: col-xs-12 col-sm-3.
Save this fie and upload to the server.
Reload your site to see the changes.
Thank you for reading this video tutorial. Now you know how set number of columns in category listing in Magento template(s).
.jpg)
Feel free to check the detailed video tutorial below:
Magento. How to set number of columns in category listing (for Magento 1.8.x+ templates)
