


- Web templates
- E-commerce Templates
- CMS & Blog Templates
- Facebook Templates
- Website Builders
FAQs
General Tutorials
Featured templates
MonsterONE Subscrioption


Hello! This video tutorial shows how to install Monstroid 2 default skin.
The tutorial assumes you are already logged in to your WordPress dashboard.

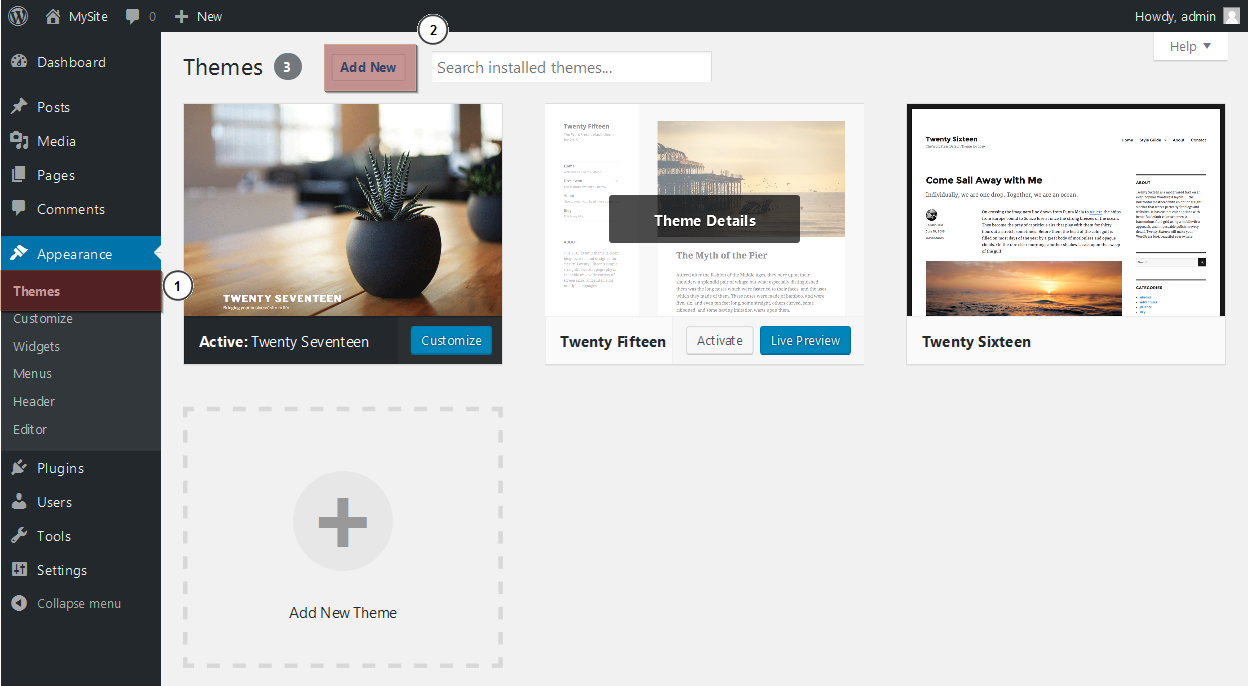
Navigate to Appearance ->Themes tab and click “Add New” button at the upper left:
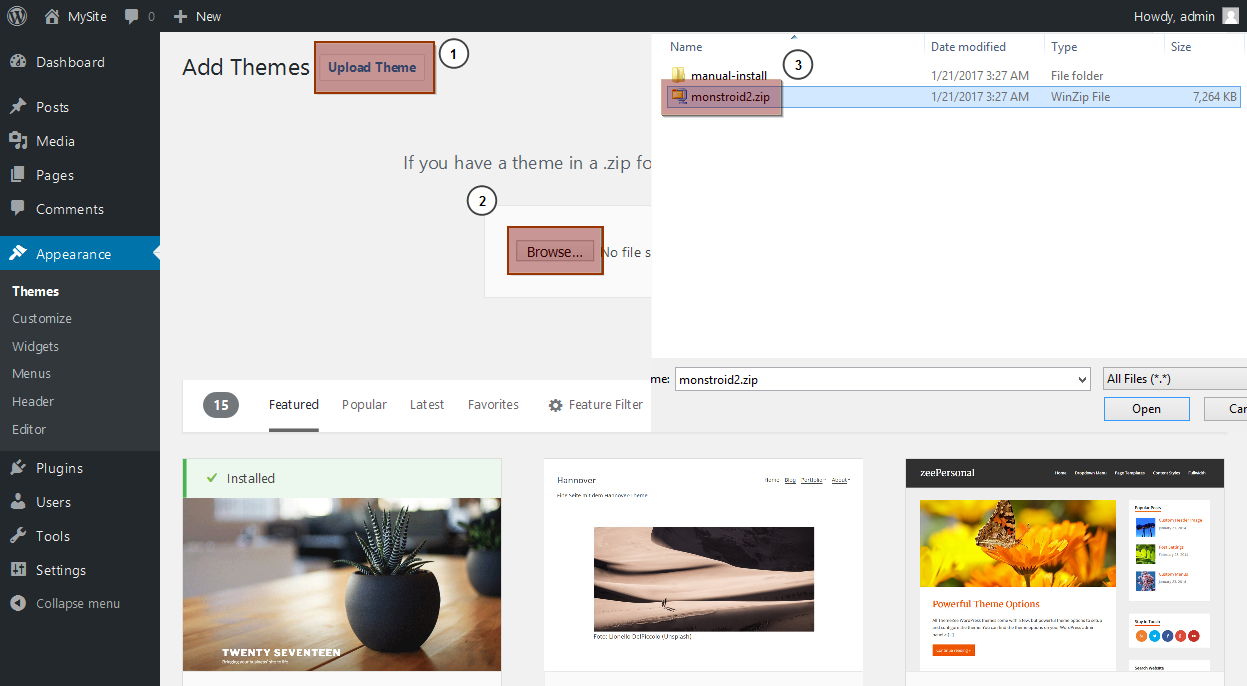
At the appeared screen click “Upload Theme” button, then click “Browse…” button and choose the monstroid2.zip file from the “theme” folder of your template package:
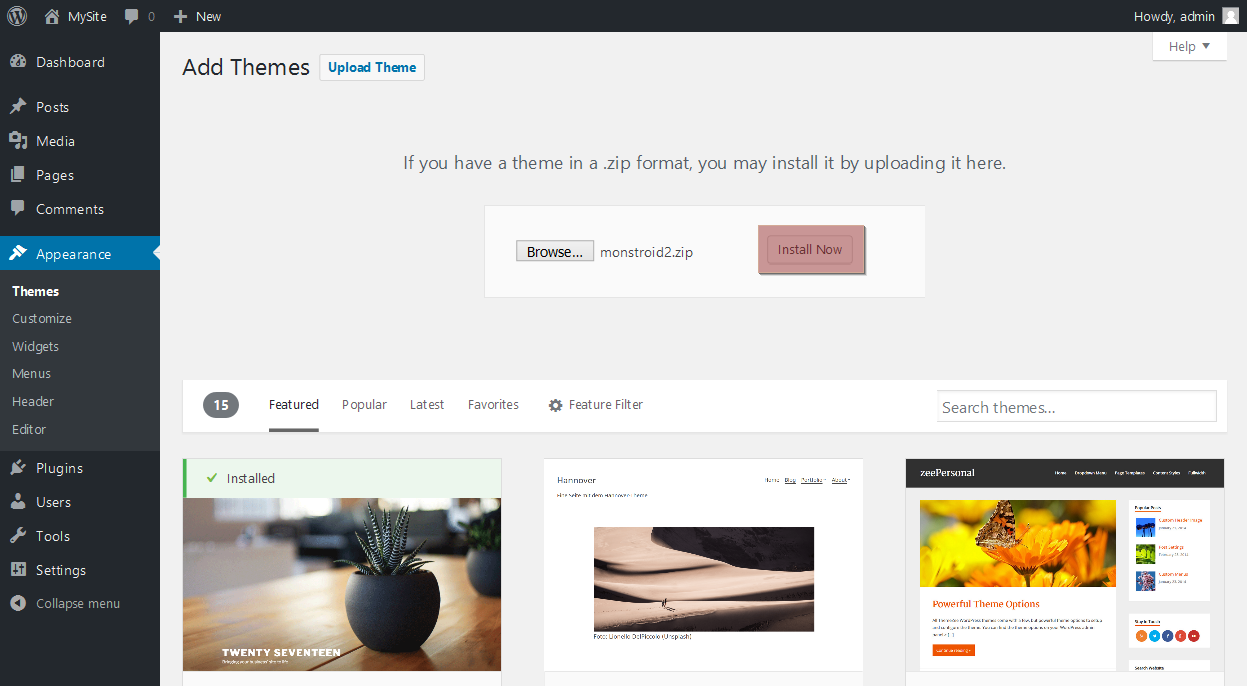
Then, click on the “Install Now” button:
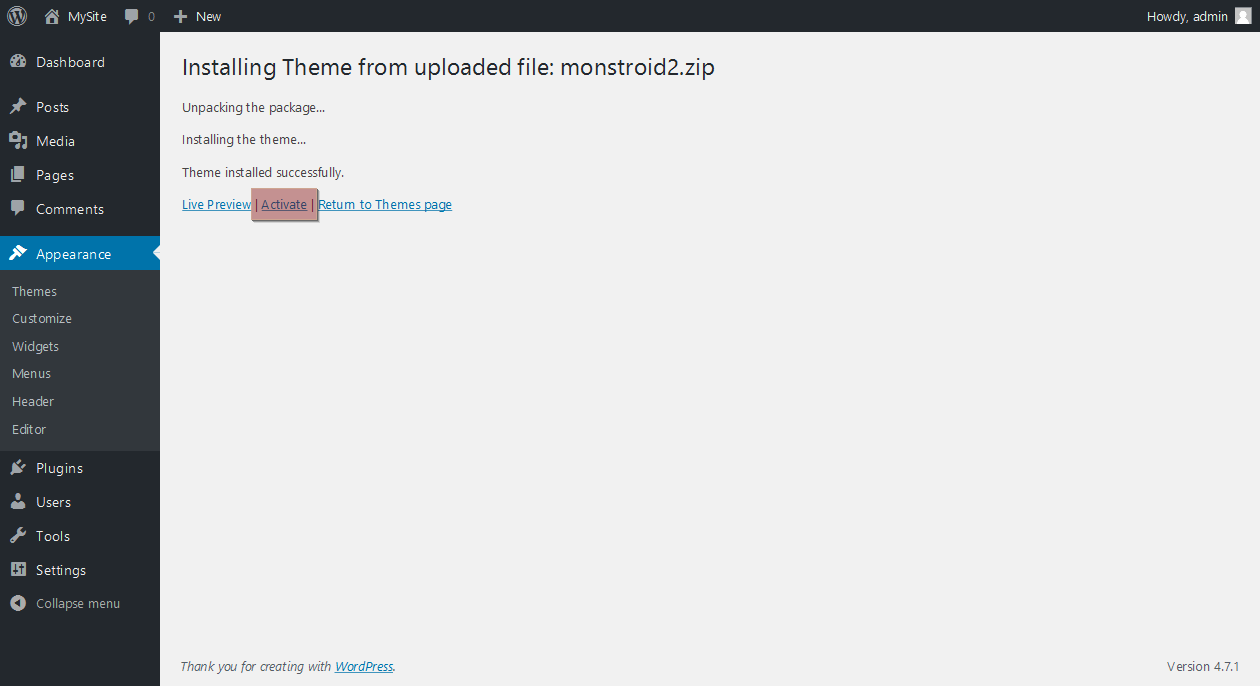
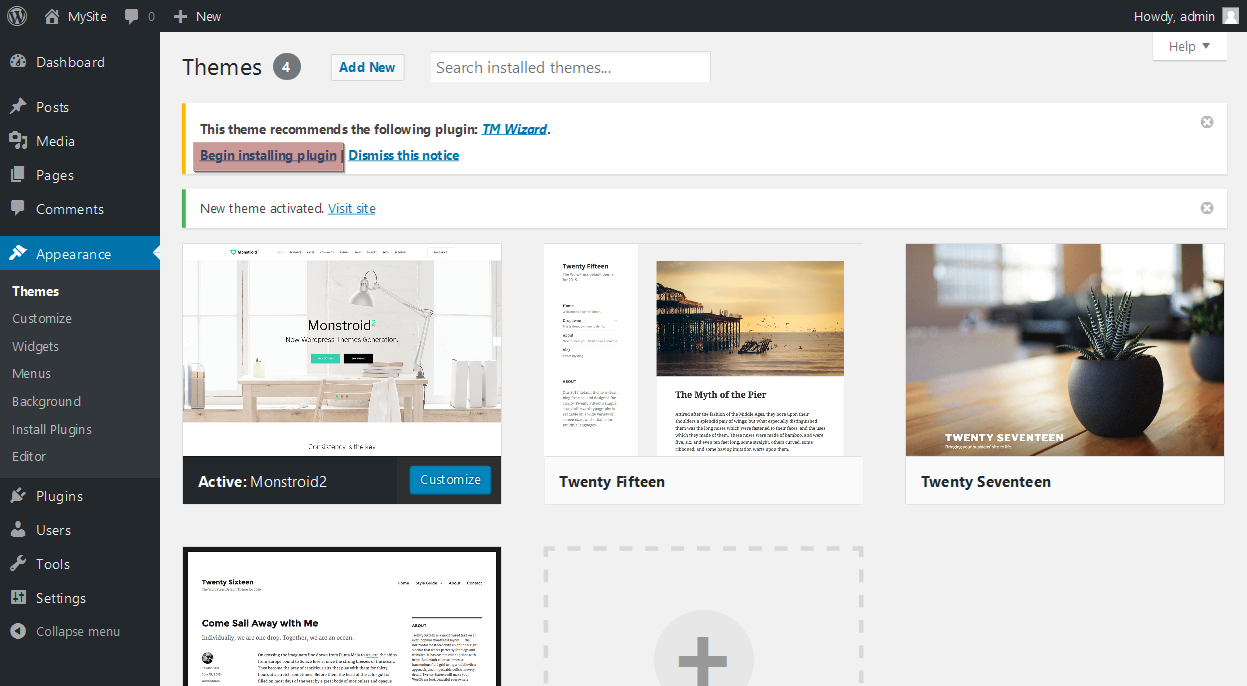
Once the theme is installed, you will receive success screen – press the “Activate” link to activate the theme:
Now that the theme is activated, you will receive a message that “TM Wizard” plugin is recommended by the theme to be installed.
Click on the “Begin installing plugin” link to install the plugin:
Once the plugin installation success message appeared, click “Return to dashboard” link to see the Wizard installation option.
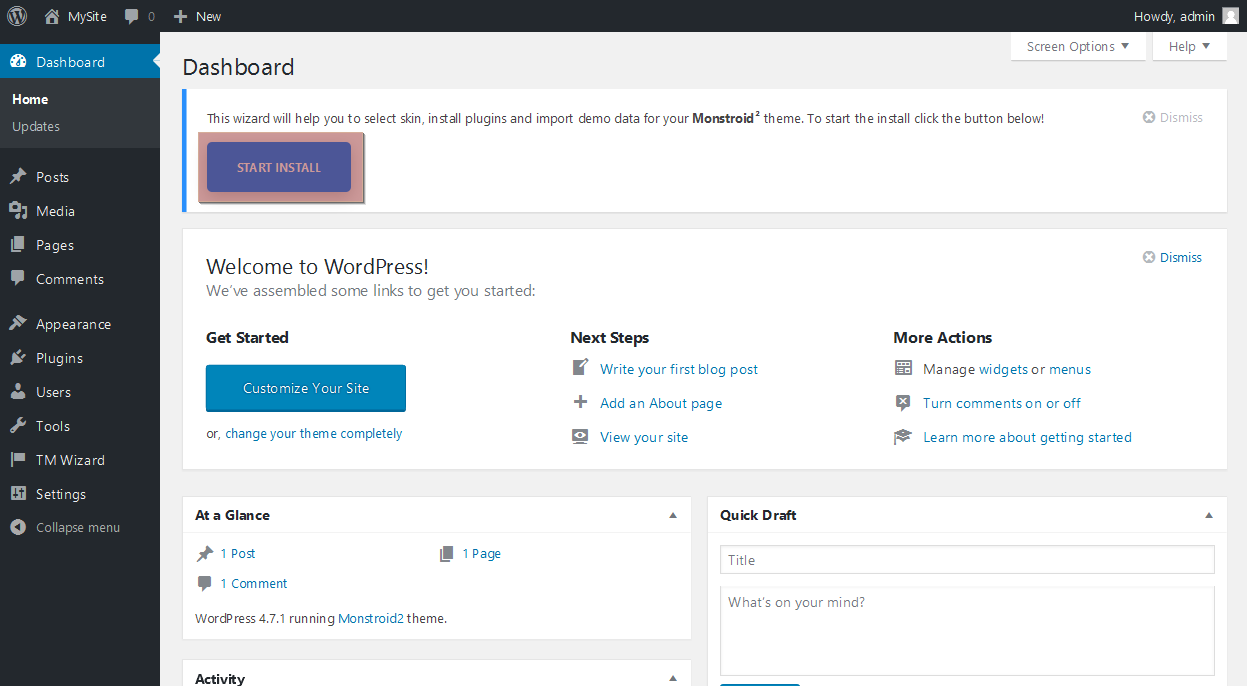
Let’s perform an installation via the Wizard plugin.
Click “Start Install” button to begin an installation process via the plugin:
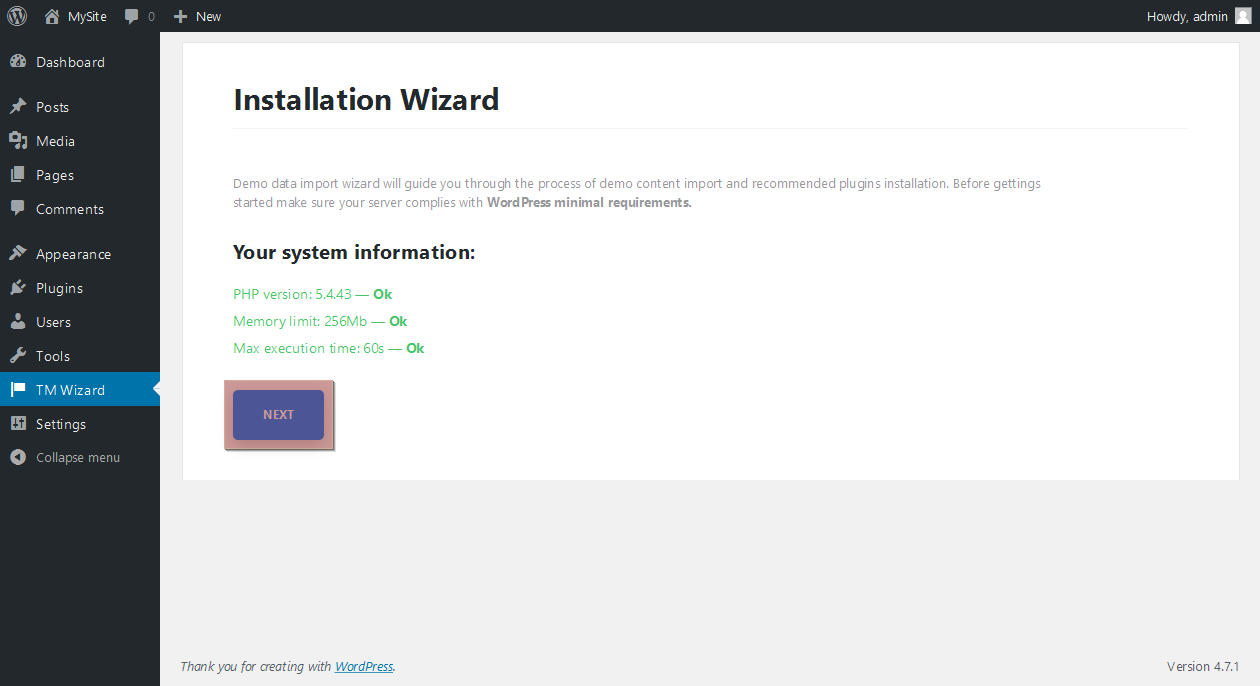
Attention!!! Make sure your server configuration meets minimal system requirements of the theme. If yes, click “Next” button to proceed with the installation:
Then, choose the “Default” skin by clicking “Select Skin” button:

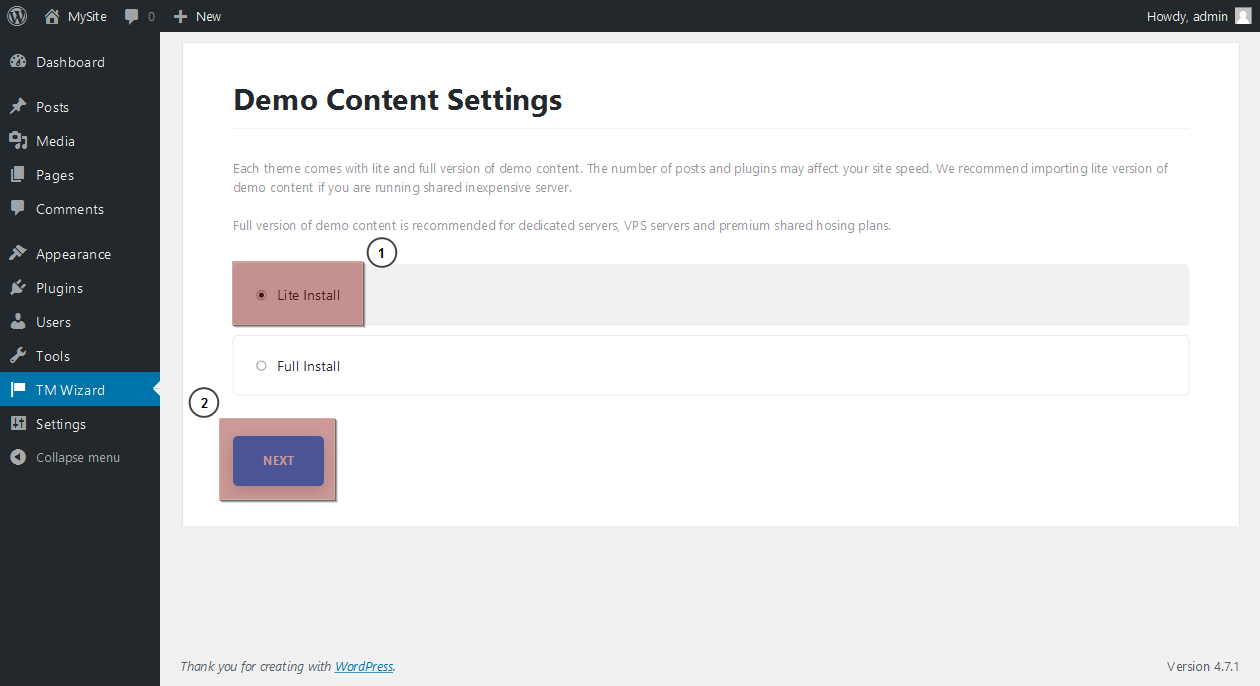
At the next step you should choose whether you want to install Lite or Full version of the skin.
Note!!! The “Lite install” is recommended if you are running shared inexpensive server. Choose “Full install” if you have got dedicated server, VPS server or premium shared hosting plan only.
.jpg)
Let’s try the “Lite install” option.
Click “Next” button to proceed:
This step allows required plugins installation – green colored box indicates the plugin installation was successful:
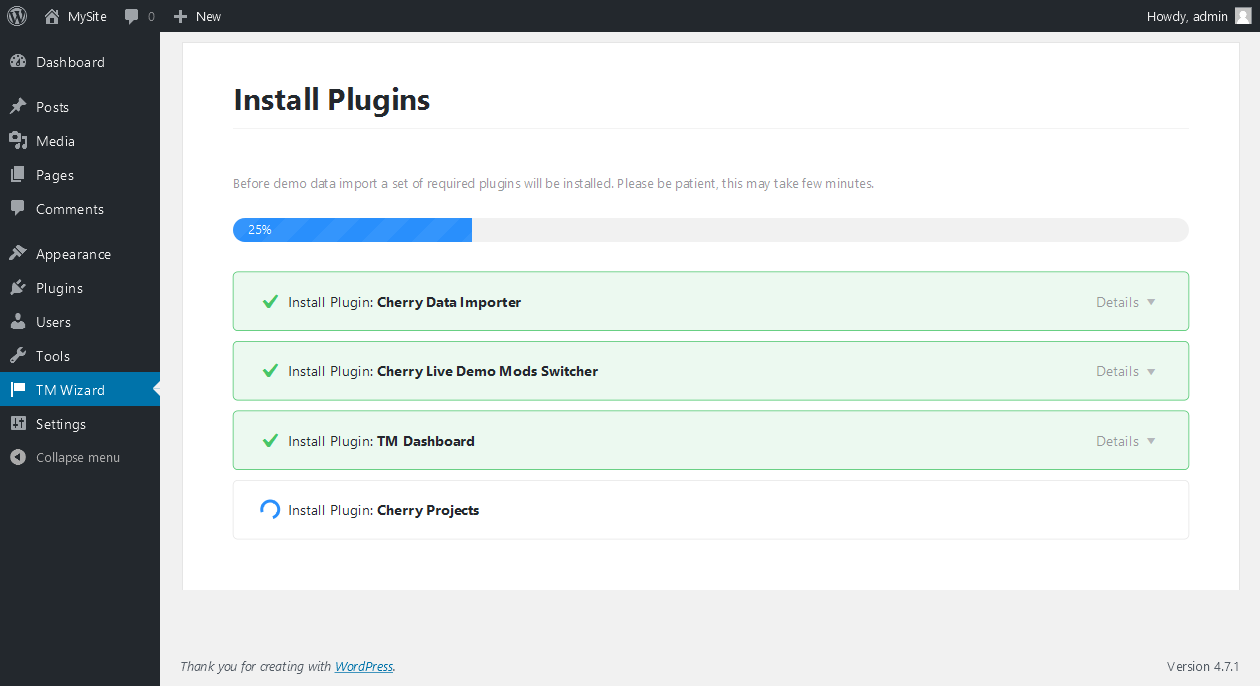
Once all the plugins are installed, the wizard will redirect you to the next step – Demo content installation.
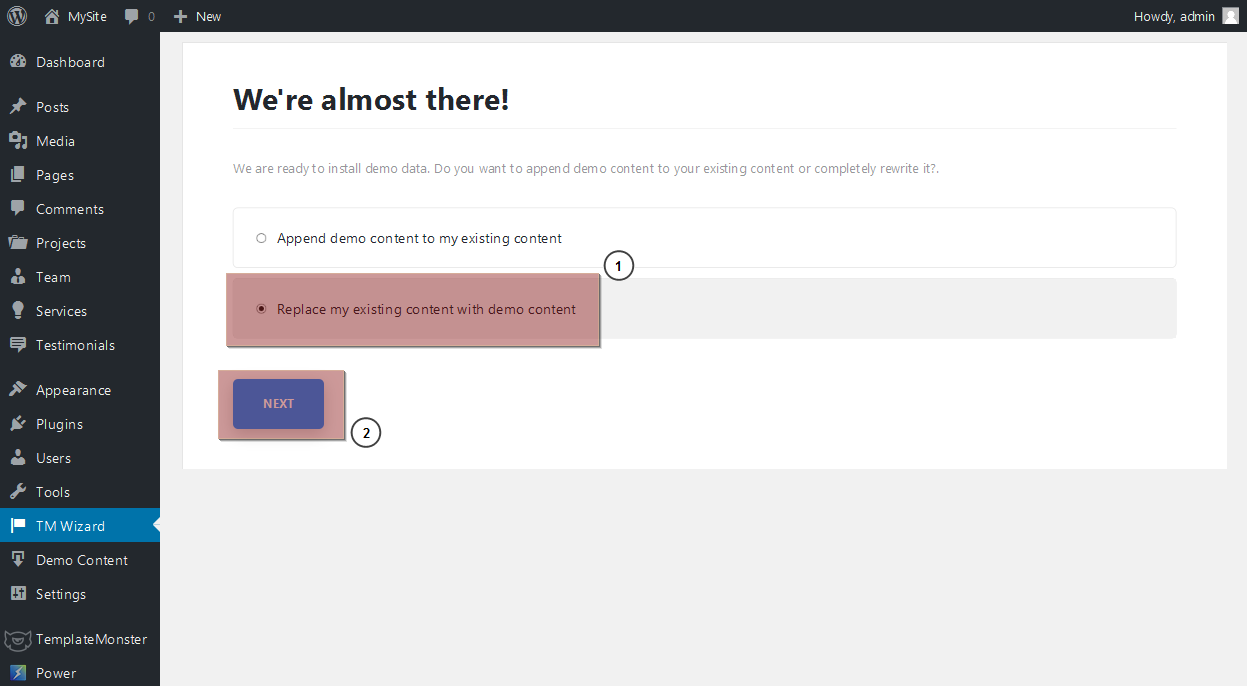
At this step you should choose between two available options – “Append demo content to my existing content” or “Replace my existing content with demo content”.
“Append demo content to my existing content” will require your WordPress user password to confirm sample data installation.
“Replace my existing content with demo content” means all your data will be completely and irreversibly deleted.
Let’s choose the “Replace my existing content with demo content” option which suggests you have got fresh WordPress installation without any content.
Mark the desired option and click “Next” button to proceed with sample data installation:
At the “Importing sample data” step insert your WordPress user password and click “Import content” button:

You will see the sample data content importing progress in the progress bar:
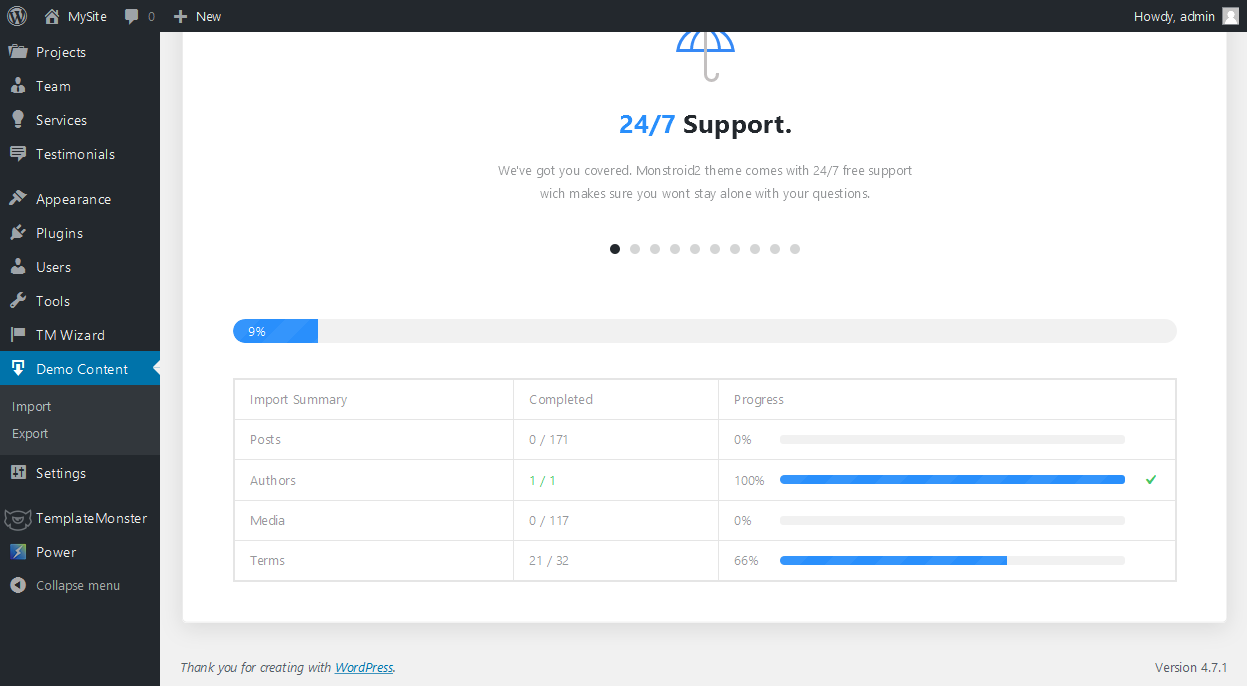
Just lay back and let the Wizard take care of the installation process!
Be patient since this may take some time depending on your server configuration:
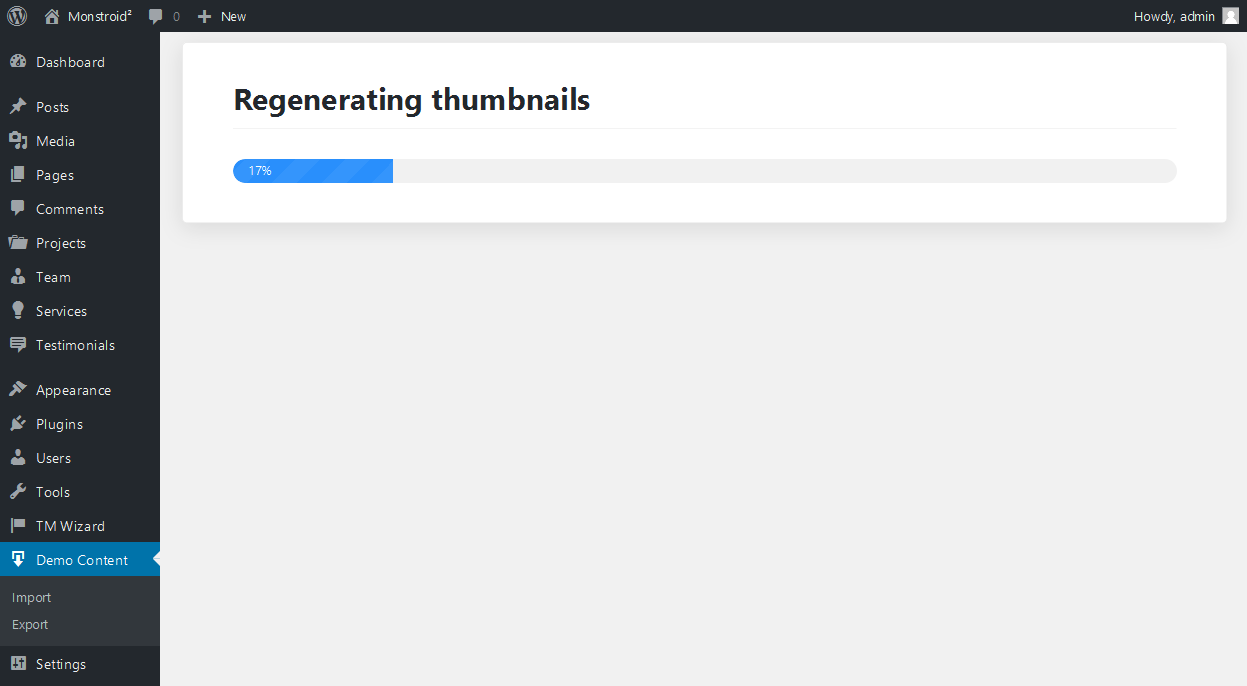
Finally, you will get the success message screen:
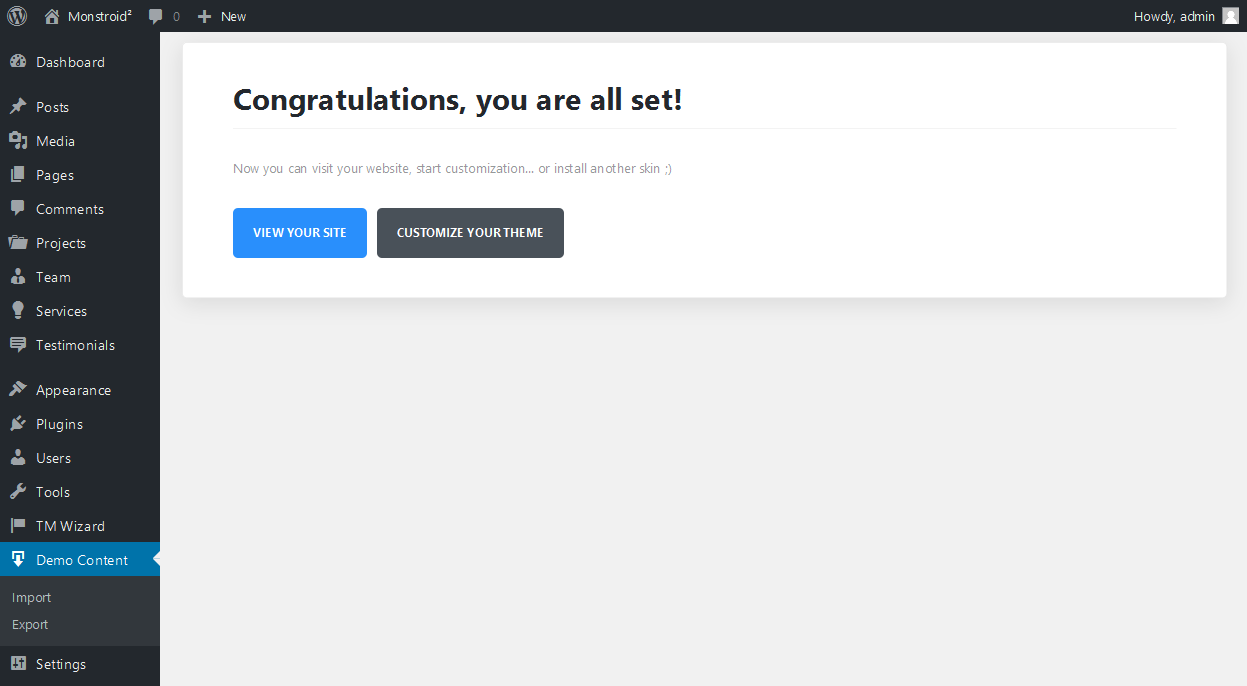
Click “View Your Site” button to view the newly installed theme on your website.
As you can see, the Monstroid 2 default skin has been successfully installed:

This is the end of the tutorial. Now you know how to install Monstroid 2 default skin.
Feel free to check the detailed video tutorial below:
Monstroid 2. How to install the default skin