


- Web templates
- E-commerce Templates
- CMS & Blog Templates
- Facebook Templates
- Website Builders
FAQs
General Tutorials
Featured templates
MonsterONE Subscrioption


This tutorial shows how to work with the "Timetable and Event Schedule" plugin.
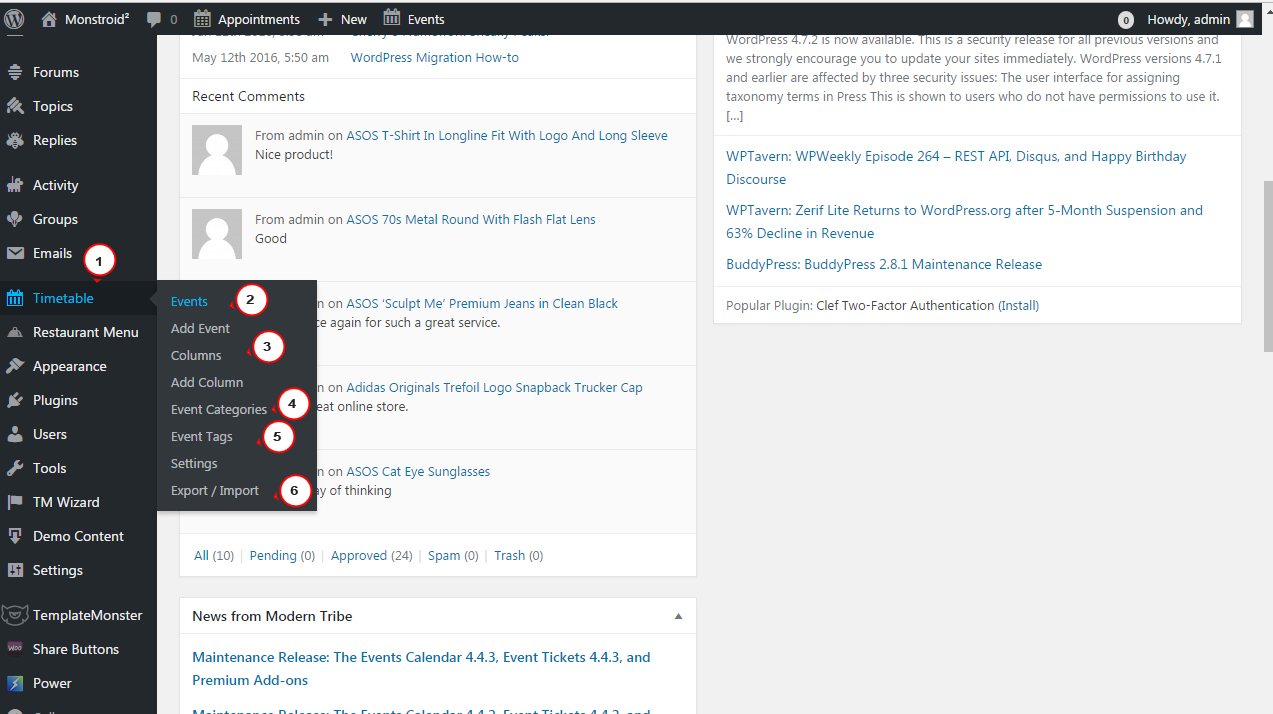
You can manage events and plugin settings in the Timetable section. Events section shows the list of events, you can manage events here. Columns section allows managing the timetable columns with time slots. Event Categories section allows organizing events into the categories. You can add events into the categories in order to output specific categories of events. You can also set tags for events and Export/Import data in the appropriate sections
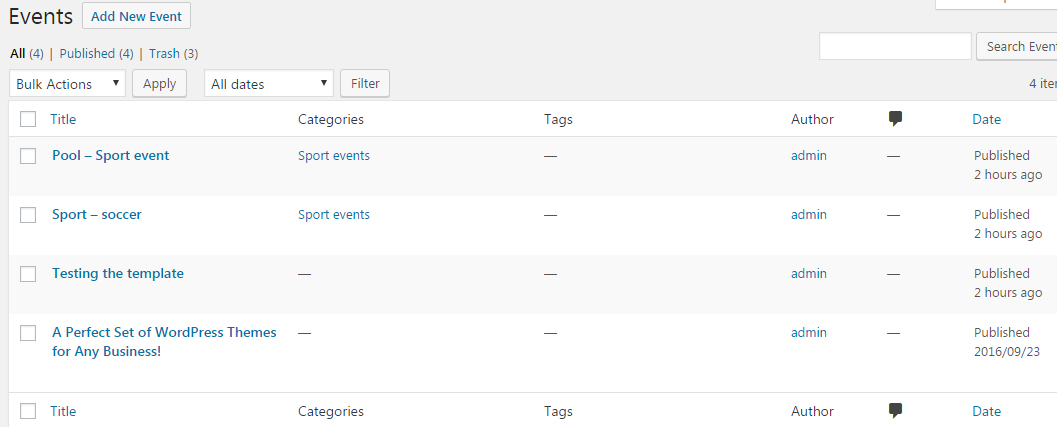
This is how Events section looks. There you can check for existing events or add a new one.
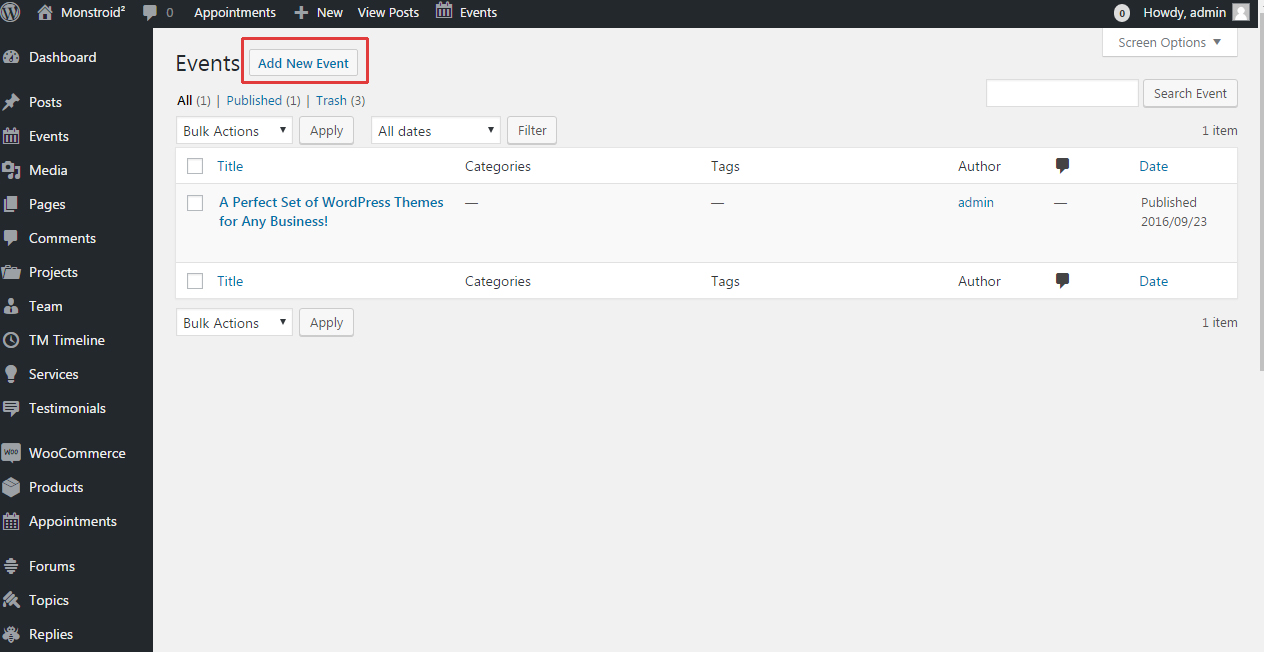
Event has the content and ‘Columns and Time slots’ section.

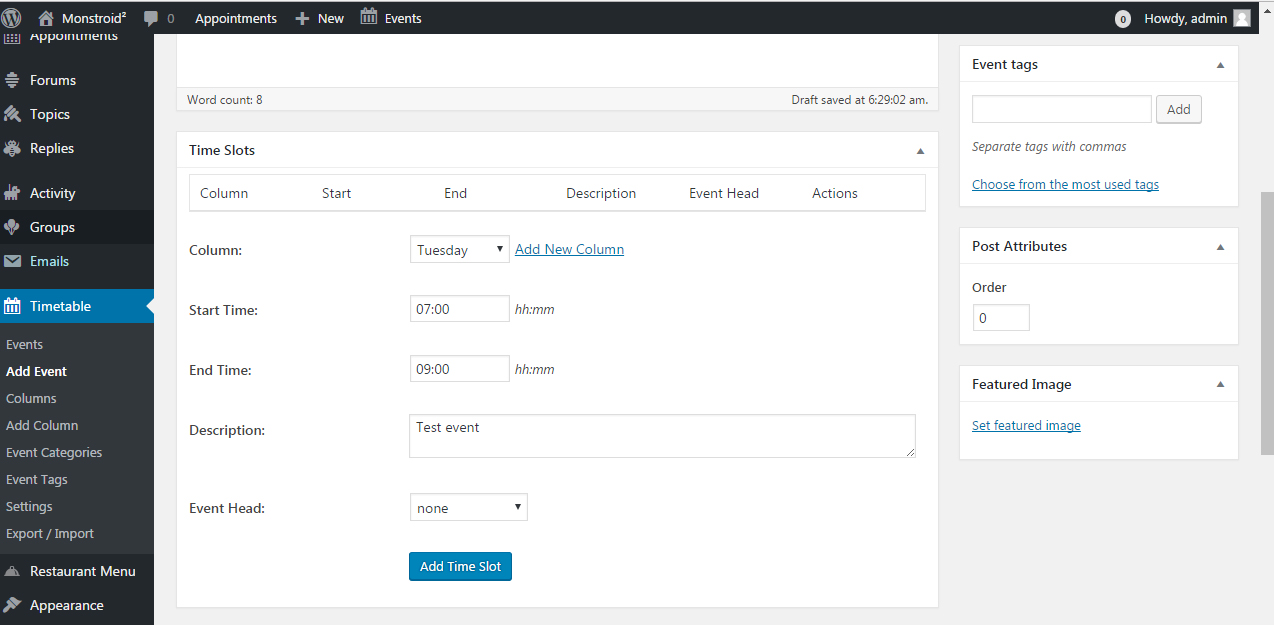
In the Time slots section we can select column, start/end date, specify the description and set Event head (basically this is a WordPress user). You should click on the Add Time Slot button in order to add a time slot.
You can also set colors in the Settings section.

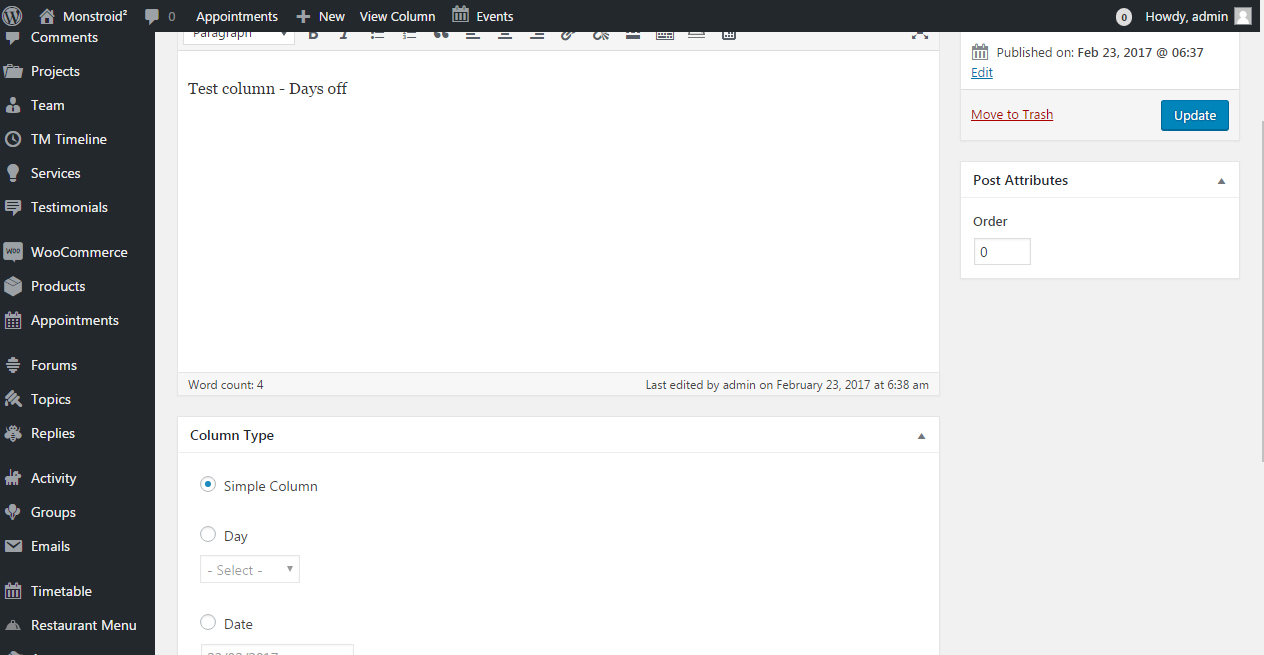
You can add columns in the Timetable – Columns section. In our case columns are organized as days of the week. You can add your own column using the Add New Column button.
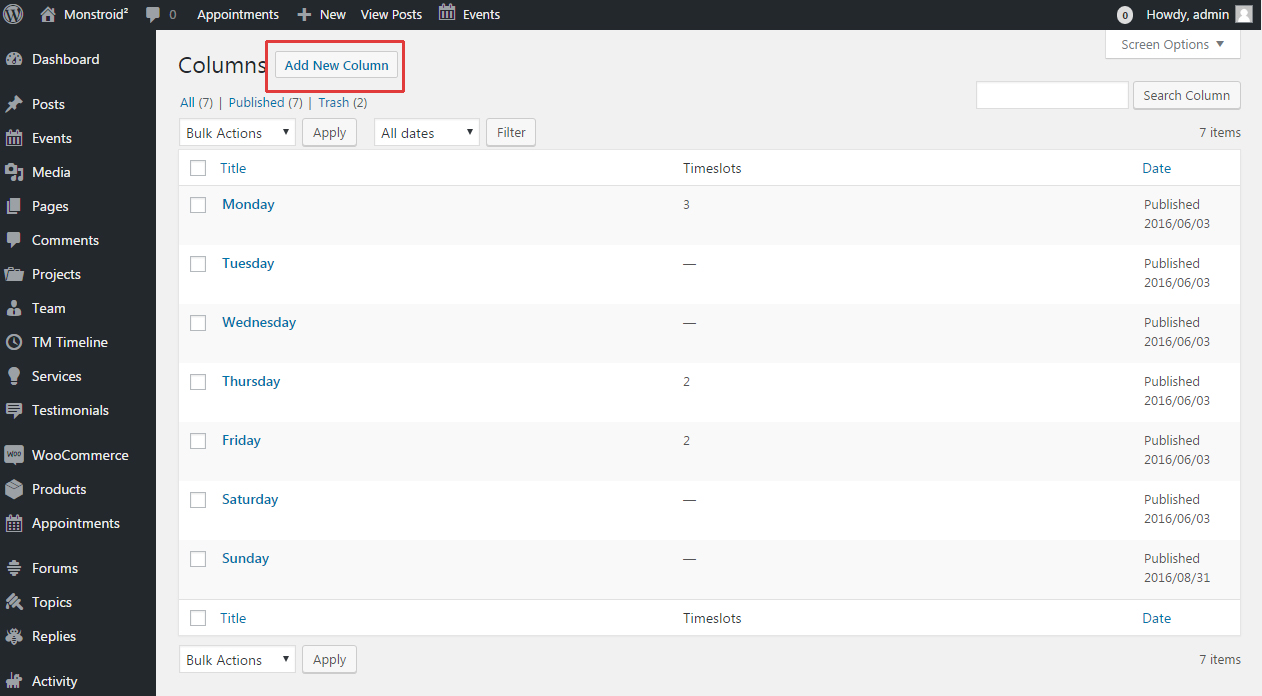
Select the type of column (Simple, Day or Date), add a description and publish the column.
You can assign events to the categories in order to output specific categories of events. Go to the Timetable – Categories section. Specify the category name and slug and click on Add New Event Category.
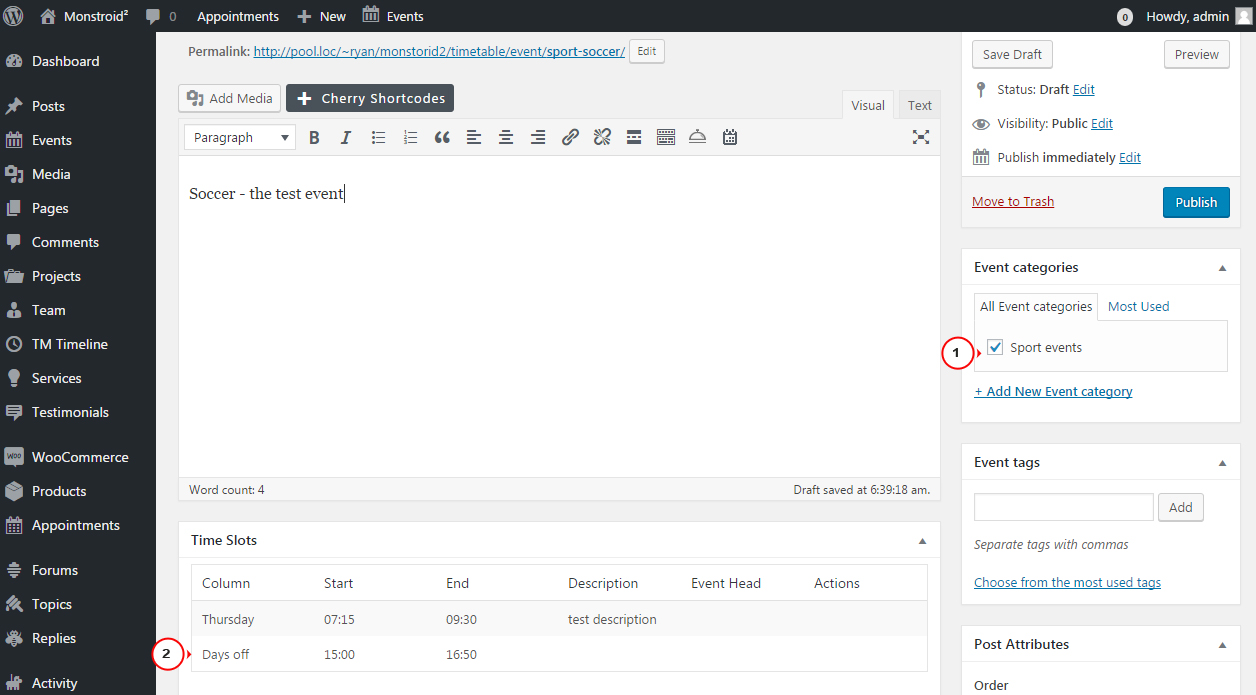
Let’s add events and assign them to the category. We have added a new event, added time slots and assigned it to the category. We have also added slots to the new column (Days off).

This is how our event section looks:
Let’s output events timetable using the shortcode. Make a new page or add a shortcode to the existing page. You can insert the shortcode using TimeTable icon in the WordPress editor.

The shortcode section has various options. Each one is described with a tip that shows the purpose of the particular option. You can select certain events or output event categories. Click on Add Timetable in order to add the shortcode. Please, check a video version of the tutorial for more detailed information.

The shortcode will look like the screenshot below.
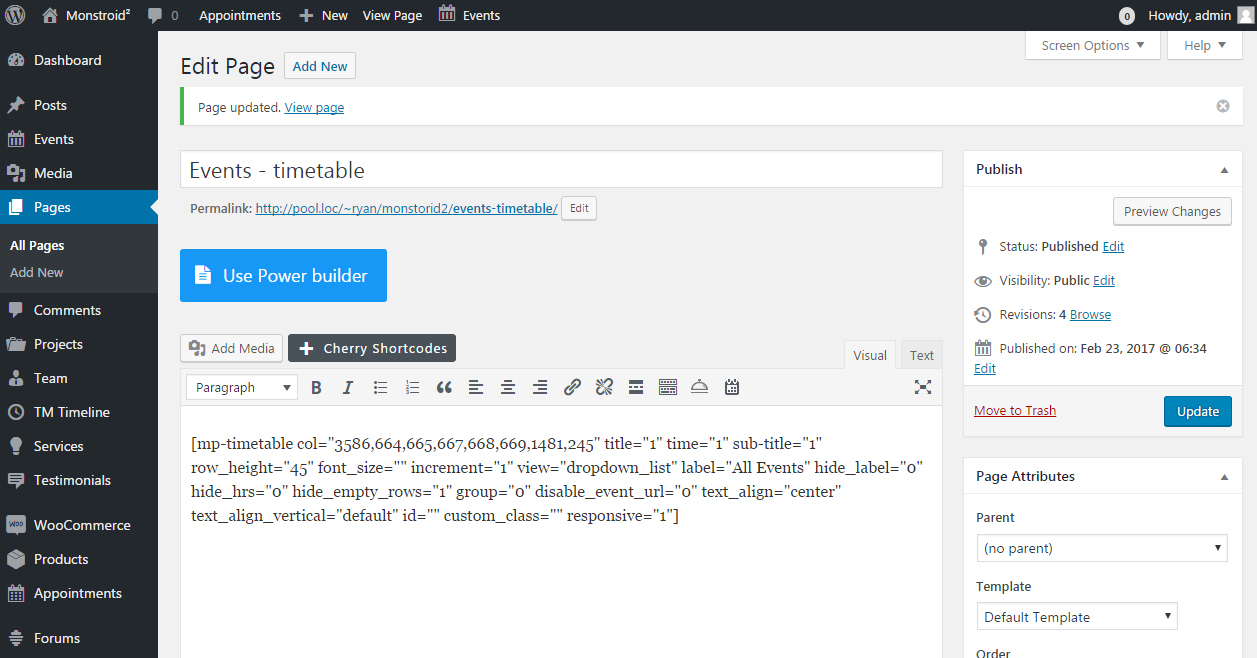
Publish the page and check how it looks. A new Timetable is added.

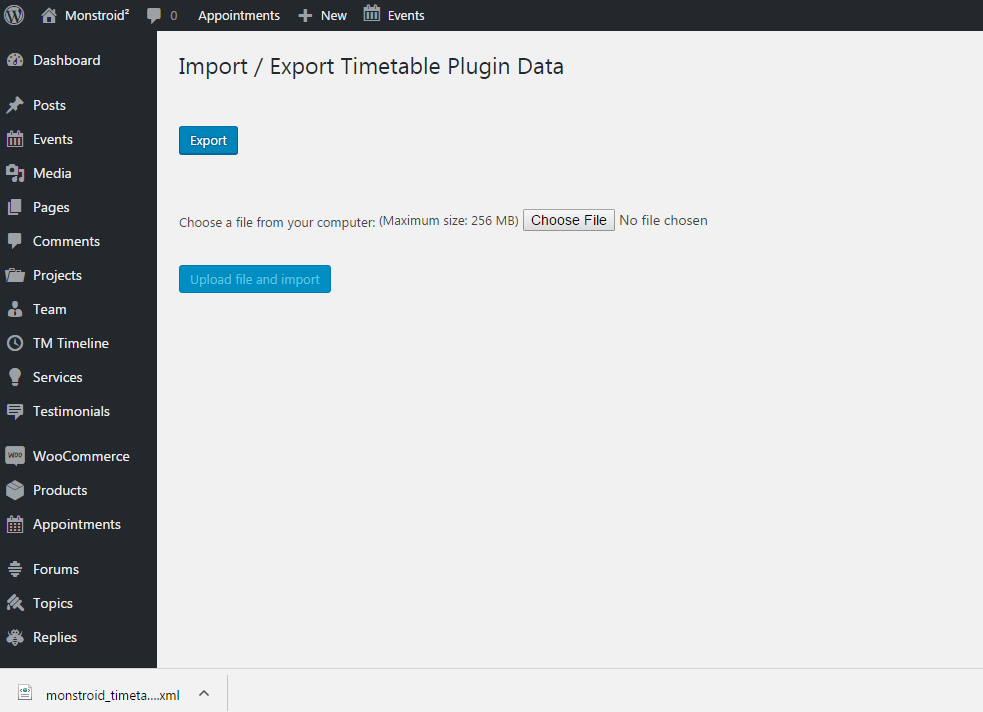
Timetable and Event Schedule plugin allows exporting/importing events. You can go to Timetable – Export/Import section in order to export or import Events. Click Export in order to export events. You will get the xml file that you can use for import.
Discover more cool WordPress themes!
Feel free to check the detailed video tutorial below:
Monstroid 2. “Timetable and Event Schedule” plugin overviewIf you’re looking for a professional template to build a website, view our wordpress event planner solutions.
