


- Web templates
- E-commerce Templates
- CMS & Blog Templates
- Facebook Templates
- Website Builders
FAQs
General Tutorials
Featured templates
MonsterONE Subscrioption


Hello! You are about to watch a video tutorial on how to manage Typography in Monstroid template.
Monstroid. How to manage template typography
The typography is a powerful interface that allows you to configure the text styling on your site per your desire. Such settings as text color, font style, size, align, etc. can be easily edited via user-friendly dashboard to make your site look even more beautiful.
Let’s learn how to do that.
The tutorial assumes you are already logged into your WordPress admin panel.
Navigate to Cherry -> Options tab:

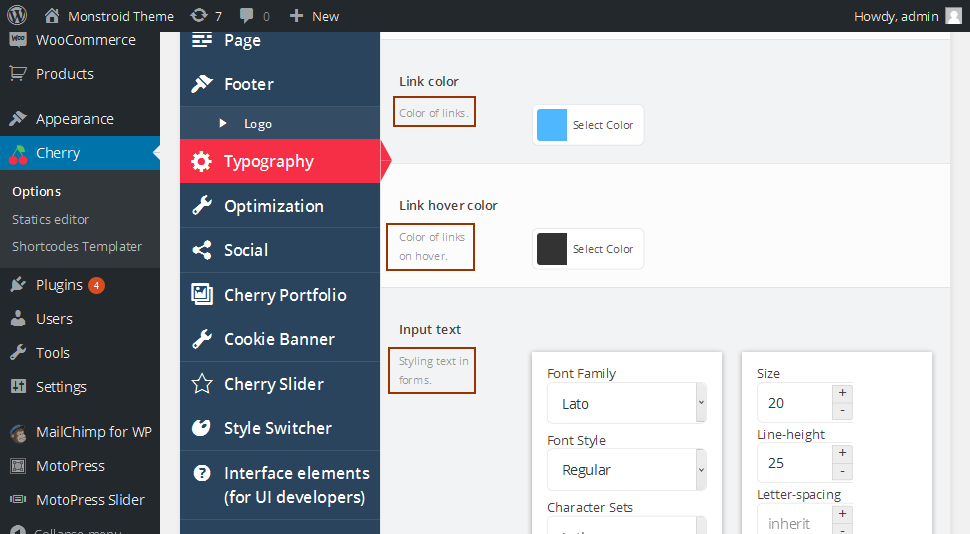
On the appeared Cherry Options interface, look for the Typography tab, click on it to have Typography options opened:

A wide range of different options should catch your eye now. Options are divided into several sections: Body text, Link color, Link hover color, Input text, Breadcrumbs typography, Heading 1, Heading 2, Heading 3, Heading 4, Heading 5 and Heading 6.
Each section includes several options to adjust the text styling for respective area of your site:

Pay attention to the short description under the option title – each option has such description – it gives you a slight idea what exactly each option means:
Let’s check how it works on the example of the Body text section:
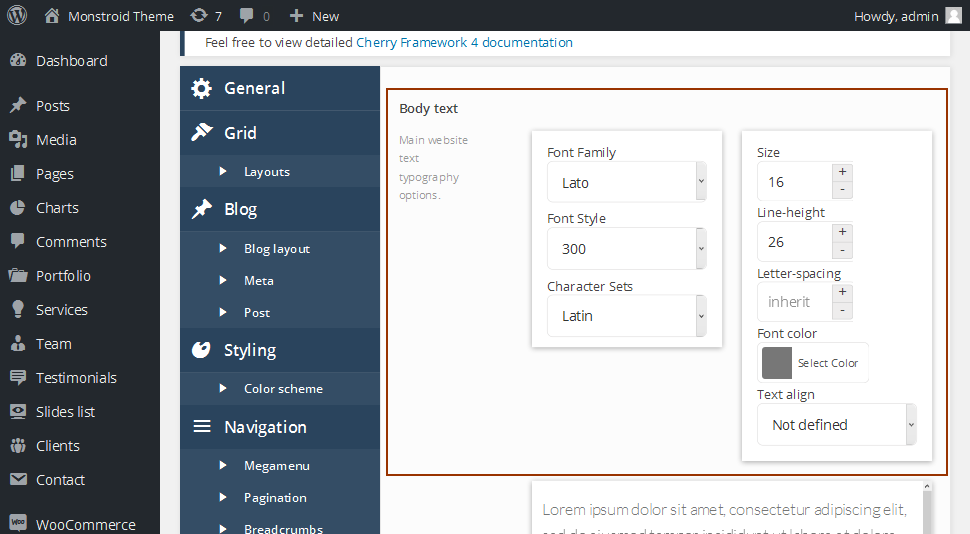
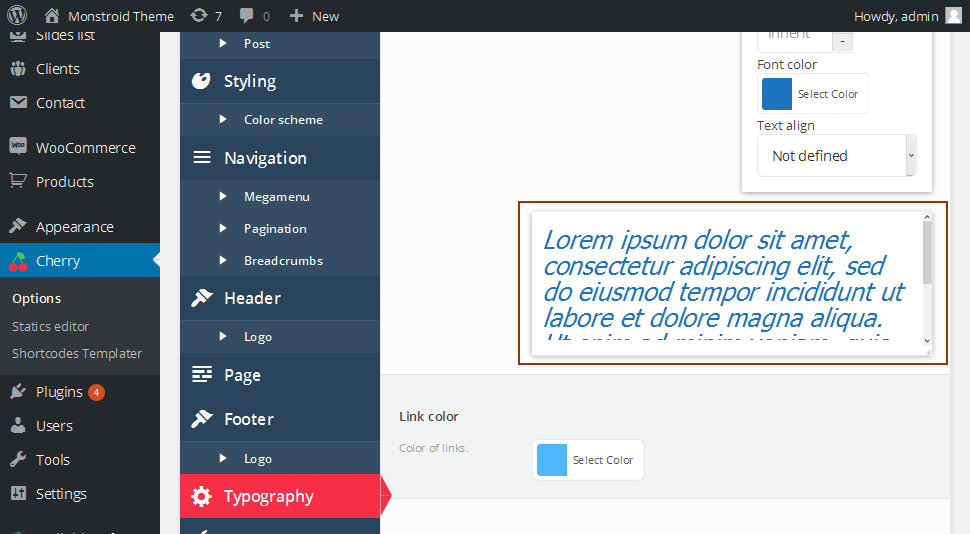
You have already noticed the Body text section includes such options: Font Family, Font Style, Character Sets, Size, Line-height, Letter-spacing, Font color and Text align.
To make sure we are on the same line, we are trying to alter the main content text styling as shown on the screenshot below:
Let’s get back to the Typography interface.
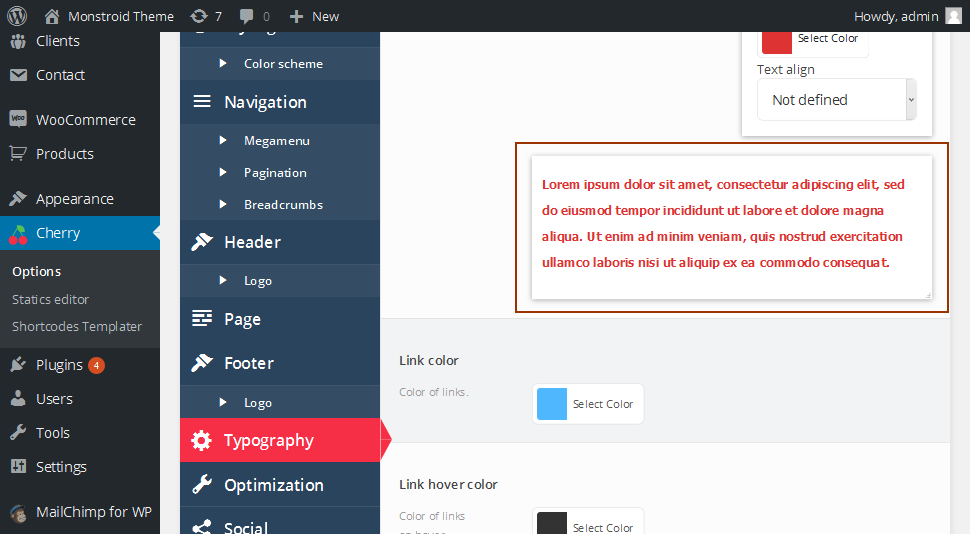
Let’s say, you would like to change the Font Family, Font Style, Size and Letter-spacing. Feel free to change these options to meet your needs:
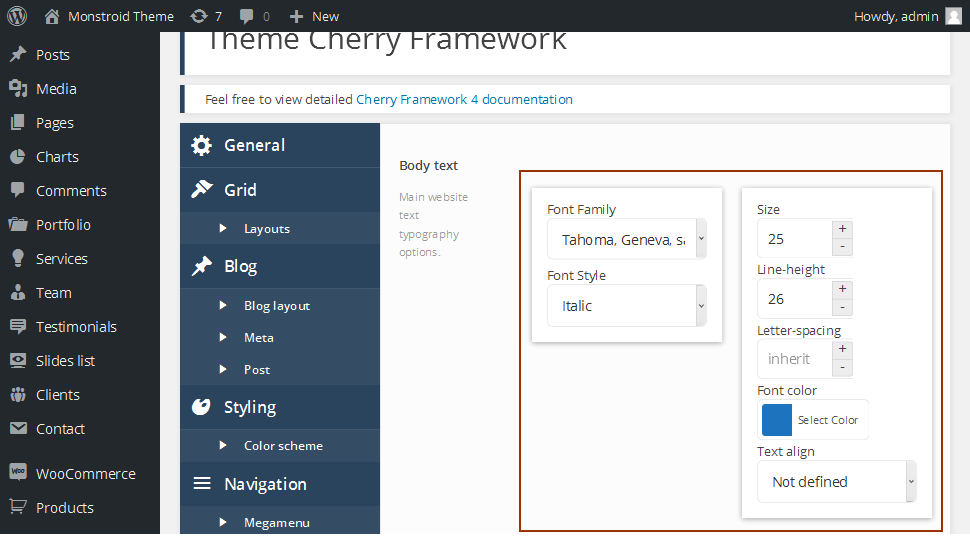
And guess what – you do not have to update changes and navigate to the front-end each time to see how changes performed in Cherry Options reflect on your site.
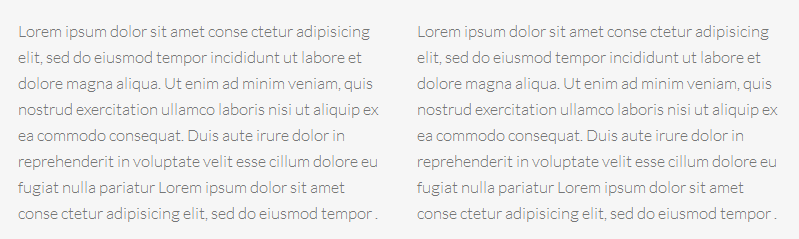
Simply take a look at the example field under Body text options to see how the text styling is changed:
You do not like how the text looks? No problem, feel free to edit the options to match different styling and check how the text changes in the example field:
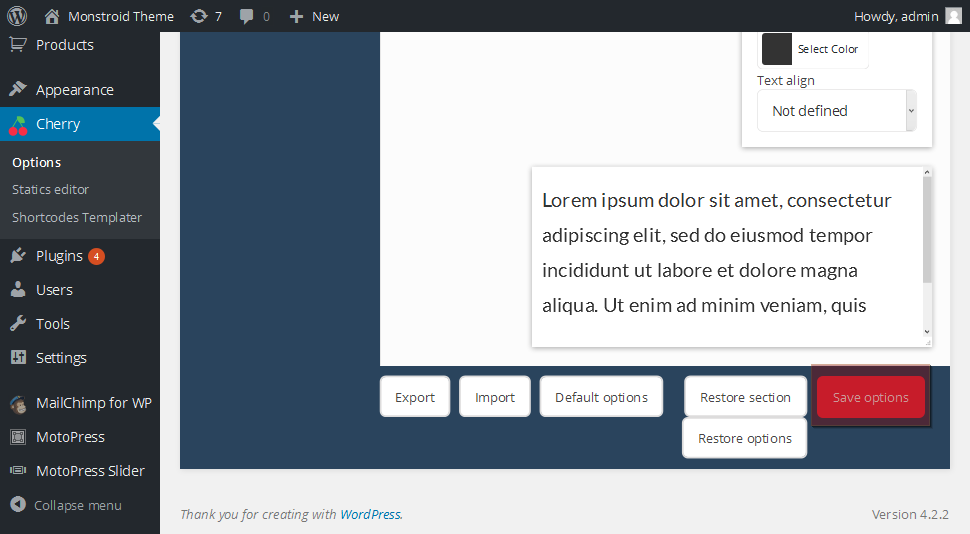
Now that you achieved the text styling you needed, click “Save options” button in the bottom right corner:
Navigate to your site’s front-end and refresh the page to see changes:

You can see the body text styling is successfully changed.
That’s it! We hope you enjoined the tutorial on how to manage Typography in Monstroid templates. Happy editing!
.jpg)
Feel free to check the detailed video tutorial below:
