


- Web templates
- E-commerce Templates
- CMS & Blog Templates
- Facebook Templates
- Website Builders
FAQs
General Tutorials
Featured templates
Featured templates
MonsterONE Subscrioption


Hello! This video tutorial shows how to manage image links in Multipurpose HTML templates.
It may happen that you want to add new links to text/images on your website and remove existing links.
Let’s learn how to do that.
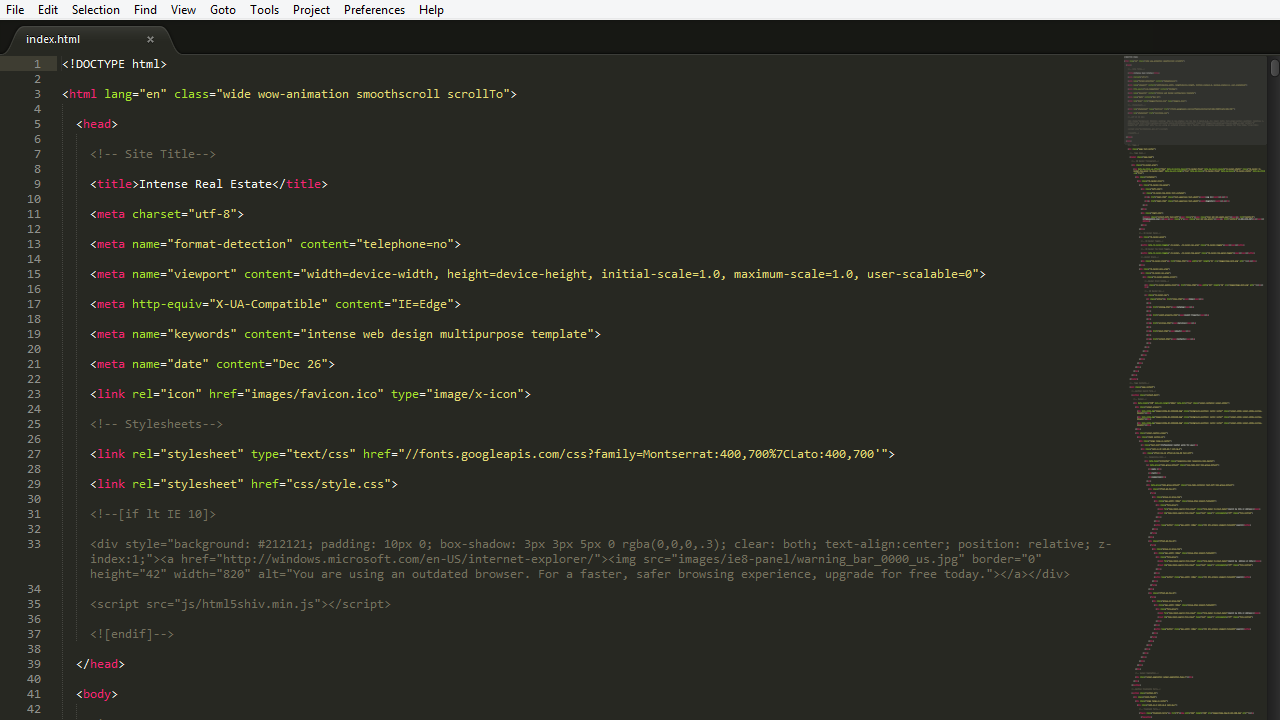
Open the corresponding .html file of the page you are editing with any text editor (Notepad++, Sublime Text 2 etc.):
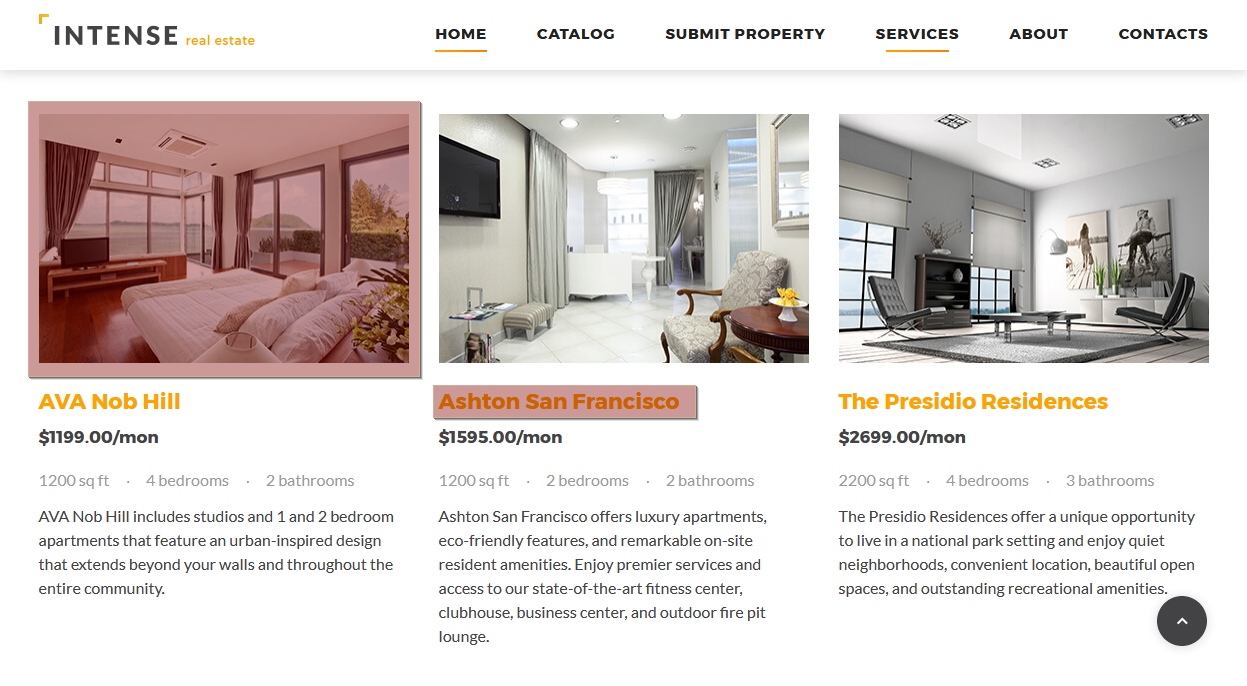
Let’s say, you want to remove link from some item title and add link to the image itself:
Use the CTR+F/CMND+F key (Windows OS/Mac OS) to find the desired section in the file:
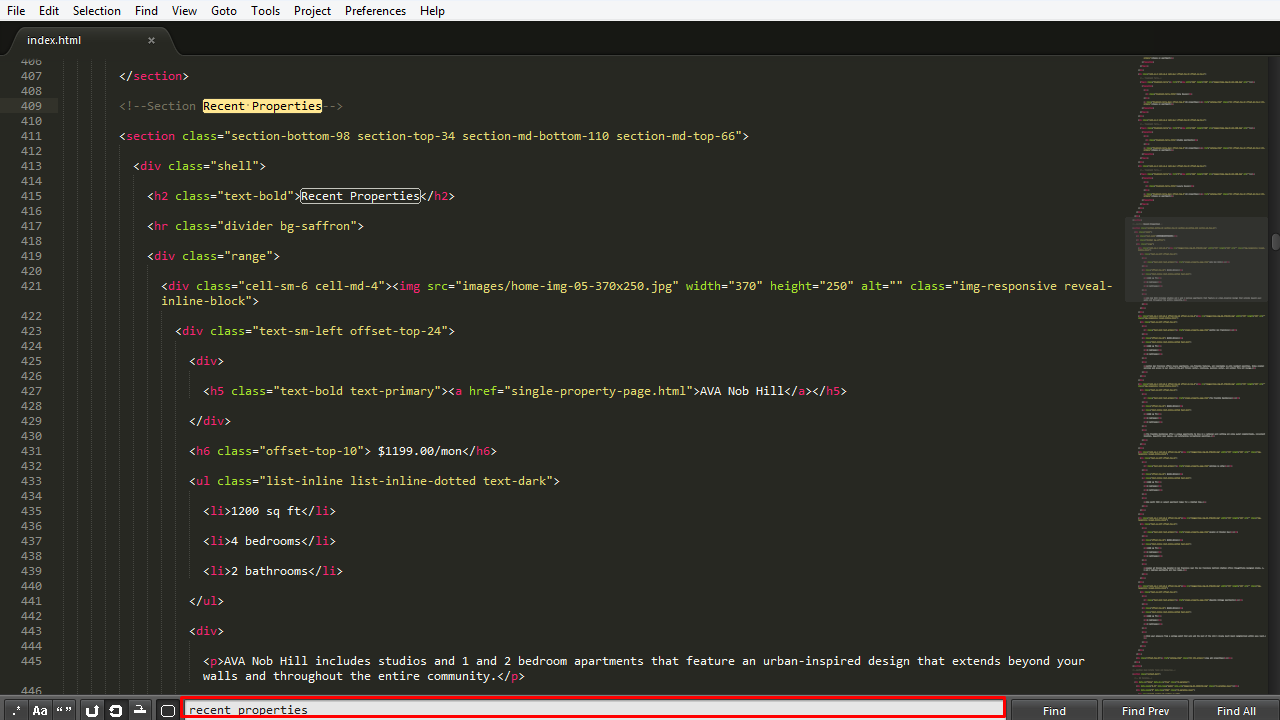
As you can see, H5 titles are linked in the code:
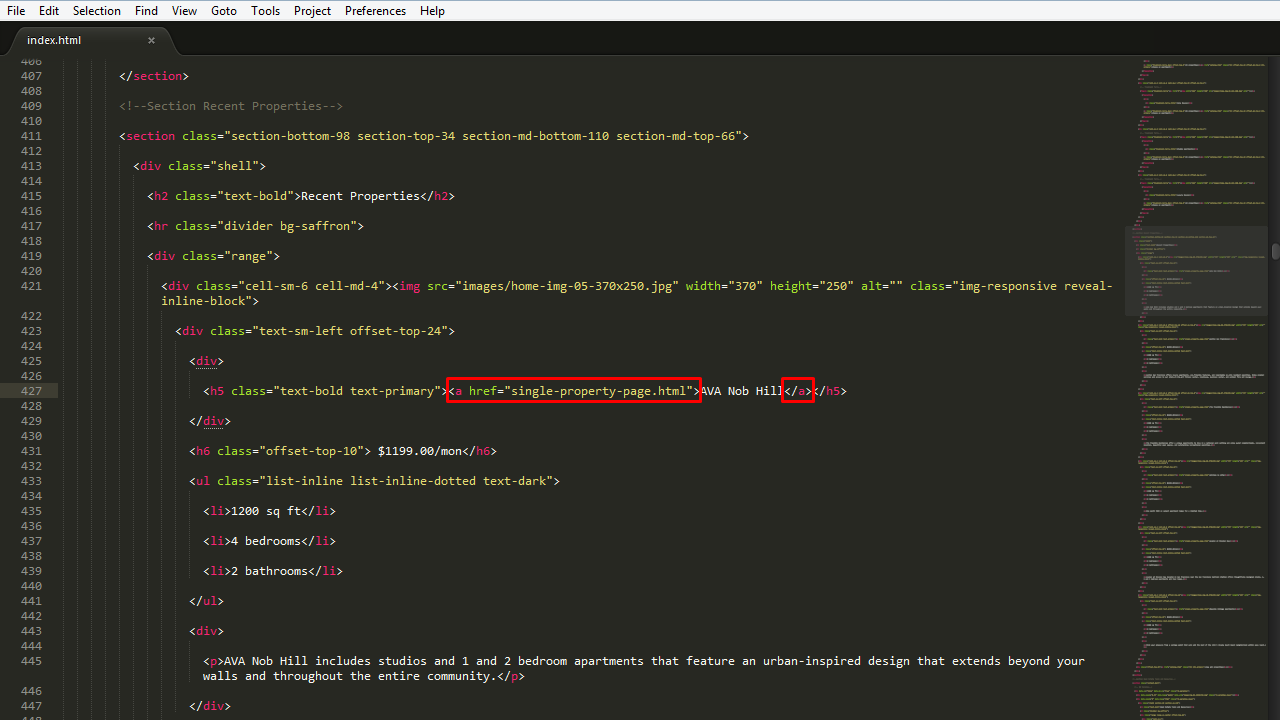
Remove the <a> attribute from title code, so it looks as follows:
<h5 class="text-bold text-primary">AVA Nob Hill</h5>

Now let’s link the item image to the same URL instead:
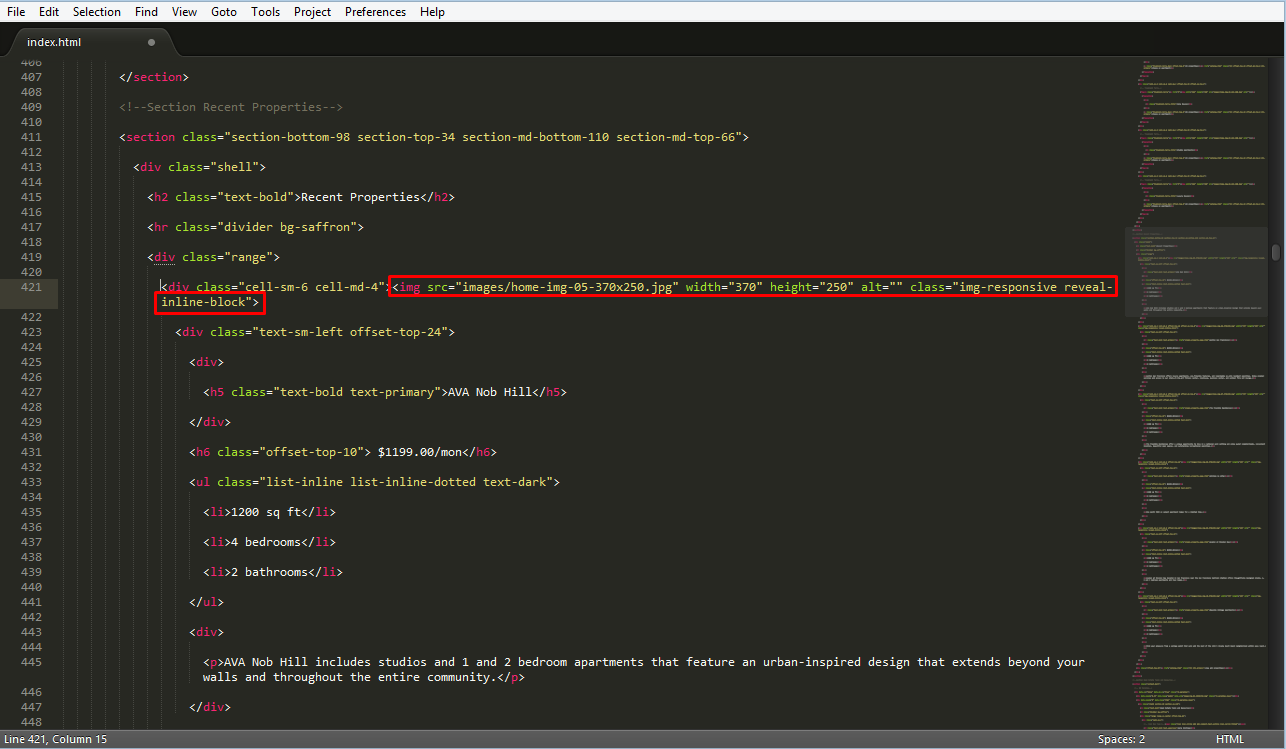
Look for the <img> attribute and add the link to it, so it looks as follows:
<a href="single-property-page.html"><img src="images/home-img-05-370x250.jpg" width="370" height="250" alt="" class="img-responsive reveal-inline-block"></a>
Save the file and upload it to the server, replacing the original file, to see the changes.
Refresh the page on your website, you can see the first item image is linked now instead of the item title.
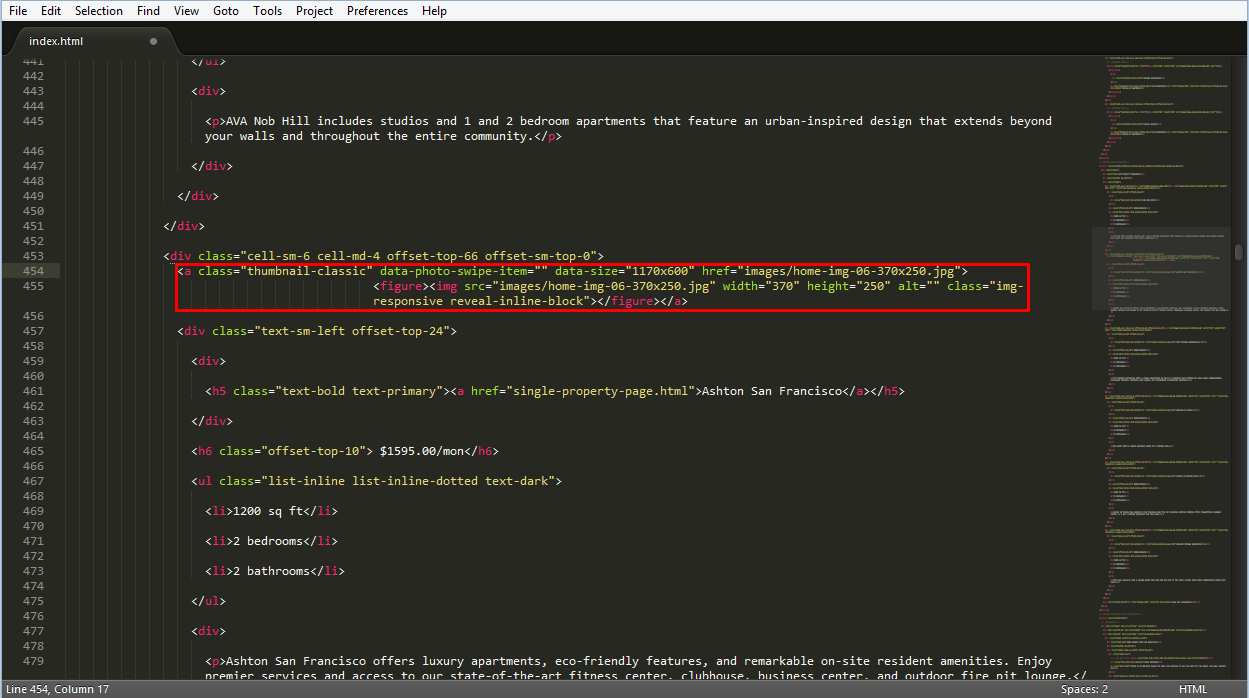
Now, let’s say, you would like to have the item image opened in a lightbox, so the larger image is displayed.
Let’s use the second item image as an example.
Add the following code to the image attribute of the second item:
<a class="thumbnail-classic" data-photo-swipe-item="" data-size="1170x600" href="images/home-img-06-370x250.jpg"><figure> </figure></a>
Where thumbnail-classic is a link class, data-size is an attribute, which defines the size of the larger image opened in a lightbox, and images/home-img-06-370×250.jpg is the path to the image, which should be opened in a lightbox.
You may use your custom CSS classes to have the lightbox style matching your desire.
The code should look as follows:
Do not forget to upload the edited file to the server to apply changes to the website.
You can see the second item image is opened in a lightbox now.

This is the end of the tutorial. Now you know how to manage image links in Multipurpose HTML templates.
Feel free to check the detailed video tutorial below:
Multipurpose Website Templates. How to manage image links