


- Web templates
- E-commerce Templates
- CMS & Blog Templates
- Facebook Templates
- Website Builders
FAQs
General Tutorials
Featured templates
Featured templates
MonsterONE Subscrioption


The following tutorial is going to show you how to use anchor links in Multipurpose Website templates.
An anchor link (also referred to as ‘page jump’ link) is a link on a page that brings you to a specific place on that page or to a specific place on a different page. Anchor links can be helpful when you want to bring a website visitor to a specific spot on a page so that they do not have to scroll through all of your content.
Let’s learn how to use them.
First, determine which section of your page would you like your website visitor to be brought to. We will take ‘Portfolio templates’ section of our website homepage as an example to show you how to create an anchor link.
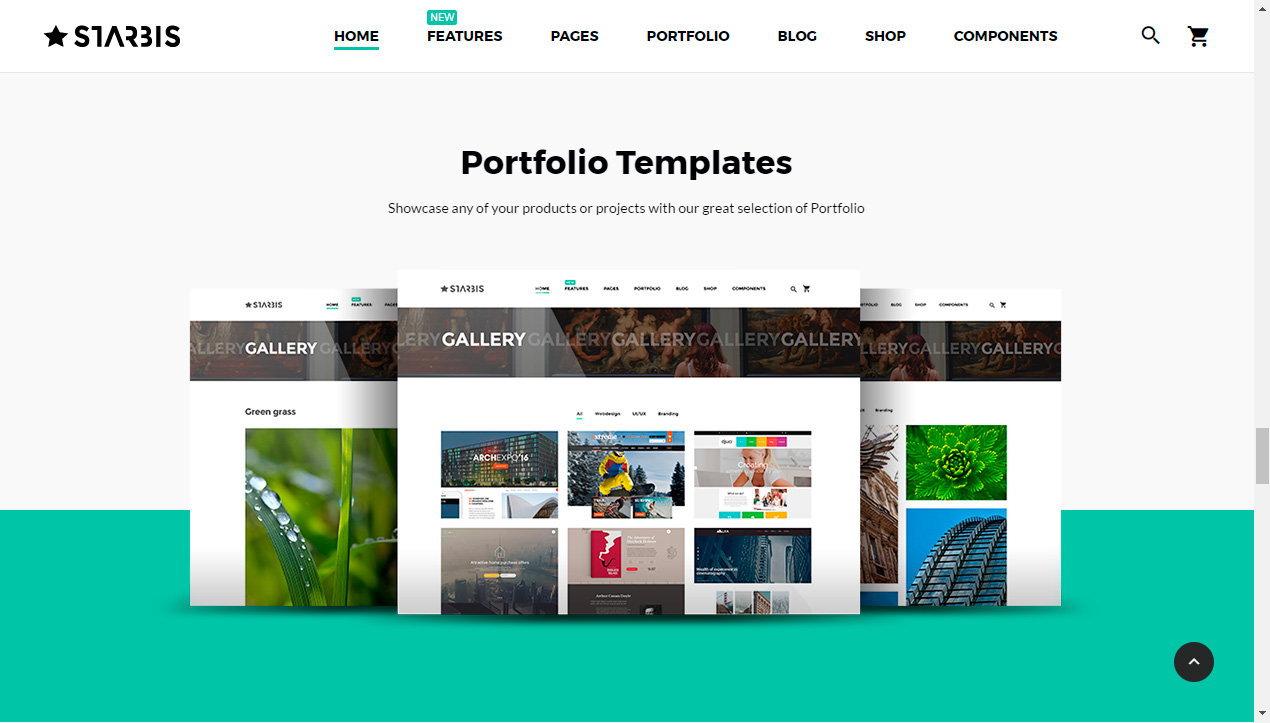
To make it an anchor target, we need to add HTML “id” tag to our section. The code looks as follows:
<section id="new" class="bg-decoration-wrap-sm bg-decoration-bottom bg-decoration-bottom-sm section-50 section-md-top-100 section-md-bottom-120 bg-gray-lighter">
	<div class="shell bg-decoration-content text-center">
	<h3>Portfolio Templates</h3>
	<p class="text-secondary">Showcase any of your products or projects with our great selection of Portfolio</p>
		<div class="offset-top-50"><img src="images/landing-2-970x361.png" alt="" width="970" height="361"/>
		</div>
	</div>
	<div class="bg-decoration-object bg-primary"></div>
</section>
As you can see, we added an ‘id’ tag with ‘new’ value, so our section now can be targeted with an anchor link.

Now we need to decide how our link itself will look like. Basically, we can target our anchor with every type of link possible: regular text link, image link, button link, menu item link. Let’s link the button: all other types of links will work in a same fashion.
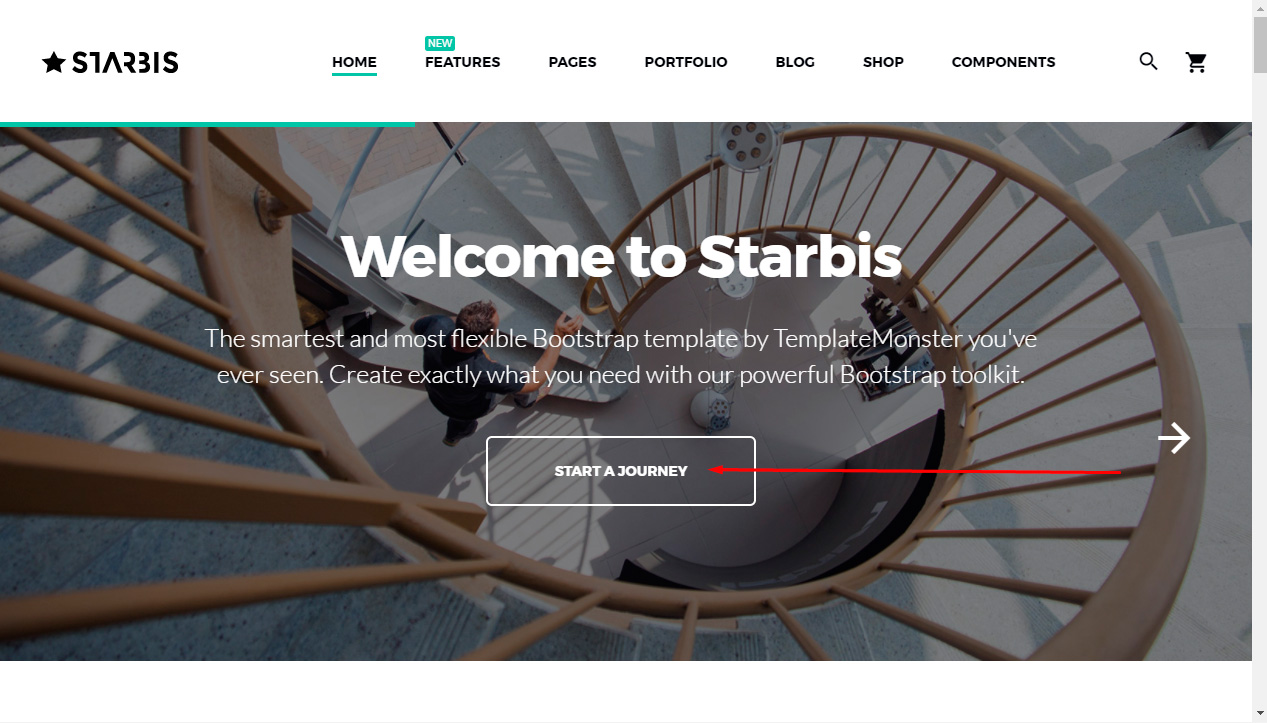
Our button default code is as follows:
<div class="group-xl-responsive offset-top-30 offset-sm-top-45"><a href="#" class="btn btn-xl btn-white-outline-variant-1">Start a journey</a></div>
To make it work, we need to replace ‘#’ in ‘href’ property declaration with our id and a hashtag:
<div class="group-xl-responsive offset-top-30 offset-sm-top-45"><a href="#new" class="btn btn-xl btn-white-outline-variant-1">Start a journey</a></div>

Let’s check this out: upon clicking the button, the page scrolls to the section we need.
If your template is using customWaypoints plugin, you can create a smooth scroll to your anchor with the ‘data-custom-scroll-to’ attribute. There is no need to specify ‘href’ attribute value in this case, also there’s no need to add a hashtag:
<div class="group-xl-responsive offset-top-30 offset-sm-top-45"><a href="#" class="btn btn-xl btn-white-outline-variant-1 data-custom-scroll-to="new">Start a journey</a></div>
It has the same anchor link function, however the scroll effect is smooth.

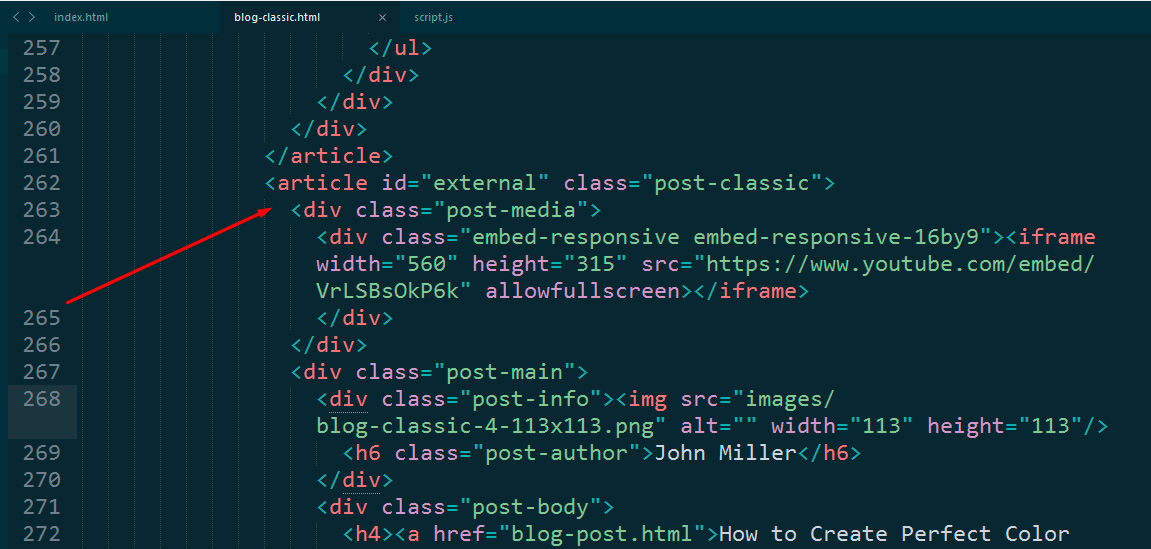
If you want to take your website visitor to a specific section on a different page, you should specify the link in the following format:
<div class="group-xl-responsive offset-top-30 offset-sm-top-45"><a href="http://localhost/starbis/blog-classic.html#external"class="btn btn-xl btn-white-outline-variant-1">Start a journey</a></div>
Where http://localhost/starbis/blog-classic.html is your full page URL and #external is an anchor to an element with id="external" declaration.

That’s it. Now you know how to use anchor links in Multipurpose Website Templates.
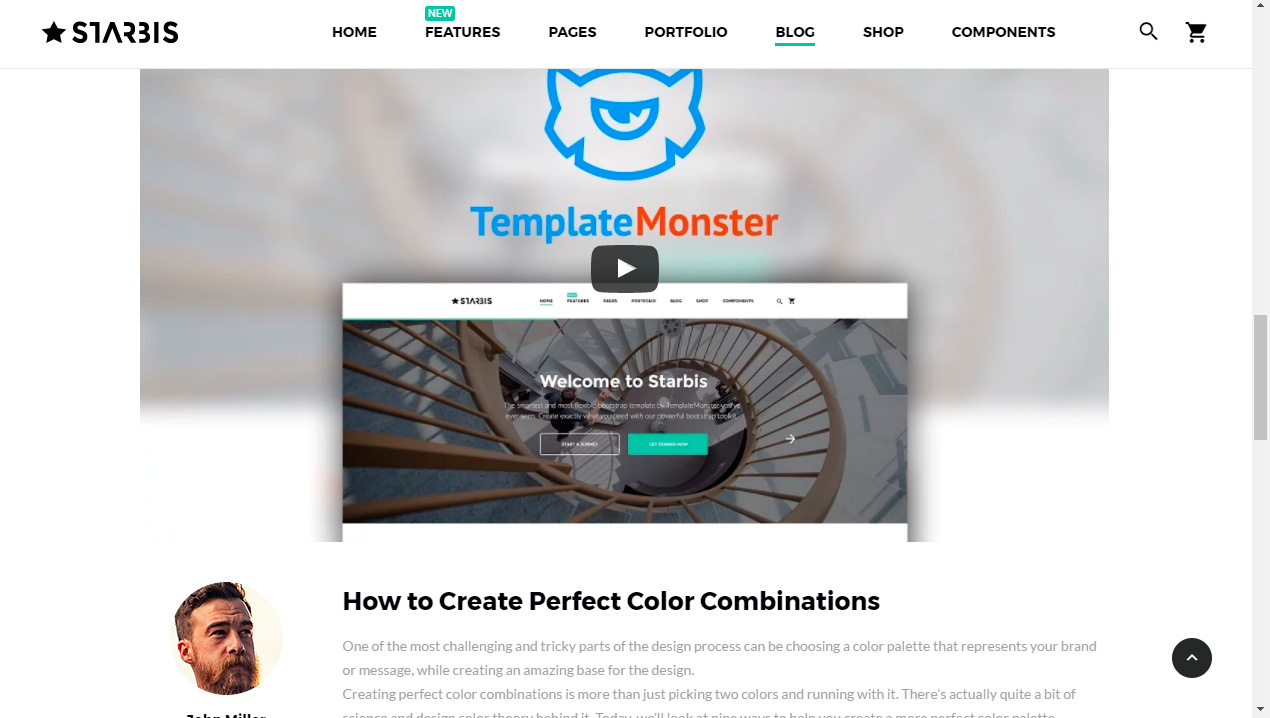
Feel free to check the detailed video tutorial below:
Multipurpose Website Templates. How to use anchor links