


- Web templates
- E-commerce Templates
- CMS & Blog Templates
- Facebook Templates
- Website Builders
FAQs
General Tutorials
Featured templates
MonsterONE Subscrioption


OpenCart 2.0 has a lot of new useful features, one of which is a possibility to add a custom field to the customer registration from admin panel.
This new field will be visible in the registration page, on the checkout page and even when a guest customer makes a purchase.
In this tutorial we will show you how to insert a new custom field to the registration form in OpenCart 2.0.
OpenCart 2.x. How to add custom fields to registration form
Log into your OpenCart admin panel.
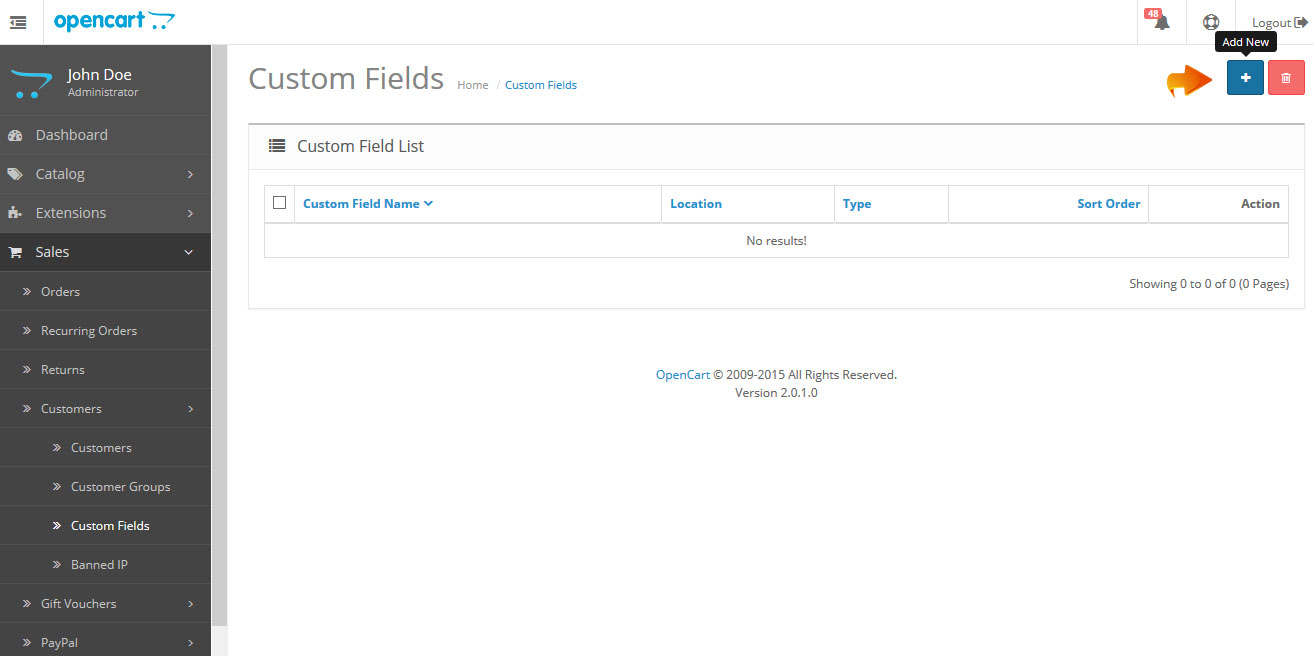
Navigate to Sales-> Customers-> Custom Fields section:

Press the Add New blue button located in the top right of the page:
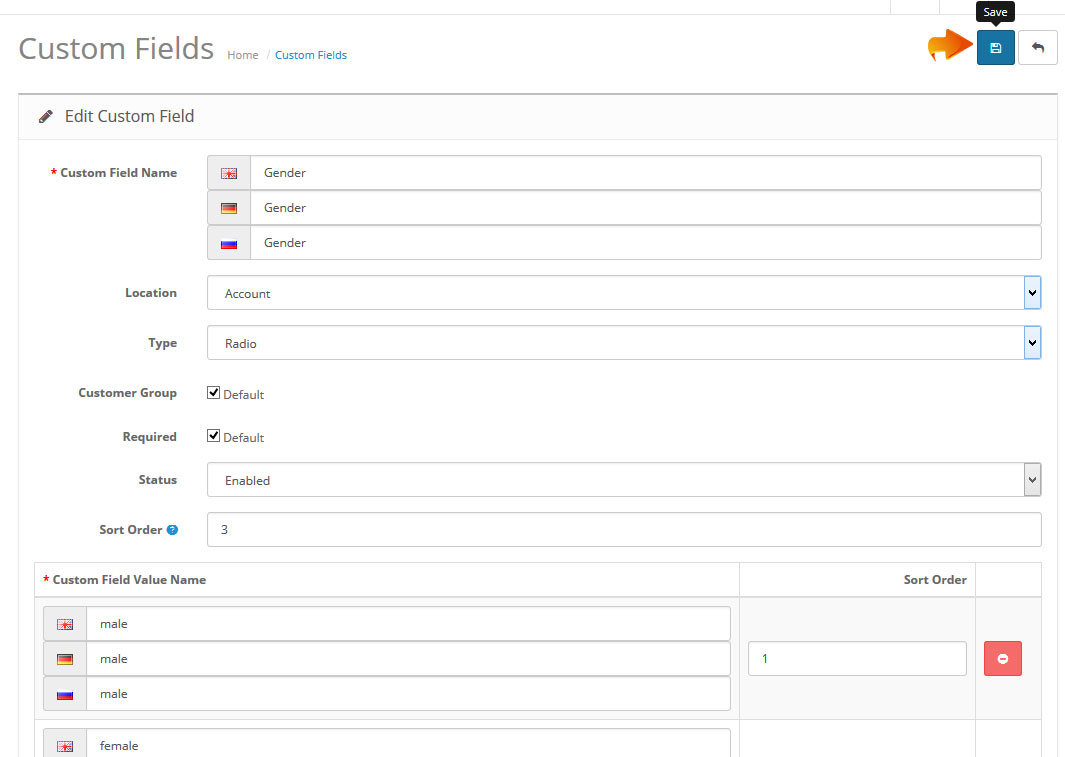
Fill in the necessary fields:

Custom Field Name – the title of a new field that will appear on the registration page.
Location – this option allows to choose either the Account or the Address section for the custom field to appear on.
Type – here you can assign any of the 4 available types to your custom field (Choose, Input, File, Date). This type affects the look and the character of the new field. If you select one of the ‘choose’ options (checkbox, radio or select drop-down), you will have to create a new value in the Custom field option at the bottom. Click the add new button to create multiple values from which the user will be able to select (or pick multiple in the checkbox case):

Customer Group – select the group of customers for which this field will be visible.
Required – if you select this option, your customers will not be able to complete the registration without filling in the field.
Status – here you can enable/disable the new field.
Sort Order – the position of your custom field in relation to the existing fields.
Click the Save button in the top right:
View how the new custom field appears on your registration page on the site front end.
We hope the tutorial was useful for you. Feel free to check the detailed video tutorial below:
