


- Web templates
- E-commerce Templates
- CMS & Blog Templates
- Facebook Templates
- Website Builders
FAQs
General Tutorials
Featured templates
MonsterONE Subscrioption


This tutorial will show you how to change slider dimensions in Opencart 2.x.
OpenCart 2.x. How to change slider dimensions
For instance, if you have a 850 X 540 px image and you would like to use it as a slider banner, you will have to replace default dimensions with your new dimensions.
Log into your OpenCart administration panel and go to the ‘Extensions’ -> ‘Modules’ menu:

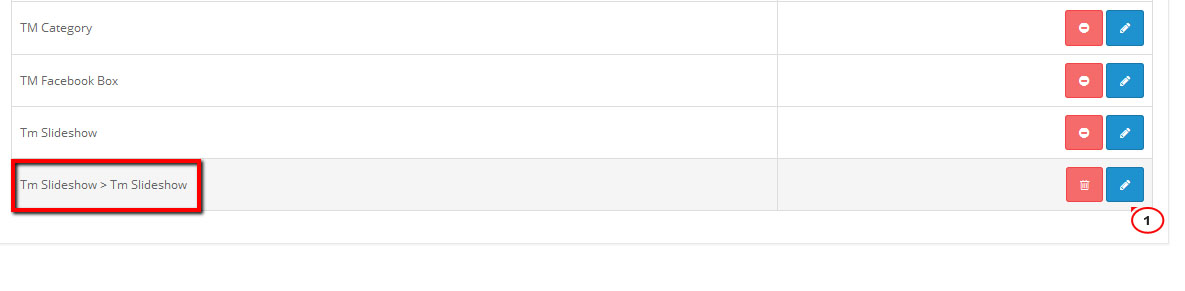
Look for a module called ‘Tm Slideshow > Tm Slideshow’ and click ‘Edit’ button:
On the next page change the default dimensions (W + H) to those of your new image (i.e. to 850 X 540 px). Click ‘Save’:

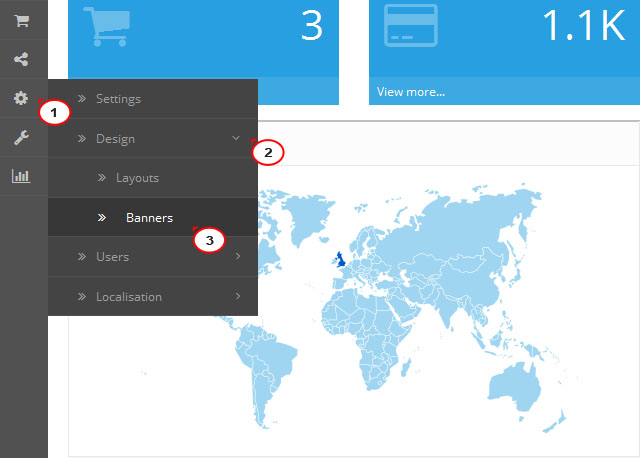
Go to the System -> Design -> Banners menu. Find ‘slideshow’ and click ‘Edit’:
On the next page click on the image you want to replace. In the window that will pop up, click ‘Edit’ and navigate to the directory where the new image is located. Select the image and click ‘Open’:
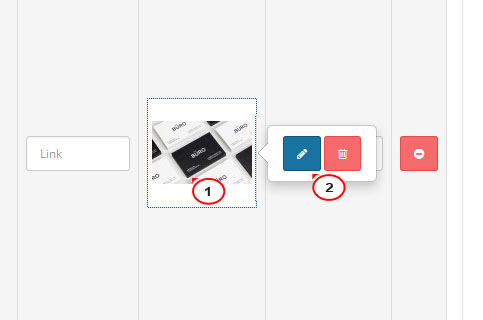
Look for the image in the Image Manager and double click on it. The thumbnail of the original image will be changed to that of your image. Click ‘Save’ at the top right:

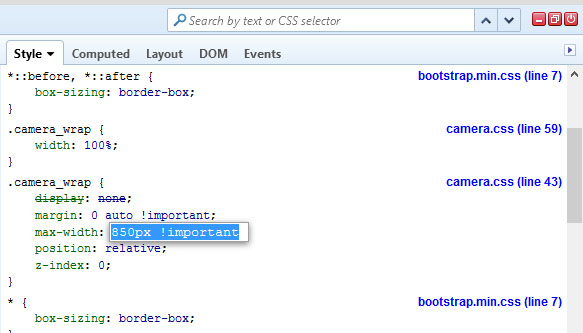
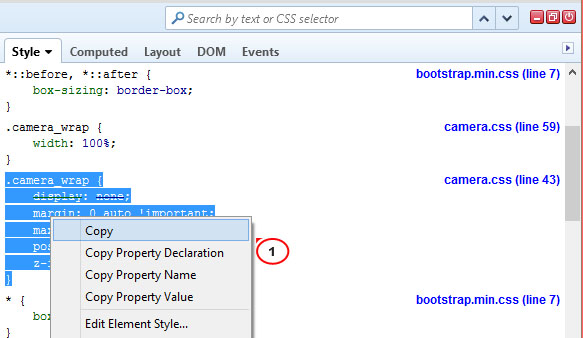
Open the front page of your site in Mozilla Firefox with the Firebug plugin installed. With the help of Firebug look for <div id="camera_wrap"> as shown below (the div id may differ depending on your template number):

Add a new property to this class selector like width: 850px ! important (where 850px is the width of your new banner image). This will prevent your image from looking stretched.
Remove float: left; and add one more property to the same class selector like margin: 0 auto; in order to center your image:
Now you need to copy the edited class selector from Firebug and replace the original one in catalog/view/javascript/camera/css/camera.css with it:
Save the changes made to the camera.css file.
Open the tm_slideshow.tpl file located in catalog/view/theme/theme###/template/module/ with any code editor available. Look for the initializing script between the two
<script></script> tags:
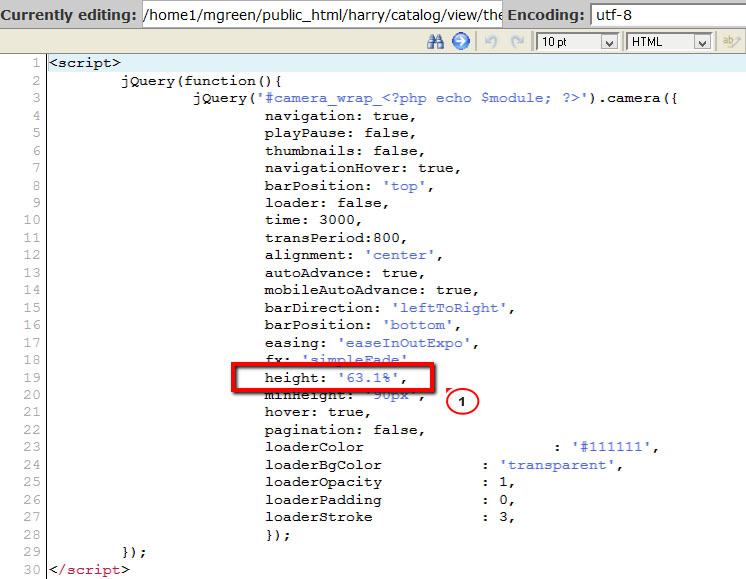
Since your new image width is 850px and its height is 540px, the new percentage should be 63.52% (540/850*100=63.52). Change height: ‘63,1%’ to height: ‘63,52%’, and save the changes.
Now your banner image should be displayed with its new dimensions.
Feel free to check the detailed video tutorial below:
