This tutorial provides an overview of system settings available in your Opencart store.
Store settings can be accessed under System -> Settings. If this is the first time administrator accesses the Settings area, there will only be one store named Your Store (Default). Clicking “Edit” under “Action” will direct you to a series of tabs containing the default settings of the store:
-
General
The general tab under Settings displays the following fields:
- Store URL: The url of the store. Remember to include the ‘http:’ at the beginning and a ‘/’ at the end.
- Store Name: The name of the store. This information will be displayed in the Contact Us page under the Customer Service section of the footer.
- Store Owner: The name used in the “From:” section of any email sent from the store.
- Address: The address of the store. This information will be displayed in the Contact Us page under the Customer Service section of the footer.
- E-mail: The store owner’s email, or general email for the store used for email notifications sent by OpenCart.
- Telephone: A telephone number for the store. This information will be displayed in the Contact Us page under the Customer Service section of the footer.
- Fax (optional): A fax number for the store. This information will be displayed in the Contact Us page under the Customer Service section of the footer.
-
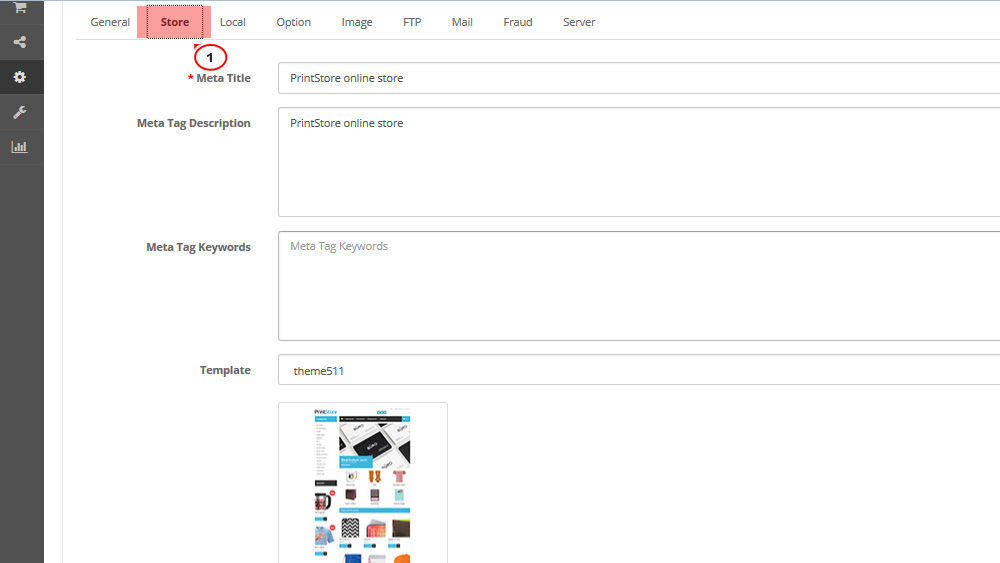
Store
The store tab under Settings displays the following fields:
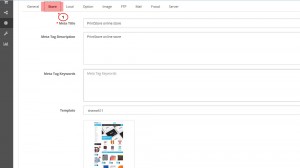
- Title: The name of the store displayed in the browser title toolbar.
- Meta Tag Description: A tag providing a metadata description for the store. Meta tags are seen by search engines.
- Template: Selects the template/theme of the store.
- Default Layout: The default layout type for the store.
-
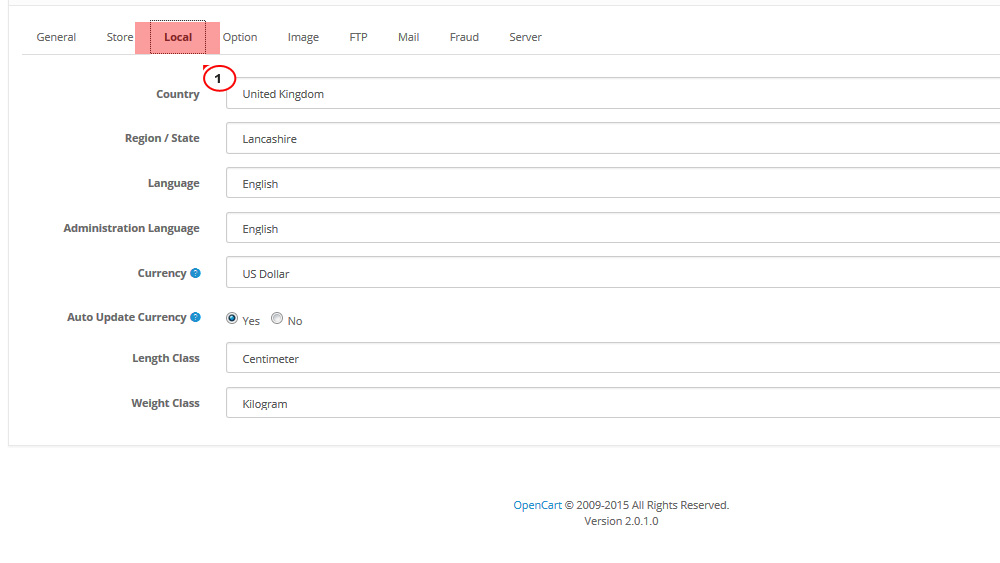
Local
The local tab displays the following fields:
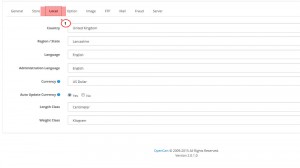
- Country: The country the store is located in.
- Region/State: The region or state the store is located in.
- Language: The language of the store front-end.
- Administration Language: The language of the administration panel.
- Currency: The default currency prices will be displayed in.
- Auto Update Currency: Updates the conversion rate between different currencies daily.
- Length Class: The units that product lengths will be displayed in.
- Weight Class: The units that product weights will be displayed in.
-
Option
The Option tab displays the following fields: Products, Reviews Vouchers, Taxes, Account, Checkout, Stock, Affiliates, Returns:
-
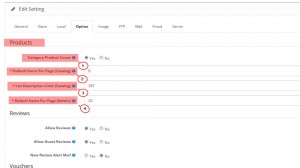
Products
-
Category Product Count: Selecting ‘Yes’ will display how many products are available within each subcategory of the parent categories located in the Top Menu.
-
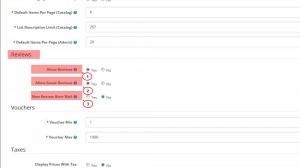
Default Items Per Page (Catalog): The number of Catalog items that can be displayed in the store front. For example, ‘5’ will set a default view of 5 products to be displayed at a time per Product Category page or Manufacturer page. The customer can customize how many products can be viewed at a time in “Show” above the product list or grid. In the store front, this number of items per page will alter how many products are viewed in the Product Category page, the Manufacturer Page, and the Search page.
-
List Description Limit (Catalog): In the list view, short description character limit (categories, specials, etc).
-
Default Items Per Page (Admin): The number of Admin items that can be displayed in the administration. For example, ’10’ will limit the number of customers listed under Sales > Customers to 10 displayed per page. This setting will affect the number of items per page under Catalog > Products, Attributes, Options, Manufacturers, Downloads, Reviews, Information; Sales > Orders, Returns, Customers, Affiliates, Coupons, Gift Vouchers; System > Layouts, Banners, Users, Localisation; and Reports > Sales, Products, Customers, Affiliates. The only way to change a number of items viewed per page is under this tab.
-
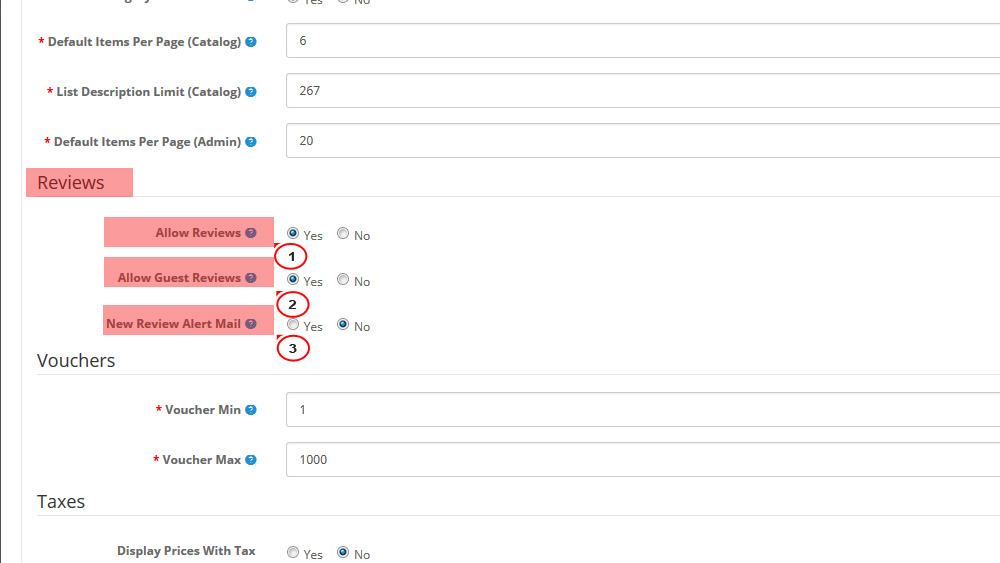
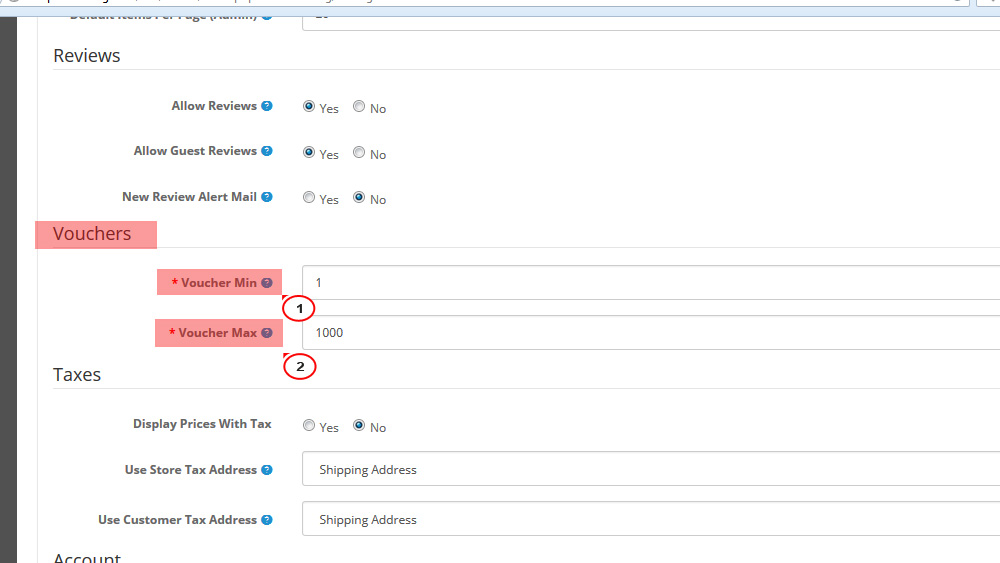
Reviews
-
Allow Reviews: Selecting ‘Yes’ allows customers to add reviews for products on their product pages. Selecting ‘No’ will remove this option from the product page.
-
Allow Guest Reviews: Allows guests to post reviews.
-
New Review Alert Mail: Allows the store owner to get an e-mail when a new review is created.
-
Vouchers
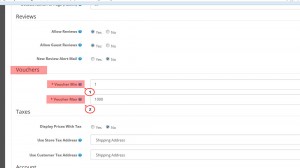
-
Voucher Min: The minimum amount that a customer can enter to purchase a gift voucher. The number added will be counted in the default currency.
-
Voucher Max: The maximum amount that a customer can enter to purchase a gift voucher. The number added will be counted in the default currency.
-
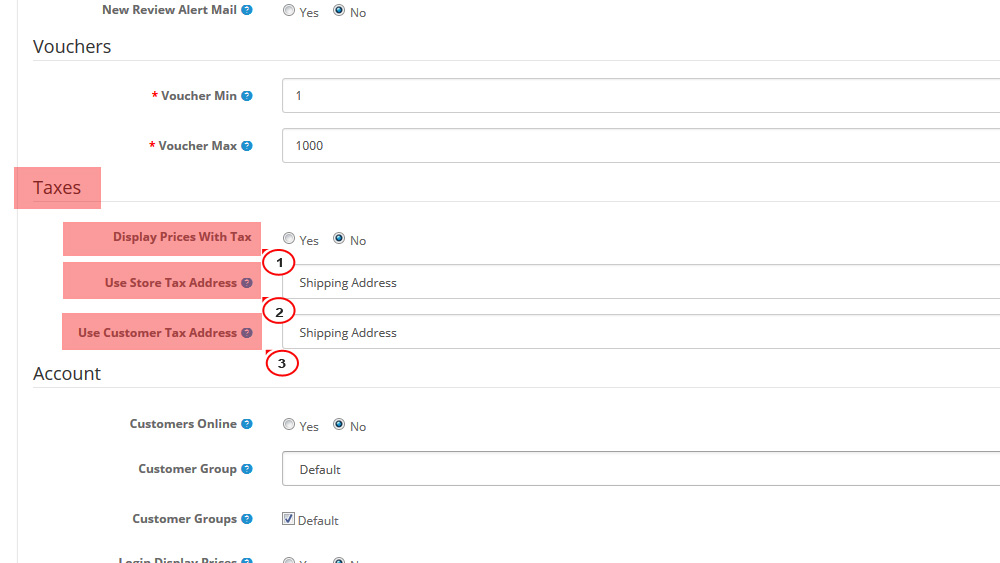
Taxes

-
Display Prices With Tax: Selecting ‘Yes’ will display the estimated tax on the product page under Price. Selecting ‘No’ will not show the price of taxes to the customers until the checkout.
-
Use Store Tax Address: The tax estimate will use either the store’s shipping or payment address if the user isn’t logged into their account with their address information.
-
Use Customer Tax Address: The tax estimate will use the customer’s shipping or payment address if they are logged into their store account.
-
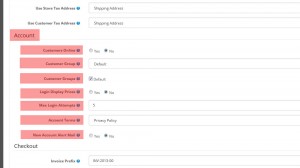
Account
-
Customers Online: Allows to track customers online via the customer reports section.
-
Customer Group: Allows to select the default customer group that customers will be sorted into when they create an account. To edit a customer group for each customer, check
Customer groups.
-
Customer Groups: Allows the customer to select what customer group to be assigned to when creating their account.
-
Login Display Prices: Selecting ‘Yes’ will require the user to create a customer account to see the prices of products in the store. Selecting ‘No’ will let anyone with access to the store see the product prices.
-
Max Login Attempts: Maximum login attempts allowed before the account is locked for 1 hour. Customer and affiliate accounts can be unlocked on the customer or affiliate admin pages.
-
Account Terms: If “About Us”, “Delivery Information”, “Privacy Policy”, or “Terms and Conditions” is selected, the user will have to read and agree to the terms of those pages before creating an account with the store. Selecting “None” will let the user create an account without agreeing to any terms.
-
New Account Alert Mail: Allows the store owner to get an e-mail when a new account is registered.
-
Checkout
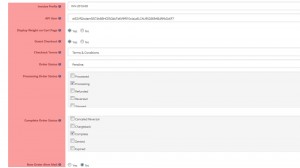
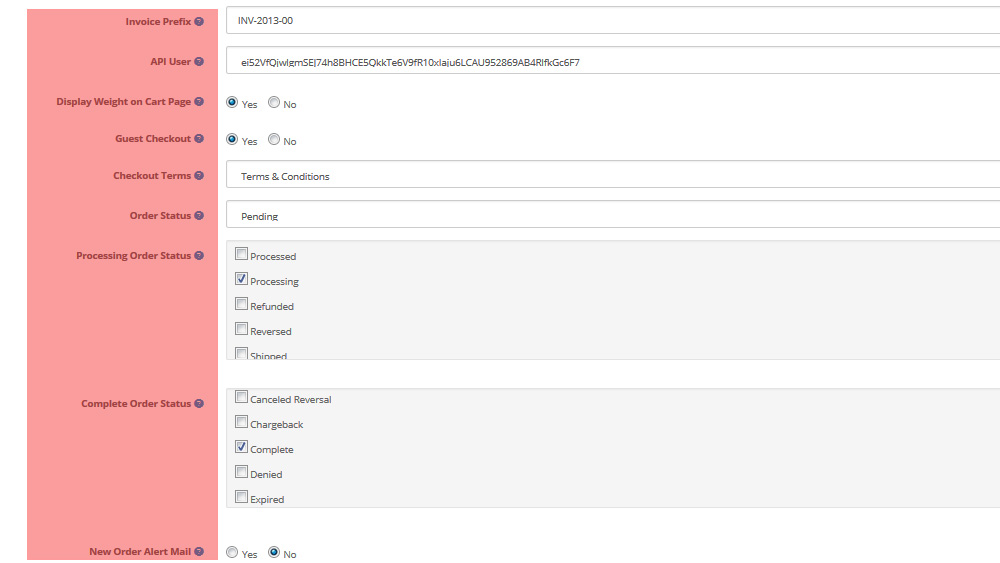
- Invoice Prefix: Set the invoice prefix (e.g. INV-2011-00). Invoice IDs will start at 1 for each unique prefix.
- API User: Default API user the admin should use.
- Display Weight on Cart Page: Selecting ‘Yes’ will display the weight of a product at the top of the Checkout page. For the weight to be displayed, there needs to be a weight number added to the product under its Data tab. See Products for more information.
- Guest Checkout: Selecting ‘Yes’ enables users to go through the checkout process without creating a store account. Selecting ‘No’ requires the user to create a store account before checking out.
- Checkout Terms: Selecting an Information page listed in the drop down box forces the user to agree to the terms of that page in “Step 6: Confirm Order” of checkout. Selecting ‘None’ lets the customer confirm their order without agreeing to any terms.
- Processing Order Status: Allows to set the order status the customer’s order must reach before the order starts stock subtraction and coupon, voucher and rewards redemption.
- Complete Order Status: the default status for a complete order.
- New Order Alert Mail: Allows the store owner to get an email when a new order is created.
-
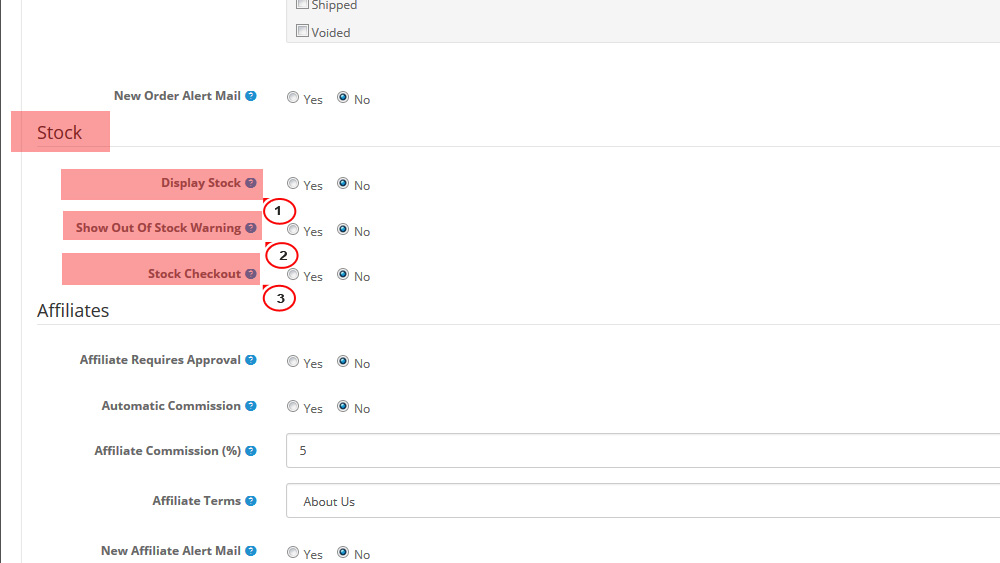
Stock
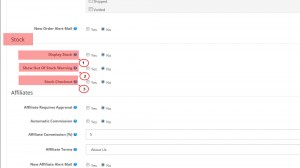
- Display Stock: the amount of product left in the store inventory.
- Show Out Of Stock Warning: displays the Out of Stock warning on the product page in the store front, if this product is out of stock. A product will be out of stock if its quantity in the Data tab reaches 0. It will reach 0 if the subtract stock option is selected. This option subtracts a stock with every purchase of the product.
- Stock Checkout: allows the customer to check out if the product is out of stock.
-
Affiliates
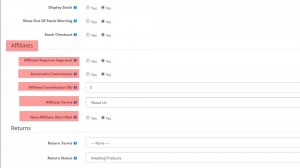
- Affiliate Requires Approval: Allows to automatically approve any new affiliates who sign up.
- Automatic Commission: Allows to automatically add commission when each order reaches the complete status.
- Affiliate Commission (%): the default percentage an affiliate will make from a customer purchase.
- Affiliate Terms: makes an affiliate agree to the terms on one of the Information pages in order to make an affiliate account.
- New Affiliate Alert Mail: Allows the store owner to get an email when a new affiliate is registered.
-
Returns
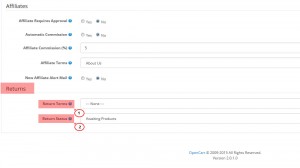
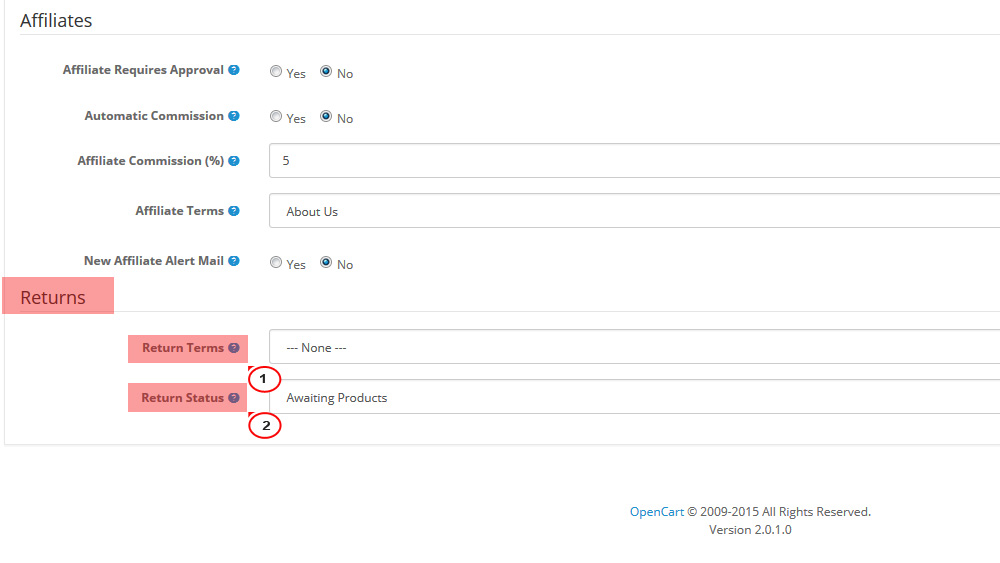
- Return Terms: Forces people to agree to terms before a return can be created.
- Return Status: the default status a customer will see in their account after submitting a return form under Customer Service > Returns; displays either “Awaiting Products”, “Completed”, or “Pending”.
-
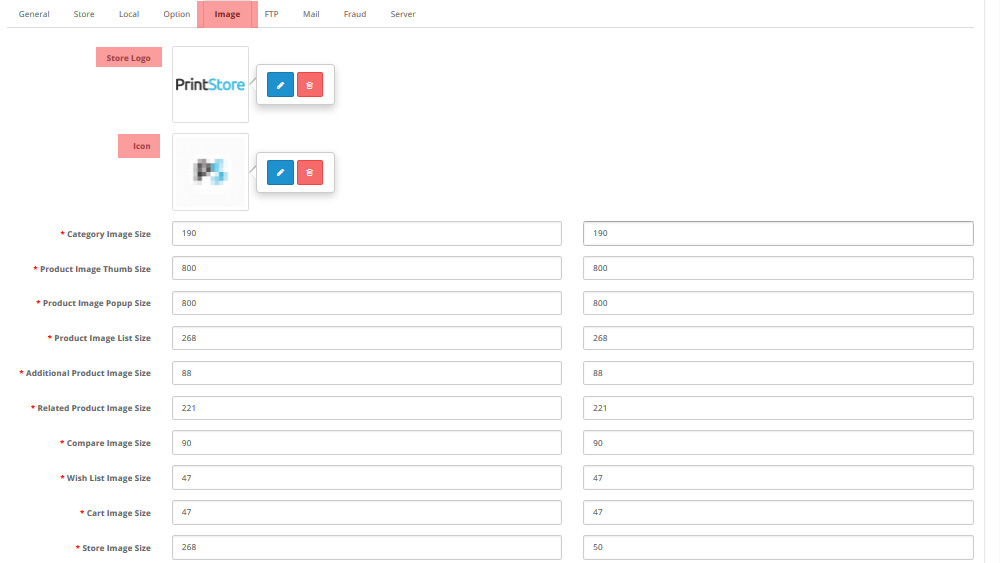
Image
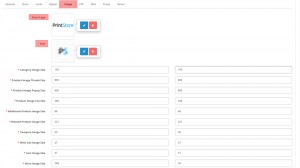
The Image tab under Settings customizes the images for the store:
- Store Logo: Allows to upload a store logo from the store or the admin’s computer using Image manager.
- Icon: Allows to upload a favicon for the store using Image manager.
- Image Sizes: Lets you customize the pixel width by length for specific images in the store front.
-
FTP
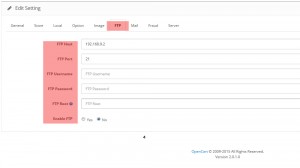
- FTP Host
- FTP Port
- FTP Username
- FTP Password
- FTP Root: The directory your OpenCart installation is stored in. Normally ‘public_html/’.
- Enable FTP: Allows to enable/disable FTP.
-
Mail
The mail tab under Settings displays the following fields:
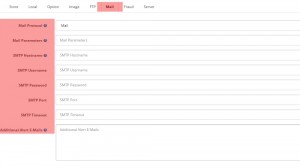
- Mail Protocol: Lets you choose between sending mail to the host’s email, or through an SMTP. You should contact your shop’s hosting provider to see if PHP mail is configured. If not, you need to use a SMTP, such as gmail.
- Mail Paramaters: Asks for the e-mail address for the store if “Mail” was selected under Mail Protocol.
- SMTP Hostname: The address of the smtp host.
- SMTP Username: The full email address for the SMTP host.
- SMTP Password
- SMTP Port: The port number provided by the SMTP host.
- SMTP Timeout: A timeout provided by the SMTP host.
- Additional Alert E-mails: List any additional e-mails that should also receive the notification emails described above.
-
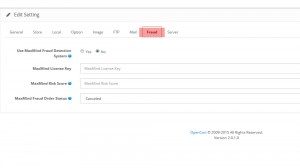
Fraud
The Fraud tab under Settings allows you to sign up to use the MaxMind Fraud Detection System for OpenCart. Visit MaxMind for more information.
-
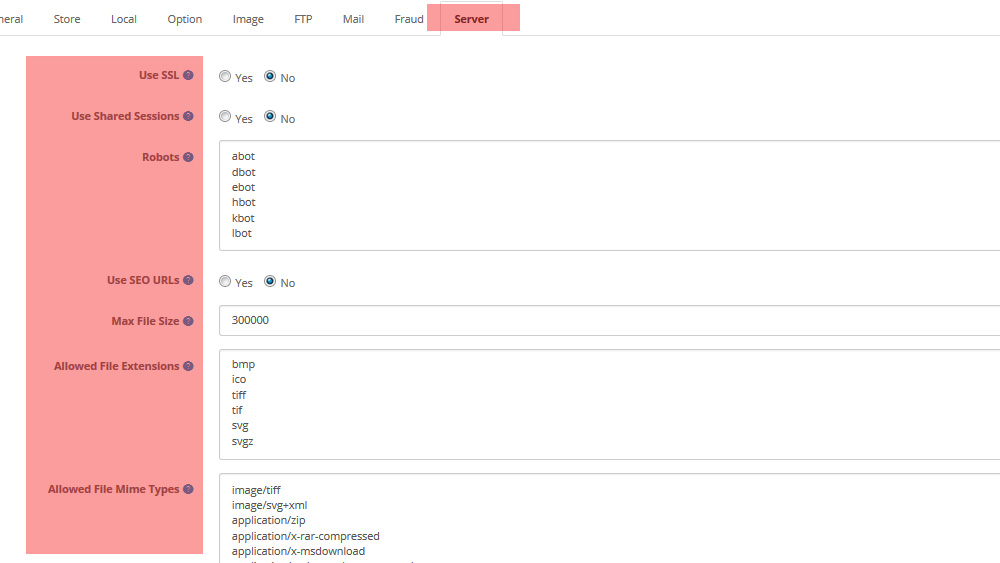
Server
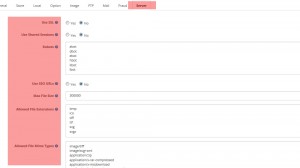
The server tab under Settings displays the following fields:
- Use SSL: Enables HTTPS on your store. This requires a valid SSL certificate installed on your webserver.
- Used Shared Sessions: Enables session information stored from the shopping cart to be shared between multiple domains/stores.
- Robots: Add or remove bot user agents from accessing shared sessions.
- Use SEO URL’s: Enable OpenCart SEO keyword functionality for information, category, manufacturer and product pages. This requires a correct .htaccess file.
- Max File Size: The maximum image file size you can upload in Image Manager. Enter it in bytes.
- Allowed File Extensions: Add or remove the file formats that can be uploaded to your store’s server.
- Allowed Mime Types: Add or remove allowed mime types.
- Maintenance Mode: Allows to restrict viewing your store front-end to logged in admin users while you make changes to your store.
- Allow Forgotten Password: Allows admin to request a new password if it is forgotten.
- Encryption Key: Allows to enter a combination of numbers and letters to encrypt private information.
- Outpout Compression Level: The level of HTTP compression to be used in your HTTP headers.
- Display Errors: Allows to display the PHP errors, warnings and notices produced by your store. This should be set to “No” for a live store.
- Log Errors: Allows to log PHP errors, warnings and notices produced by your store.
- Error Log Filename: Allows to select the file where errors will be logged if Log Errors is set to “Yes”.
- Google Analytics Code: The code provided for the store site from the store’s Google Analytics account here.