


- Web templates
- E-commerce Templates
- CMS & Blog Templates
- Facebook Templates
- Website Builders
FAQs
General Tutorials
Featured templates
MonsterONE Subscrioption


This tutorial will show you how to install OpenCart 2 engine and template on localhost.
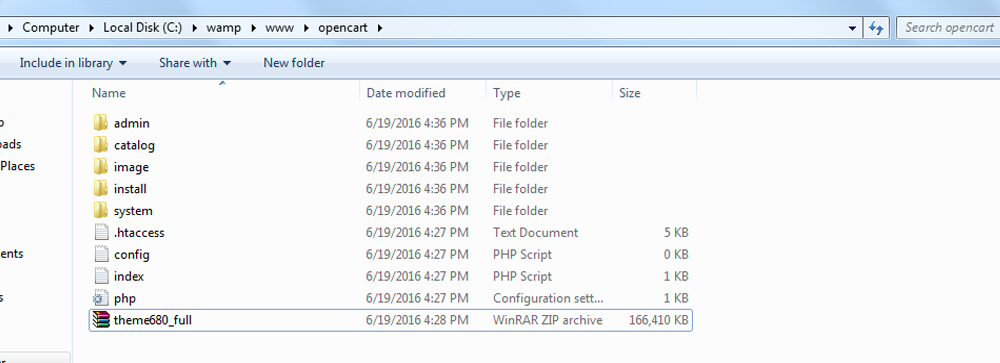
Copy the themeXXX(full).zip from themeXXX folder to your localhost folder.
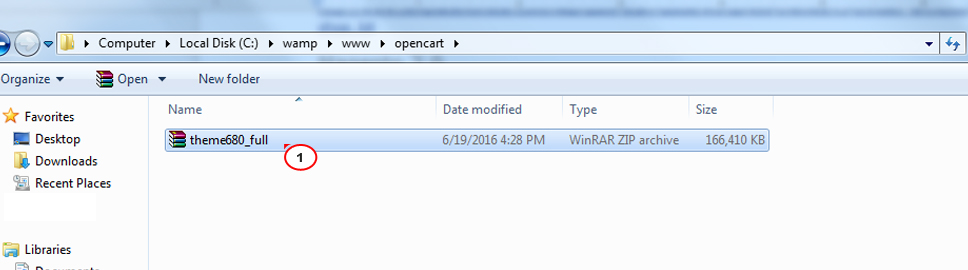
Next, unzip the archive.
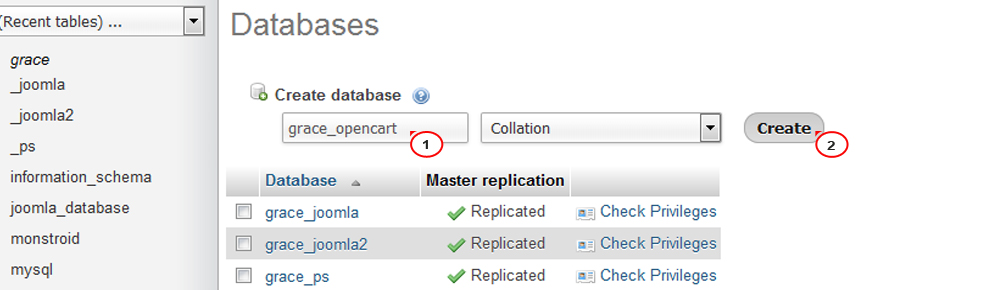
Create a new database with your database management tool for OpenCart installation. It’s usually accessible via PHPMyAdmin tool within your local hosting software.
Then, open your website url: localhost/yourwebsitefolder and proceed with installation.
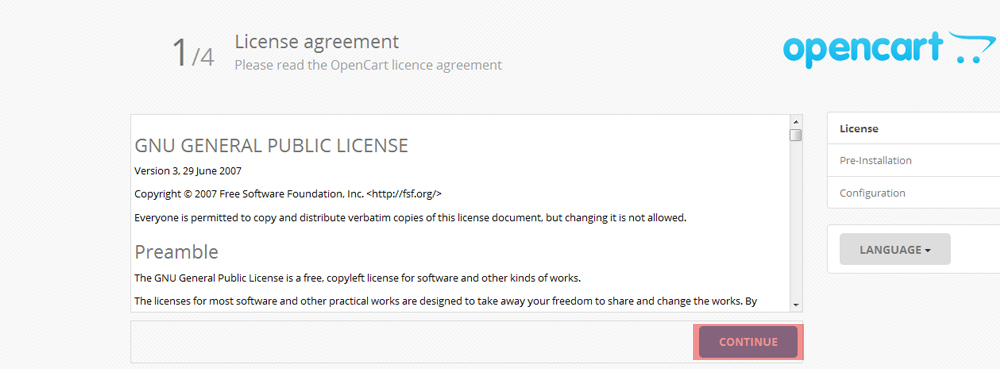
Check an OpenCart license agreement and click the Continue button if you accept the terms.
On the second step OpenCart is going to check if your hosting settings match the required ones and if the files and folders permissions are correct.

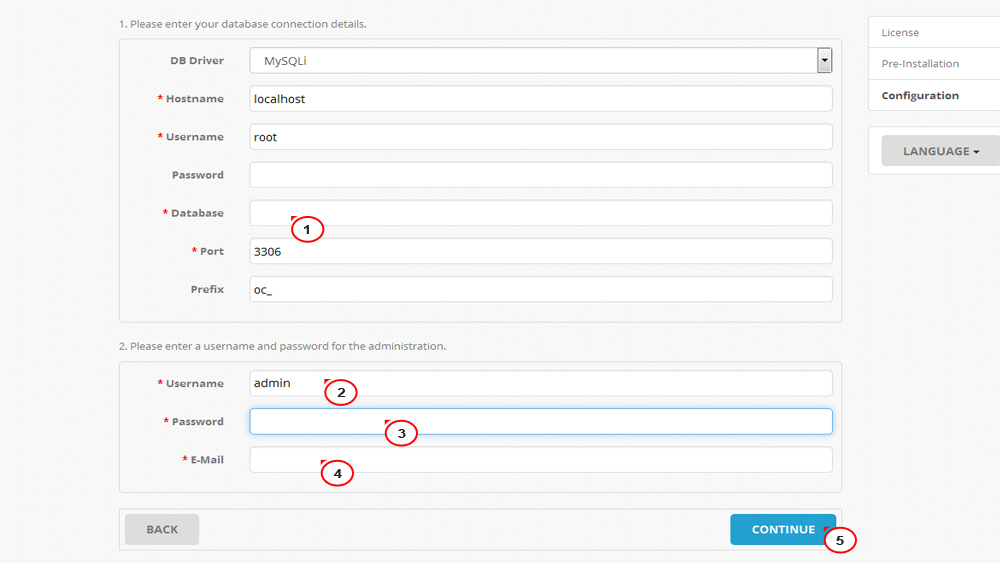
On the Configuration step you’ll need to input your database and administrator user details. Click the Continue button to complete installation.
For security reasons make sure to delete or rename ‘install’ folder in the root folder of OpenCart installation.
When ‘install’ folder is deleted or renamed, installation is completed. You can enter site admin panel by adding /admin to your site address.
That is the end of the tutorial. Now you know how to install OpenCart 2.0 engine and template on localhost.
Try other templates for your estore! Look up the collection of professional OpenCart themes.
Feel free to check the detailed video tutorial below:
OpenCart 2.x. How to install OpenCart engine and template on localhostIn the event you might need more templates to choose from, go ahead and see Best OpenCart Themes 2017.
