


- Web templates
- E-commerce Templates
- CMS & Blog Templates
- Facebook Templates
- Website Builders
FAQs
General Tutorials
Featured templates
MonsterONE Subscrioption


This tutorial shows how to link products to the categories in OpenCart 2.x.
OpenCart 2.x. How to link products to the categories
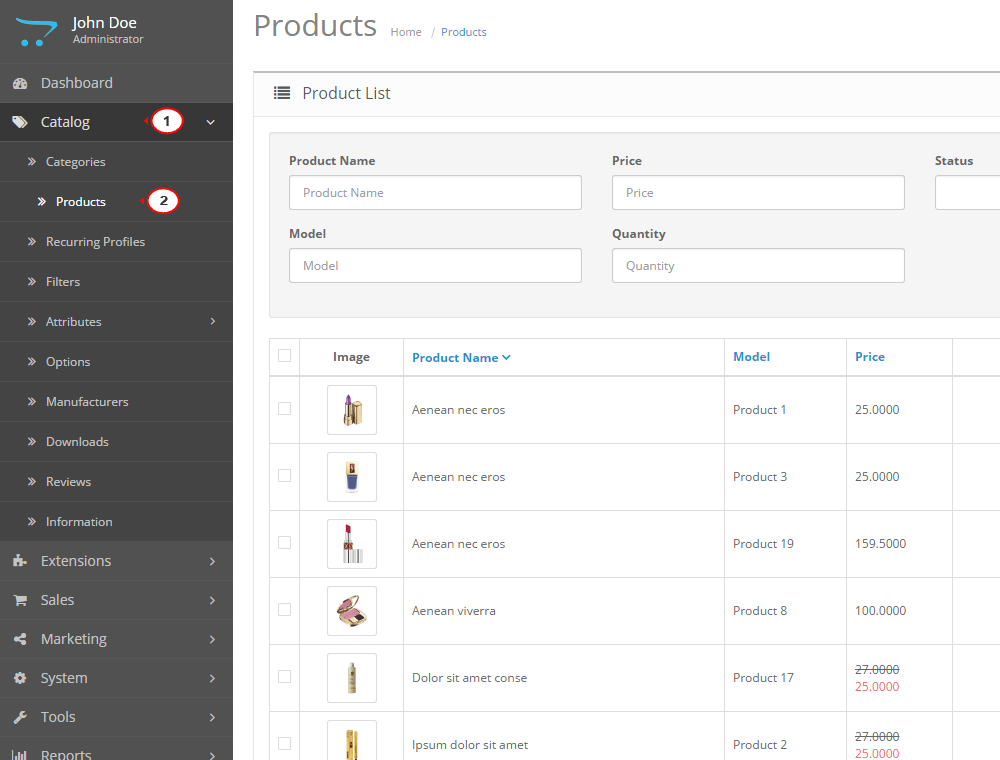
You can configure the products and assign them to different categories in OpenCart admin panel easily. Navigate to the store’s dashboard, hover over ‘Catalog’ section and select ‘Products’ from the list:
Locate the product to modify and click ‘Edit’ button. Perform the following steps then:
Click the ‘Links’ tab on top.
Under the ‘Categories’ section you can see the list of categories the product is linked to. Feel free to remove them to choose new ones instead.
Start typing the category name in there. Thanks to the auto-fill option the list of matching titles will show up. Select the required ones.
Save changes once you are done editing:

Get back to the site front-end. The product shows up under the selected category(ies) now.
When creating new product, you can assign it to the specific category(ies) the same way.
Feel free to check the detailed video tutorial below:
