


- Web templates
- E-commerce Templates
- CMS & Blog Templates
- Facebook Templates
- Website Builders
FAQs
General Tutorials
Featured templates
MonsterONE Subscrioption


This guide will show you how to set up and manage products filters in Opencart.
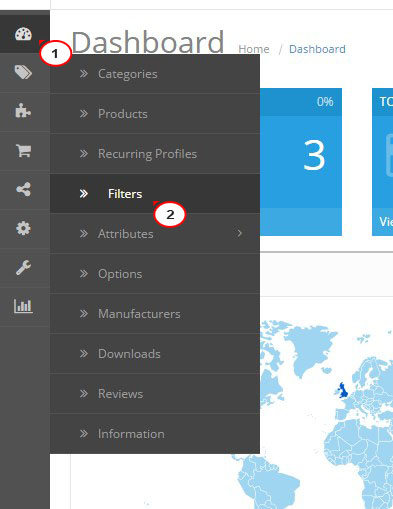
OpenCart 2.x. How to set up and manage products filtersLog into the admin panel of your site. From the top menu select Catalog -> Filters:
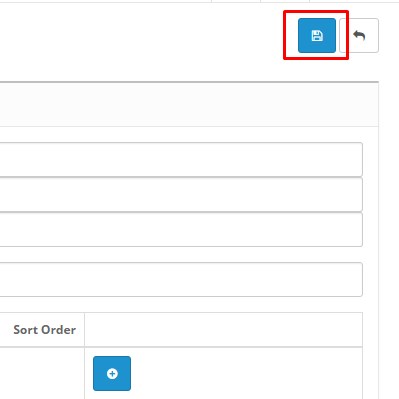
Next, click the insert button on the right to add the filters. Product Filters are added in the same way as product options. Save the changes by clicking Save at the top right:
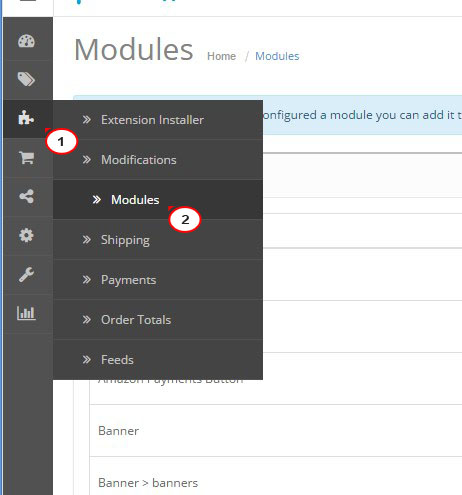
Now go to Extensions – Modules and search for Filter module. Click Install button to install it if it is not installed yet:
Click Edit and open it, enable the module and click Save button to save the changes:
Go to the top menu Catalog -> Products. Click Edit on one of the products, on the manage product screen choose the Links tab and look for the Filters section:
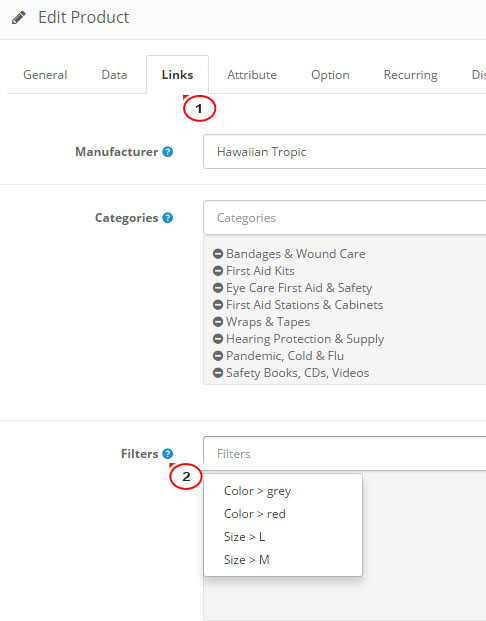
The Filter box is a standard auto complete box. Simply type in a part of the filter name. Add as many filters you wish the product to belong to. Save your changes when finished:
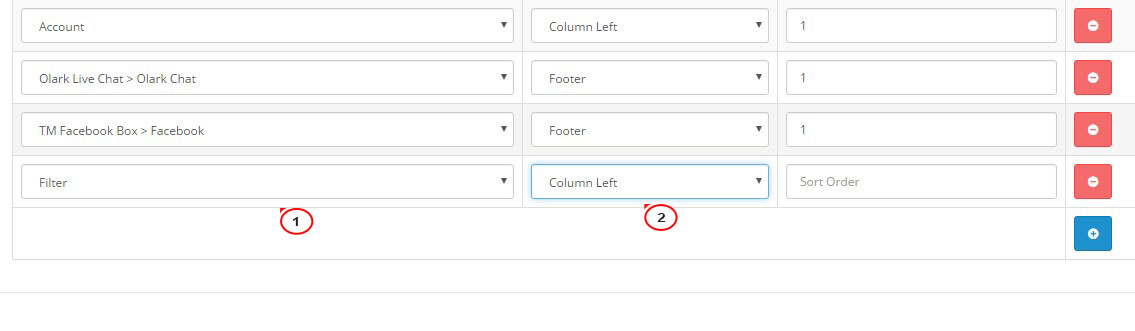
Now link the filter to the category page. Go to System -> Design -> Layouts -> Category, click the Add Module button. If you want to display the filters in the left column of the category listing page, you should mirror the settings as follows: Module: Filter, Position: content left. Click Save:
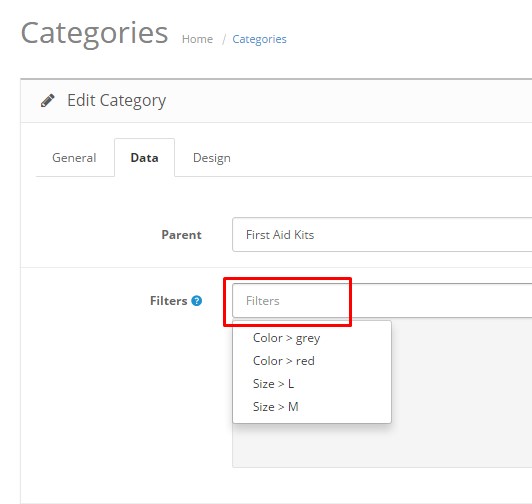
Click Edit on the categories which products have filters assigned to. Choose the Data tab and look for the Filters section. Type in a part of the filter name to add the same filters added to your categories. Save your changes when finished:
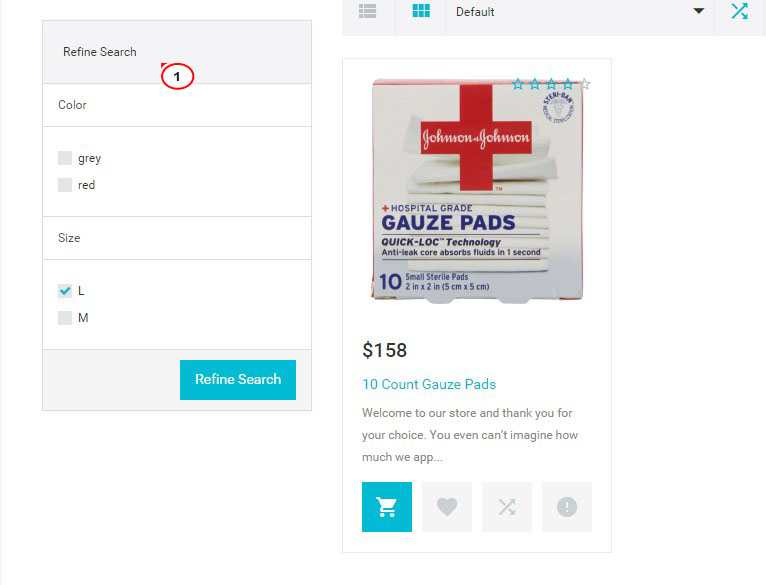
When you are done, go to the category page and you will see the new filter box:
Feel free to check the detailed video tutorial below:
OpenCart 2.x. How to set up and manage products filters