


- Web templates
- E-commerce Templates
- CMS & Blog Templates
- Facebook Templates
- Website Builders
FAQs
General Tutorials
Featured templates
MonsterONE Subscrioption


This tutorial will show you how to add/manage images using WYSiWYG editor in PrestaShop 1.6.x.
PrestaShop 1.6.x. How to add/manage images using WYSiWYG editor
In this tutorial we will add a new image to CMS page.
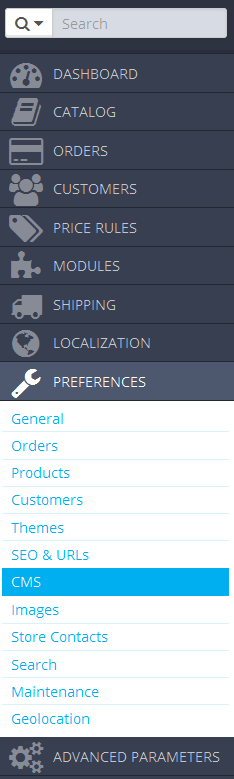
Navigate to Preferences->CMS:
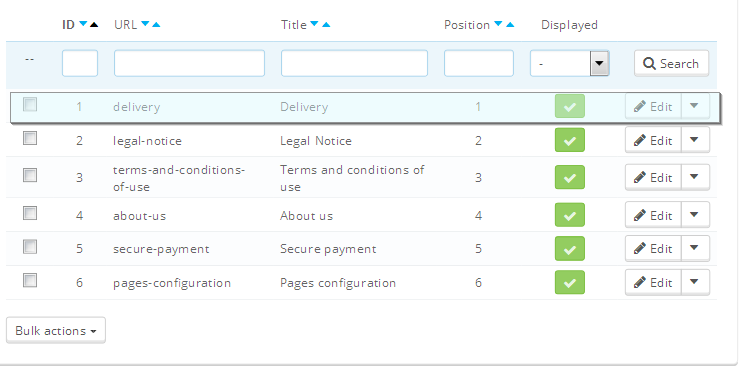
Locate the needed page, click Edit button:
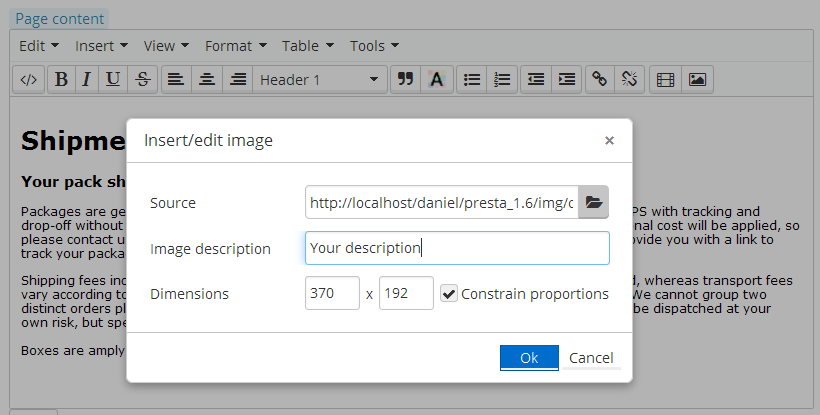
Add any image, using WYSIWYG editor. Click ‘Insert’ – > ‘Insert Image’.
Upload any image from your hard drive, specify Image description and needed Dimensions:
Save the changes.
We’ve successfully added new image to CMS page.
Feel free to check the detailed video tutorial below:
PrestaShop 1.6.x. How to add/manage images using WYSiWYG editor
