


- Web templates
- E-commerce Templates
- CMS & Blog Templates
- Facebook Templates
- Website Builders
FAQs
General Tutorials
Featured templates
MonsterONE Subscrioption


Hello! This video tutorial shows how to apply custom image type to specific products in PrestaShop templates.
PrestaShop 1.6.x. How to apply custom image type to specific products
You may want to create your own image type and apply it to some images group in your store. Let’s learn how to do that.
The tutorial assumes you are already logged into your Prestashop admin panel.
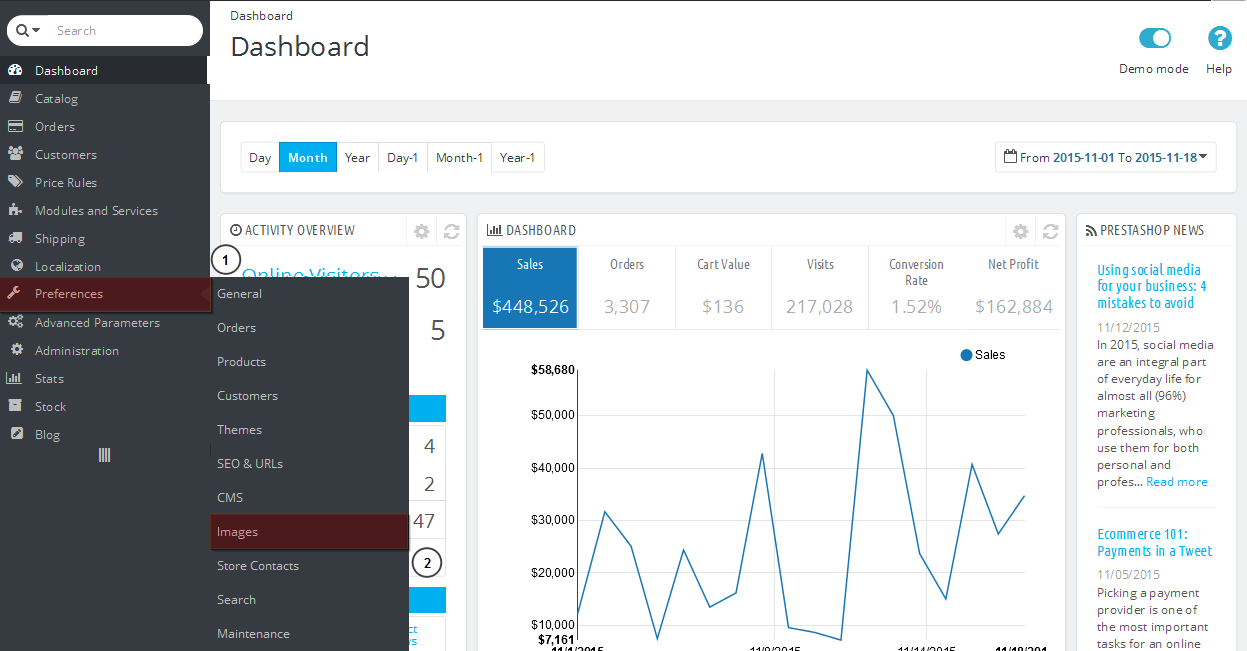
Navigate to Preferences ->Images tab:
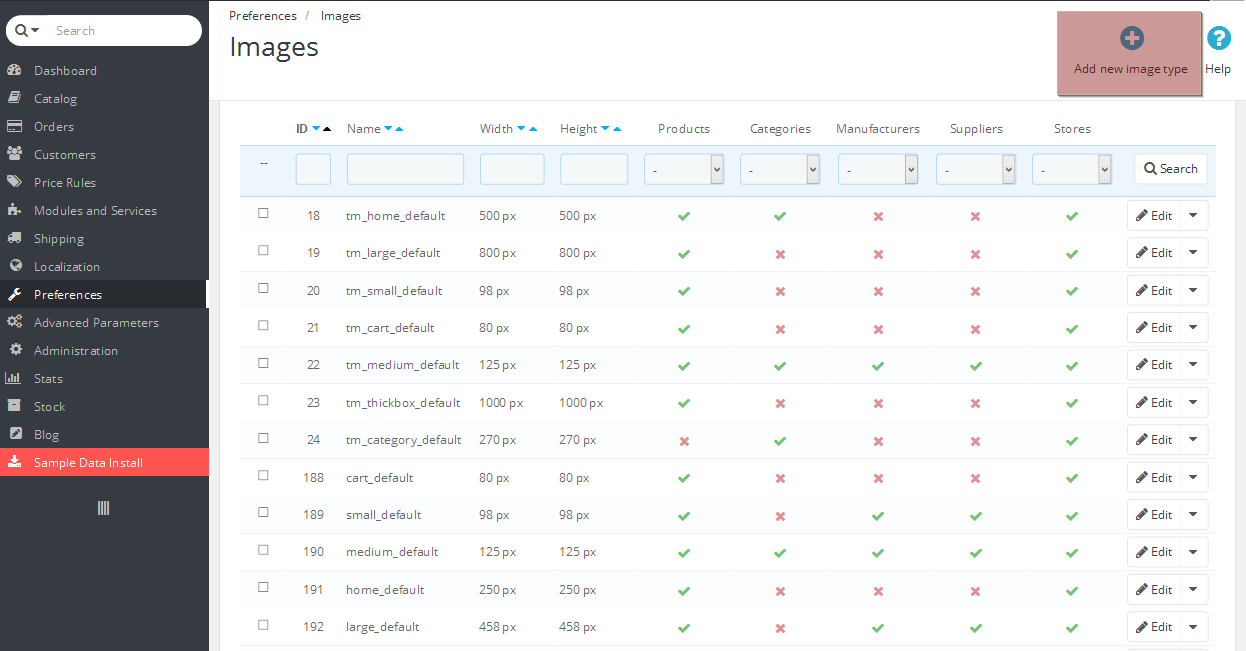
On the appeared screen click the “Add new image type” button at the upper right corner:
Now that the image type adding interface is opened fill in all the required fields. Make sure to set the “Products" option to “Yes” while having other options set to “No”. Click “Save” button at the bottom right corner to apply changes:

The custom image type is successfully added.
Now let’s apply it to some products group.
Let’s say, you want to apply newly created image type to New Arrivals block on the Home page:

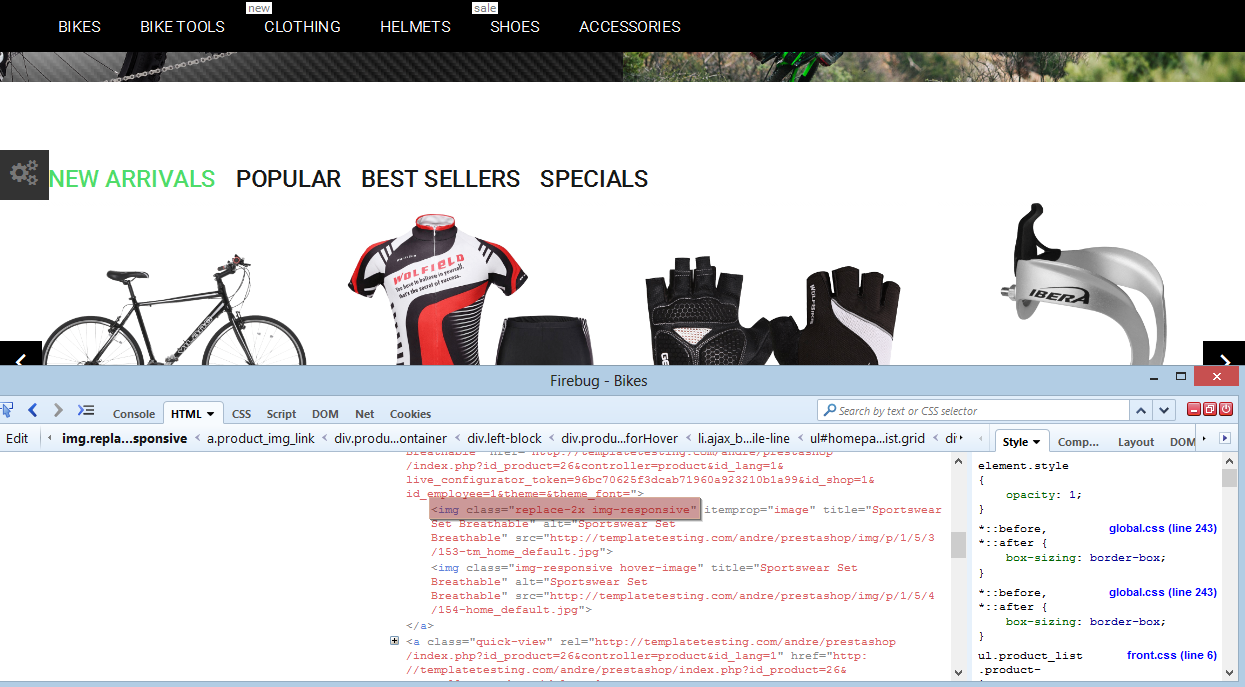
Find out products image class using Firebug extension for Firefox or Developer’s tool of any other browser:
Use Total Commander or other FTP client that allows searching through files and search for specific class text.
The found file is blocknewproducts.tpl
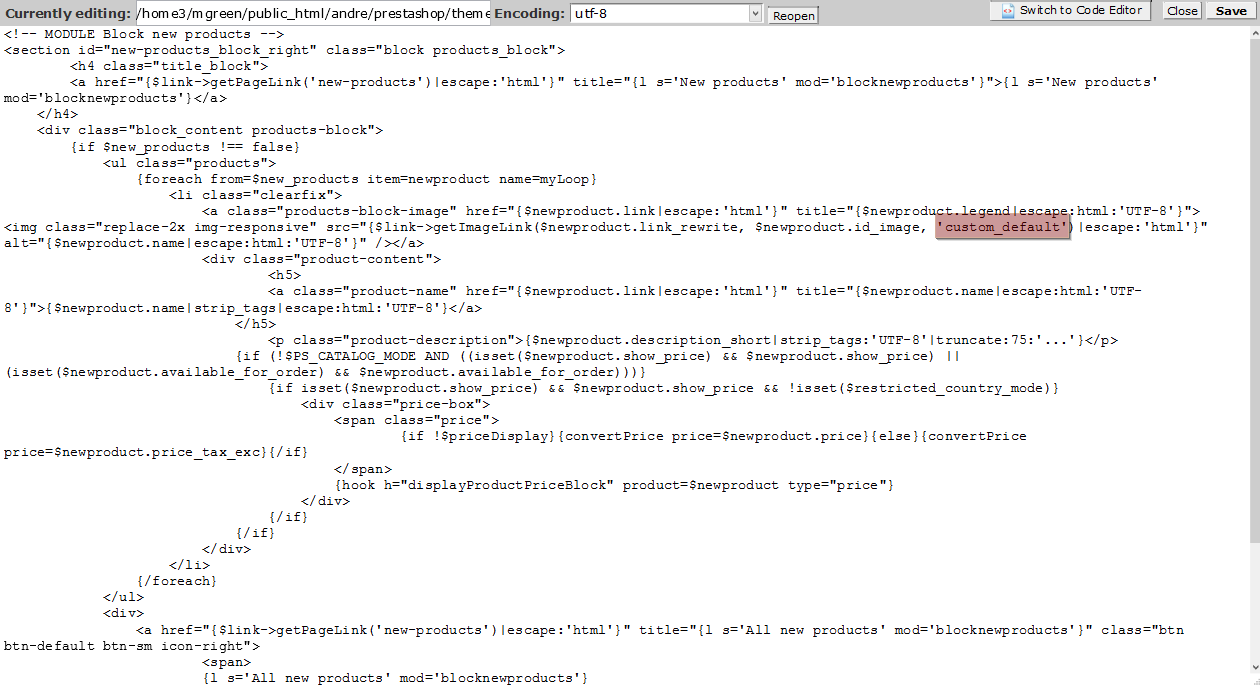
Open it for editing and look for the similar line of code there:
<img class="replace-2x img-responsive" src="{$link->getImageLink($newproduct.link_rewrite, $newproduct.id_image, 'tm_small_default')|escape:'html'}" alt="{$newproduct.name|escape:html:'UTF-8'}" />
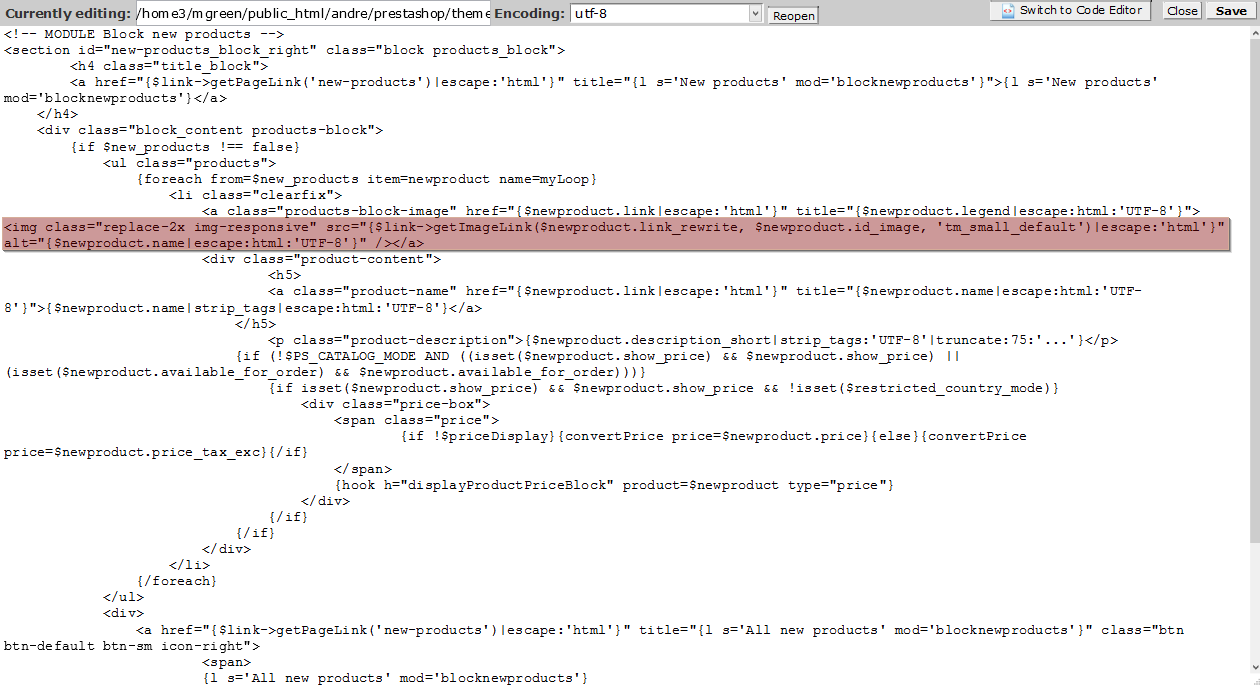
Pay attention to the “src” attribute where the image type is defined:
src="{$link->getImageLink($newproduct.link_rewrite, $newproduct.id_image, 'tm_small_default')|escape:'html'}"
Replace the tm_small_default text with previously created image type name – custom_default:
Make sure to save the file to apply the changes.
It is very important to perform thumbnails regeneration in order to have changes applied to the store front-end.
Navigate back to the images preferences interface in Prestashop admin panel.
Scroll down to the very bottom of the page and click “Regenerate images” button in the bottom right corner:

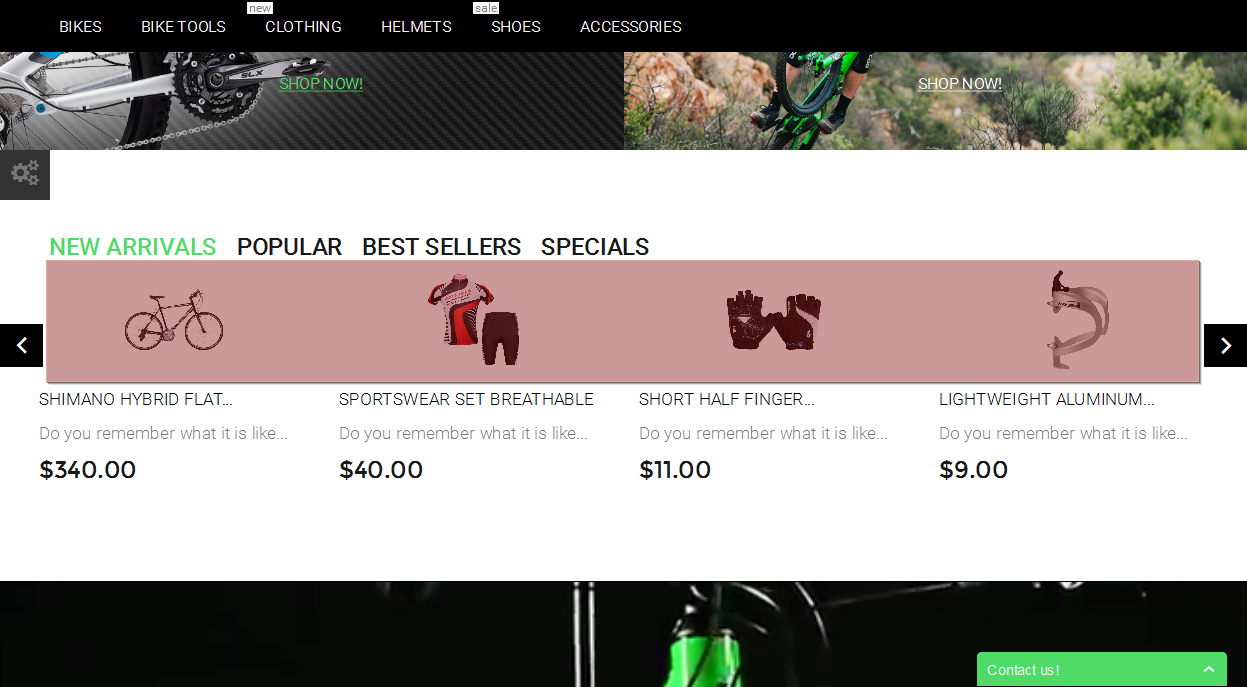
Once you receive a success message, navigate to your store front page and refresh it to see changes.
Your custom image type is successfully applied to the New Arrivals block products:
This is the end of the tutorial. You have learnt how to apply custom image type to specific products in your Prestashop template.
Feel free to check the detailed video tutorial below:
PrestaShop 1.6.x. How to apply custom image type to specific products
