


- Web templates
- E-commerce Templates
- CMS & Blog Templates
- Facebook Templates
- Website Builders
FAQs
General Tutorials
Featured templates
MonsterONE Subscrioption


This tutorial will show you how to install a Styler update pack on a freshly installed Prestashop engine.
PrestaShop 1.6.x. How to install Styler (update packs) from scratchThe Styler theme comes with several updates. Each update has a different layout. If you’d like to install one of them, this tutorial is for you.
In order to install a Styler update pack, you need to take the following steps:

Install the Prestashop engine:
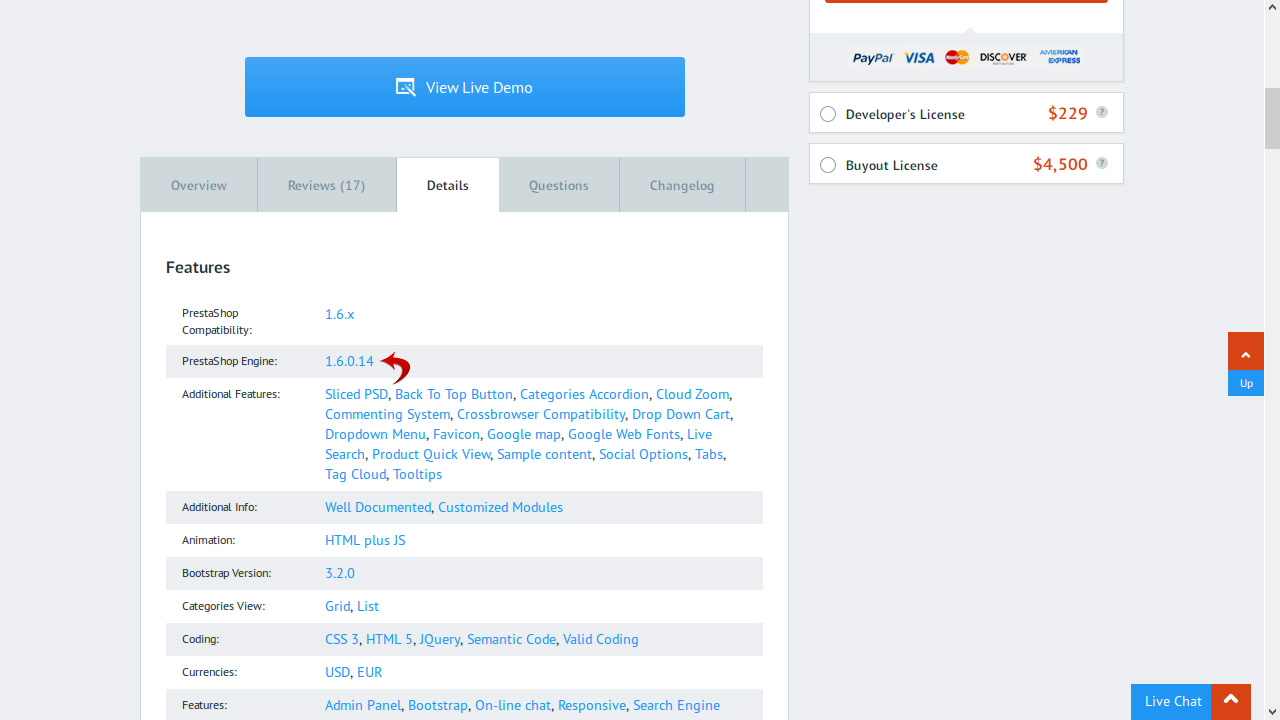
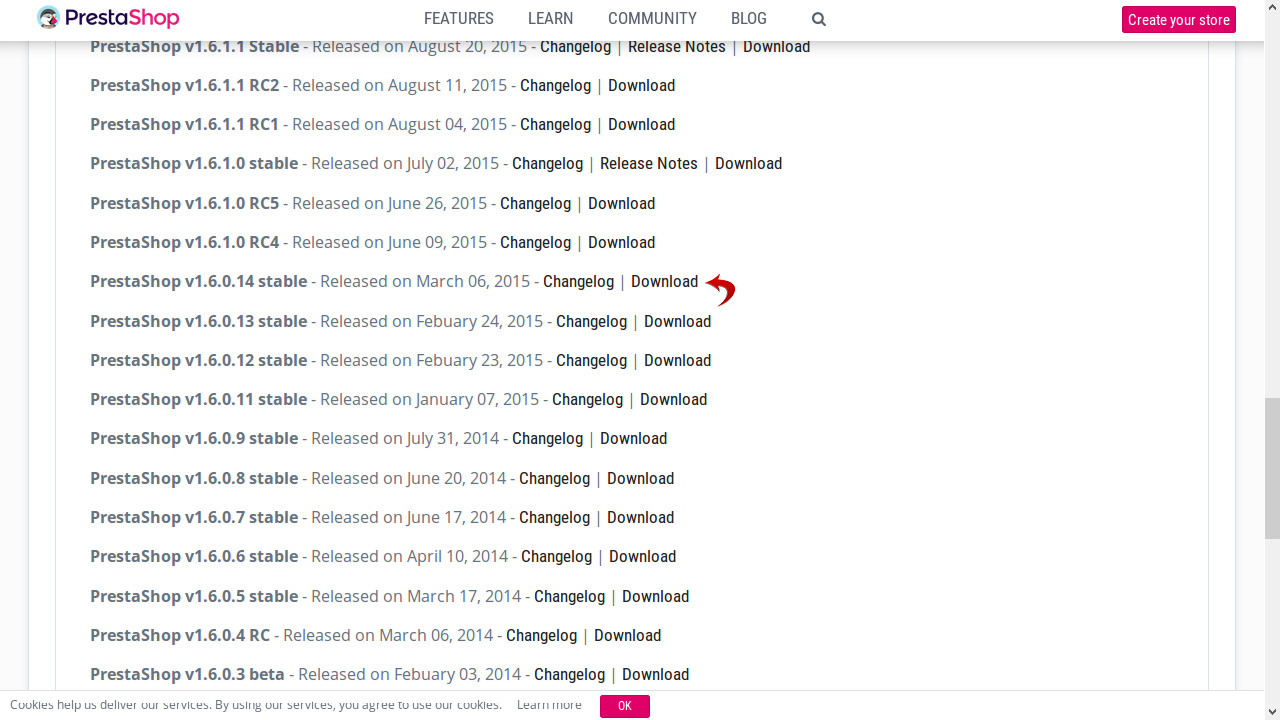
Download the right engine version. You can check the version on the Styler theme’s page. Currently it’s 1.6.0.14.
You can download the engine from the Previous Versions page.
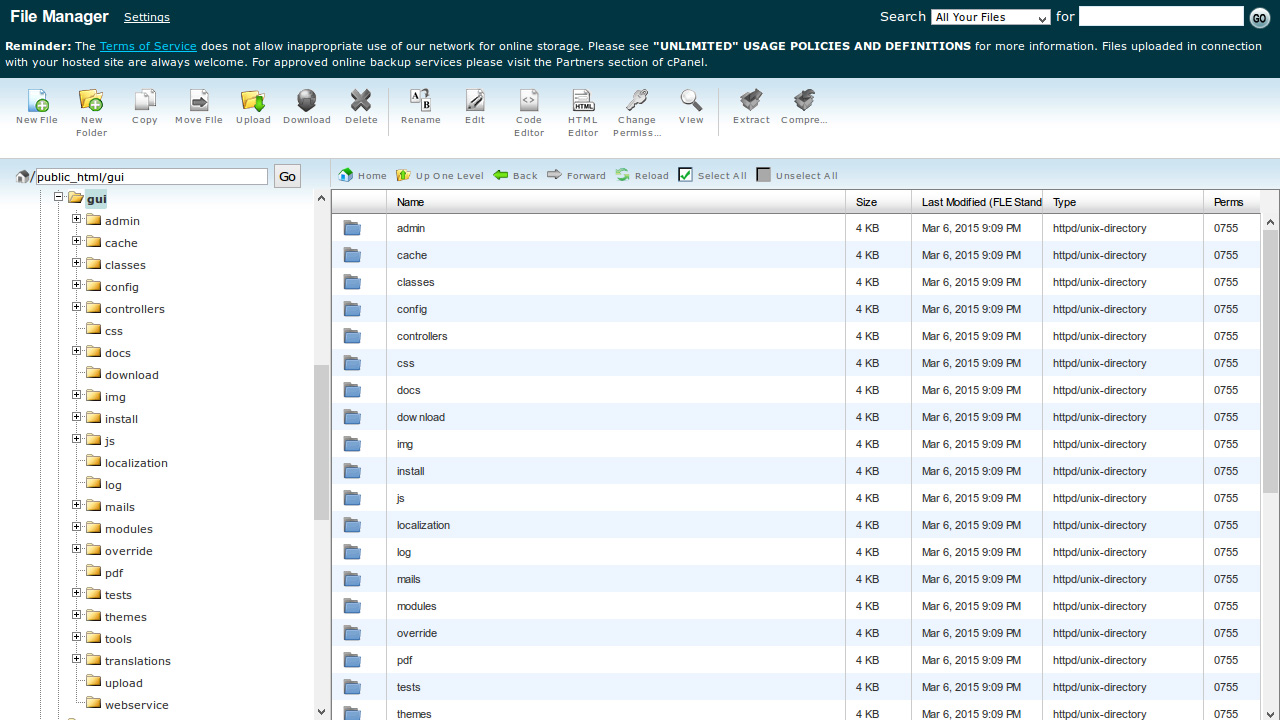
Upload the downloaded Prestashop engine pack to your server and unzip the archive to your website root folder.
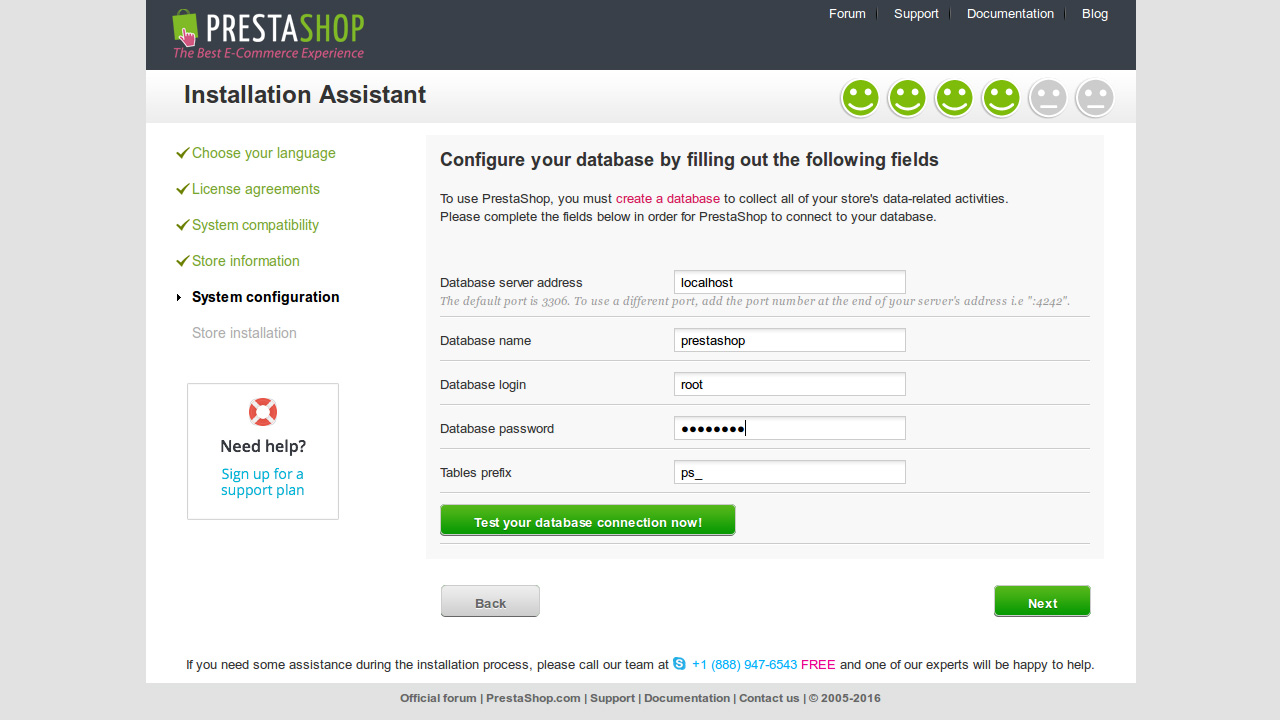
Enter your website URL and follow the installation steps. You’ll need to specify your database details: database name, username, password and database host.
Wait until the engine installation is finished. It may take several minutes.

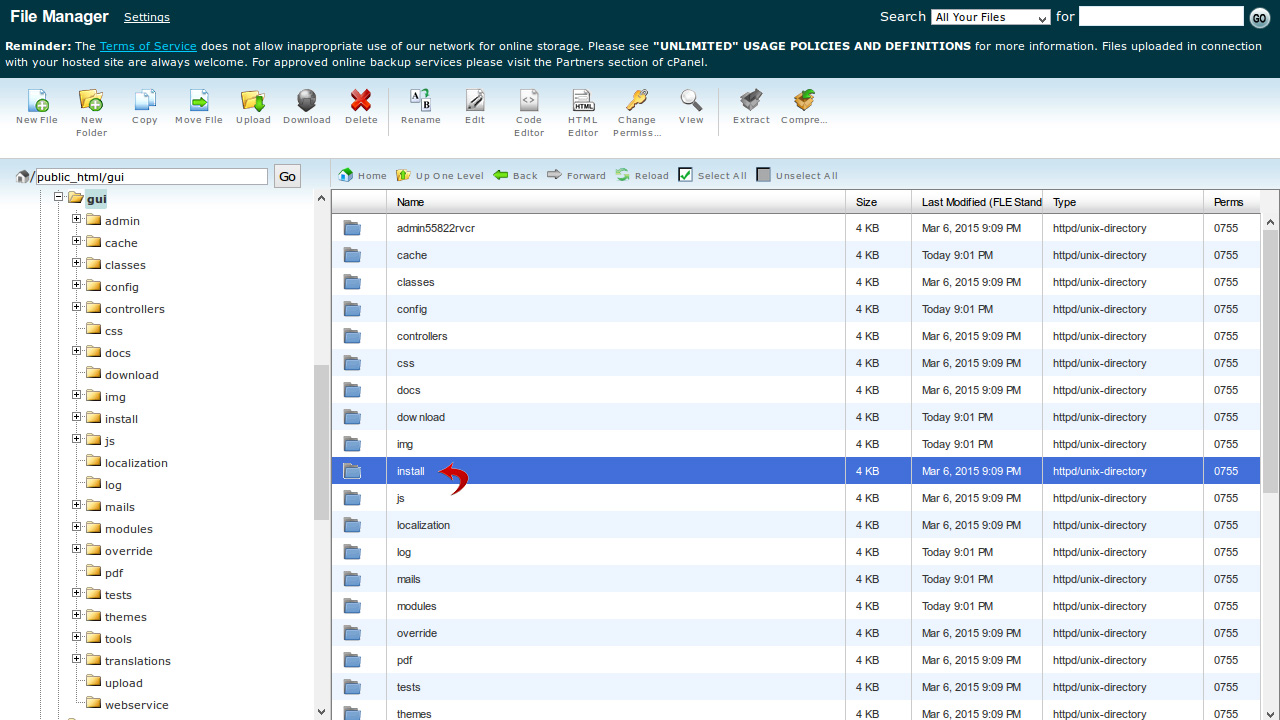
When the installation is finished, remove the /install folder.
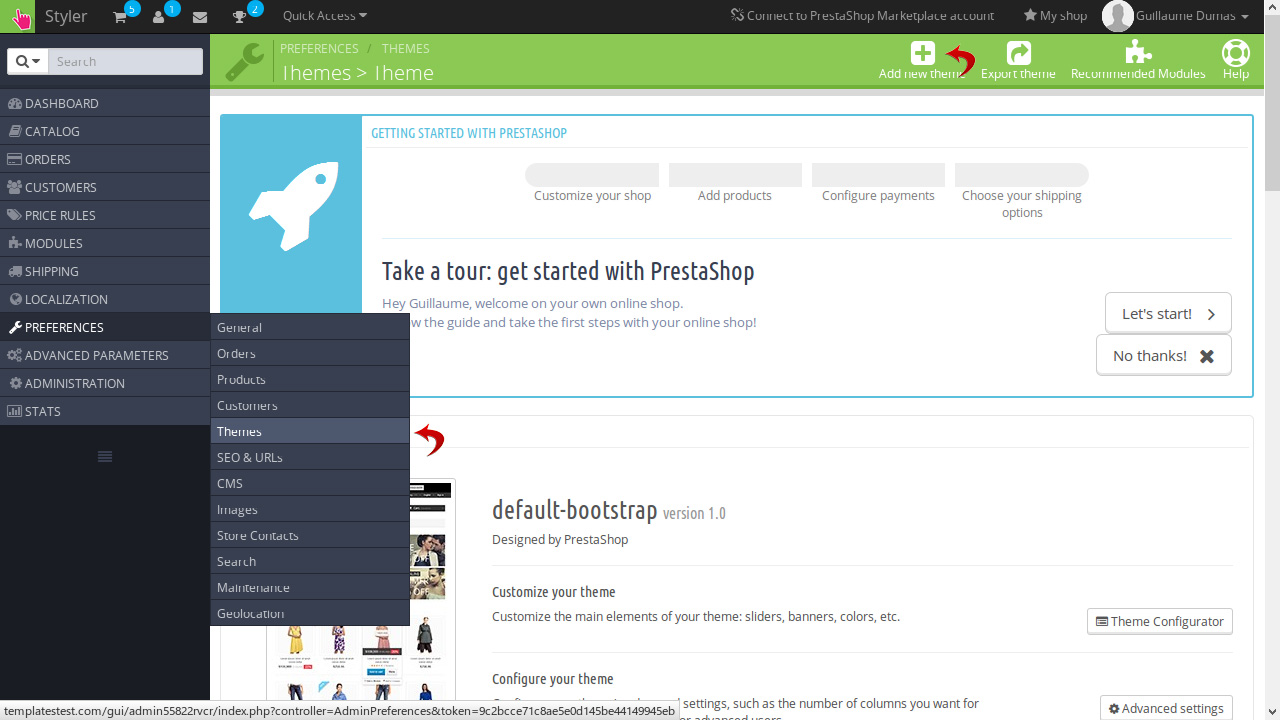
Login to your Dashboard, go to Preferences – Themes and click Add new theme.
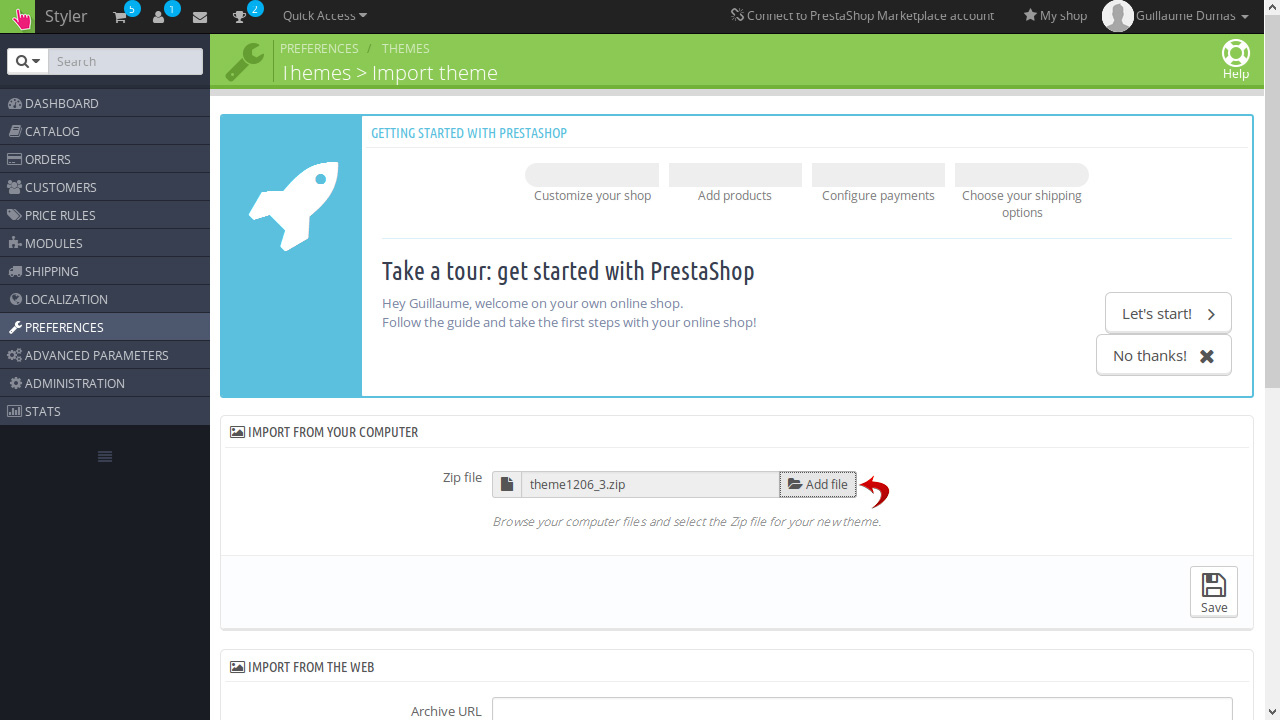
Click on Add file and select one of the Styler layouts. The layouts are located in the /update directory of the template package. Each update has a update_x/theme/themeinstallator folder, where the theme for your layout is contained. After you select the theme file, click Save.
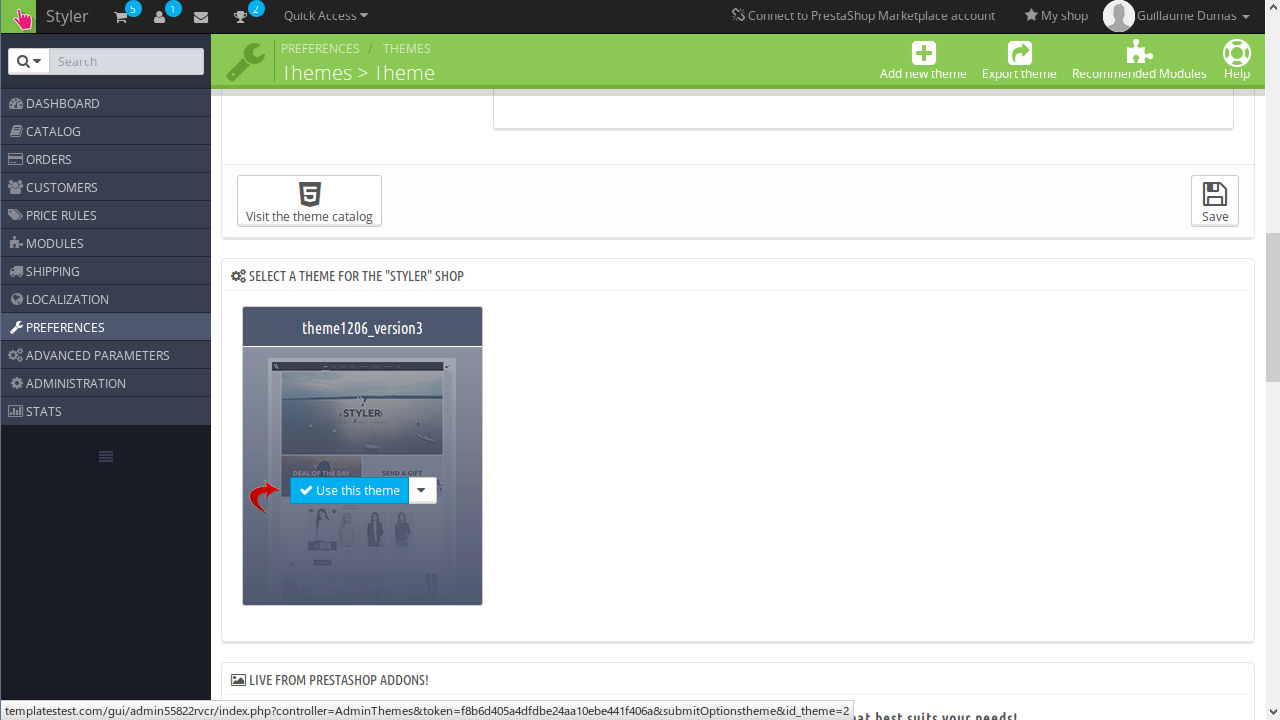
After the theme is uploaded, you need to click on the Use this theme button in the Select a theme for the “Styler” shop panel.
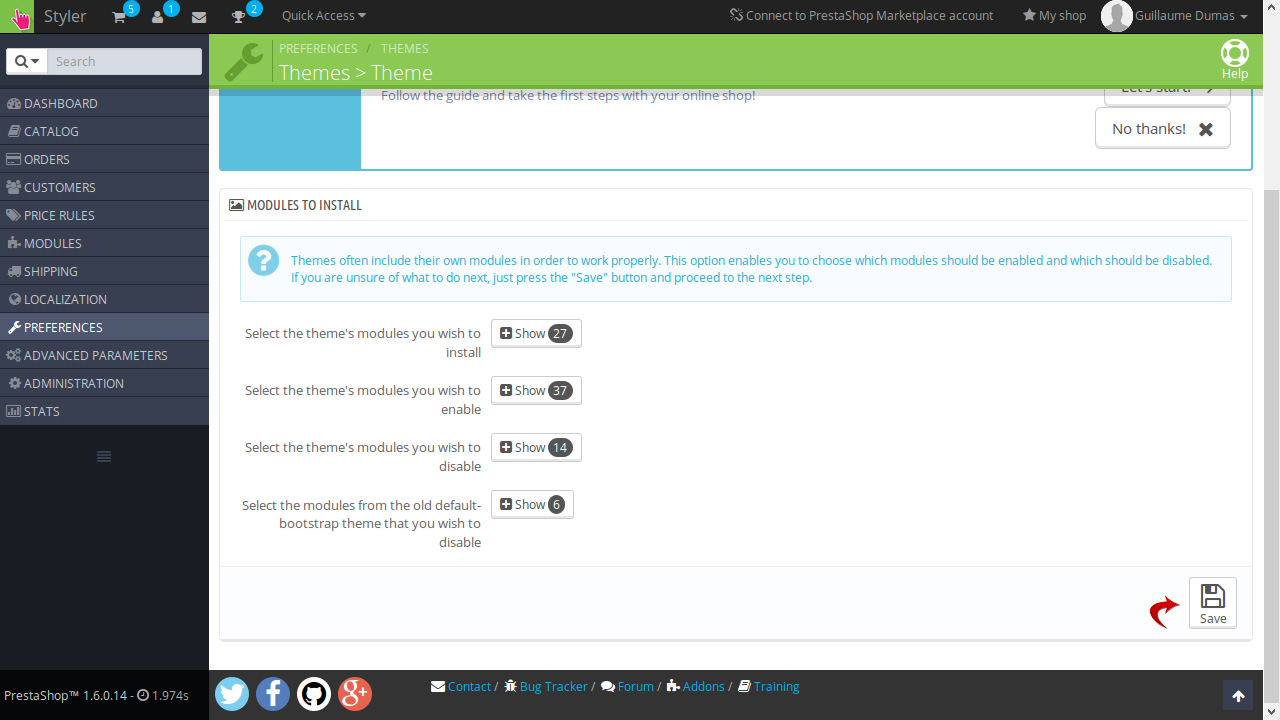
You’ll be forwarded to the Modules to install page. Select the modules you want to install (it’s recommended to install all modules) and click Save.
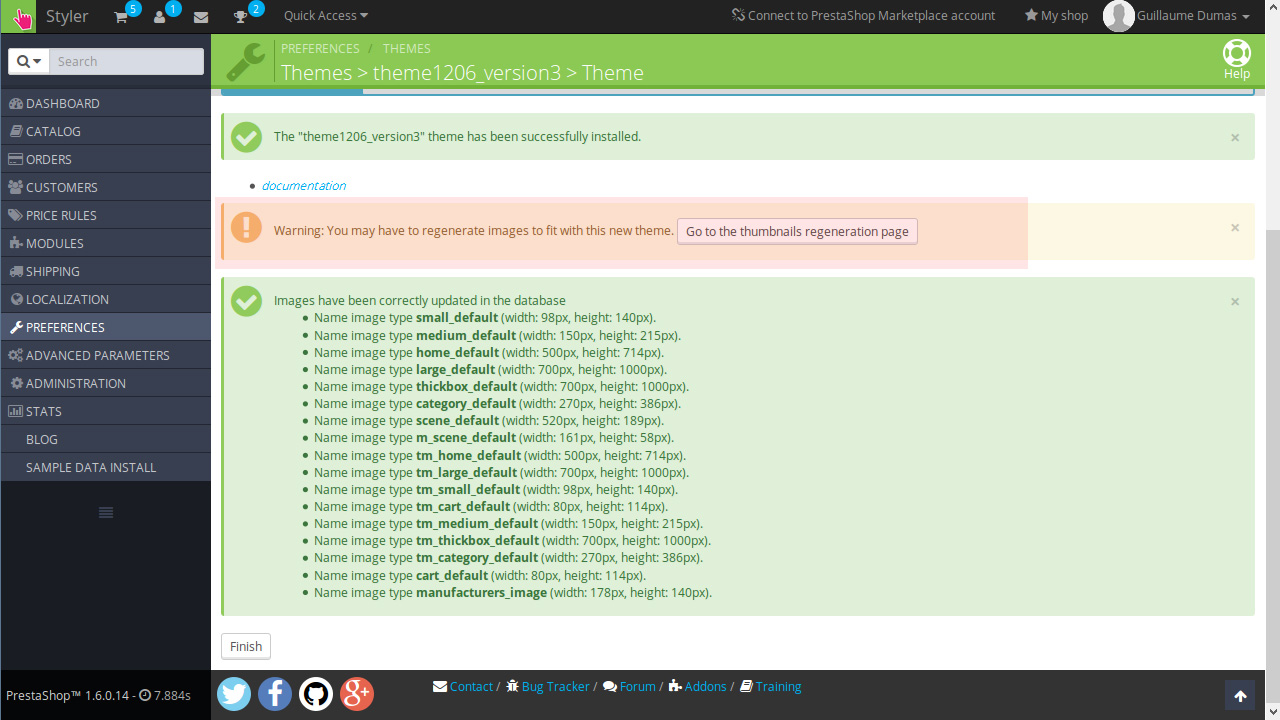
You’ll receive a warning saying that images might be regenerated to fit the new theme. If you already have products in your store, you might want to go to the thumbnails regeneration page. If you are installing this theme with the sample data, you can skip this step and click Finish.
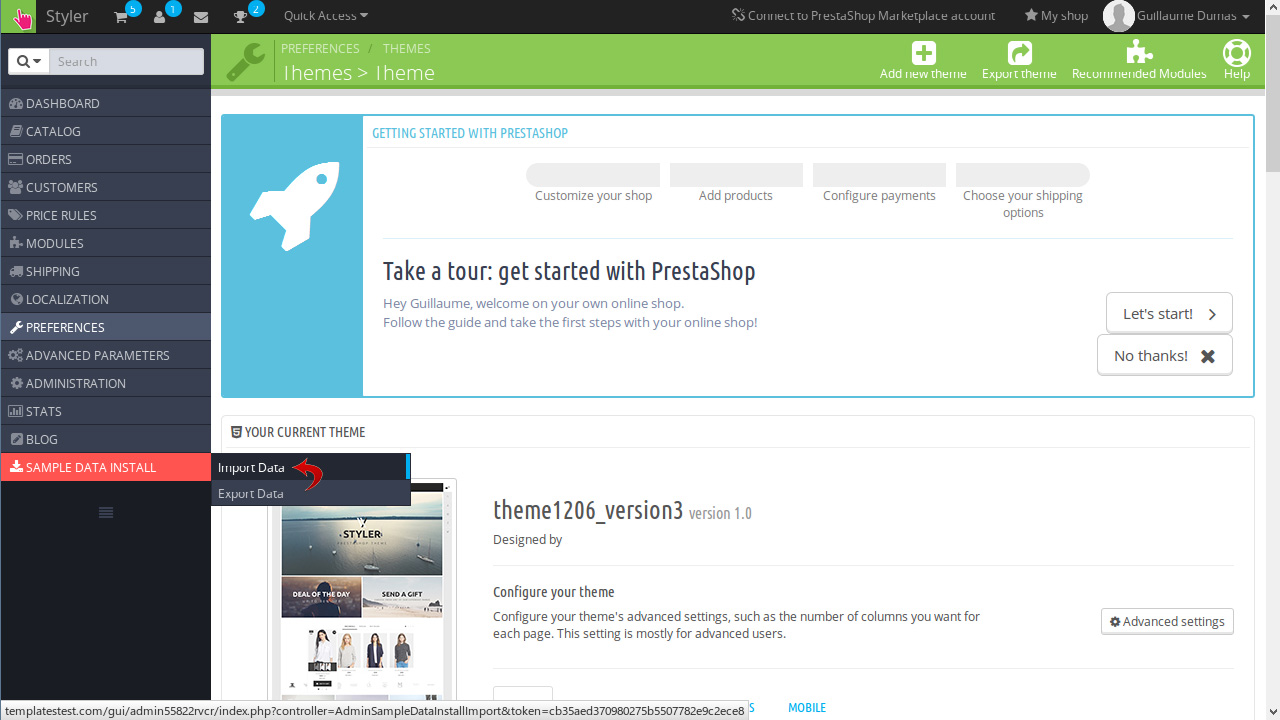
The last step is to install the sample data. Please note! Installing demo store data will completely replace your store content. You’ll see a red tab saying Sample Data Install. Select the Import Data option.
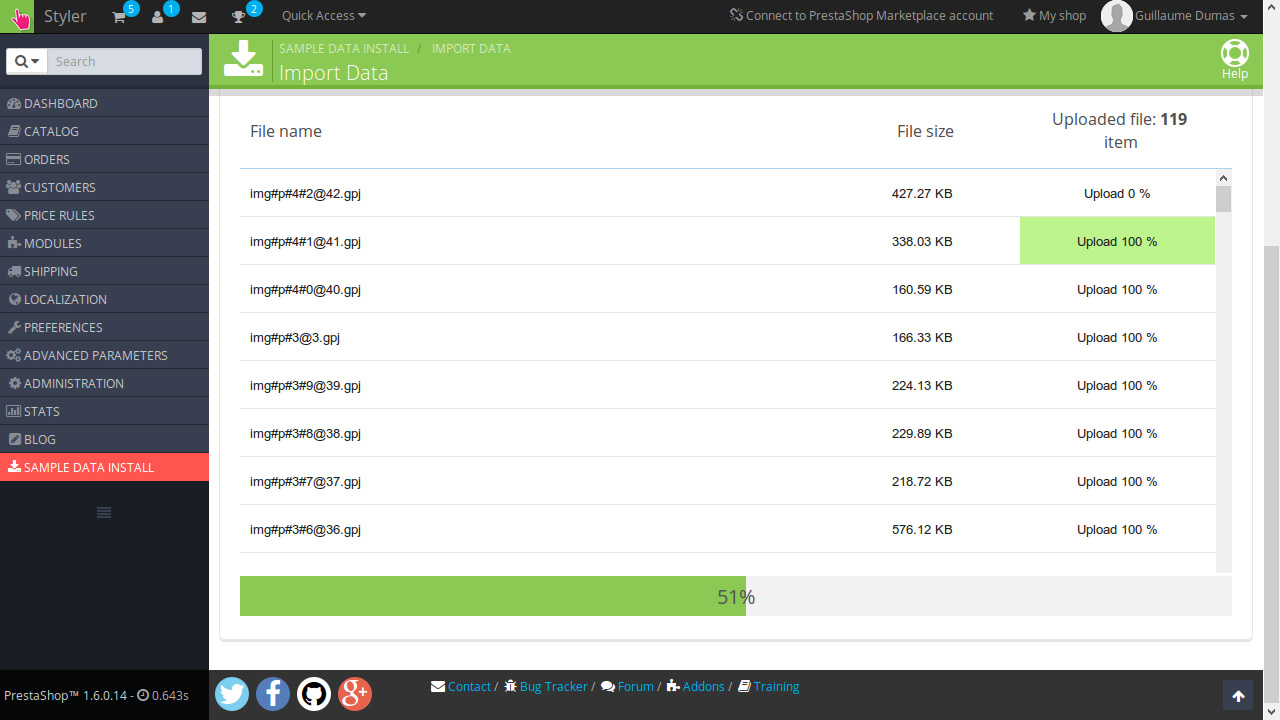
Click Browse local files, navigate to the folder containing the Styler layout you chose and select all files from the /sample_data folder.
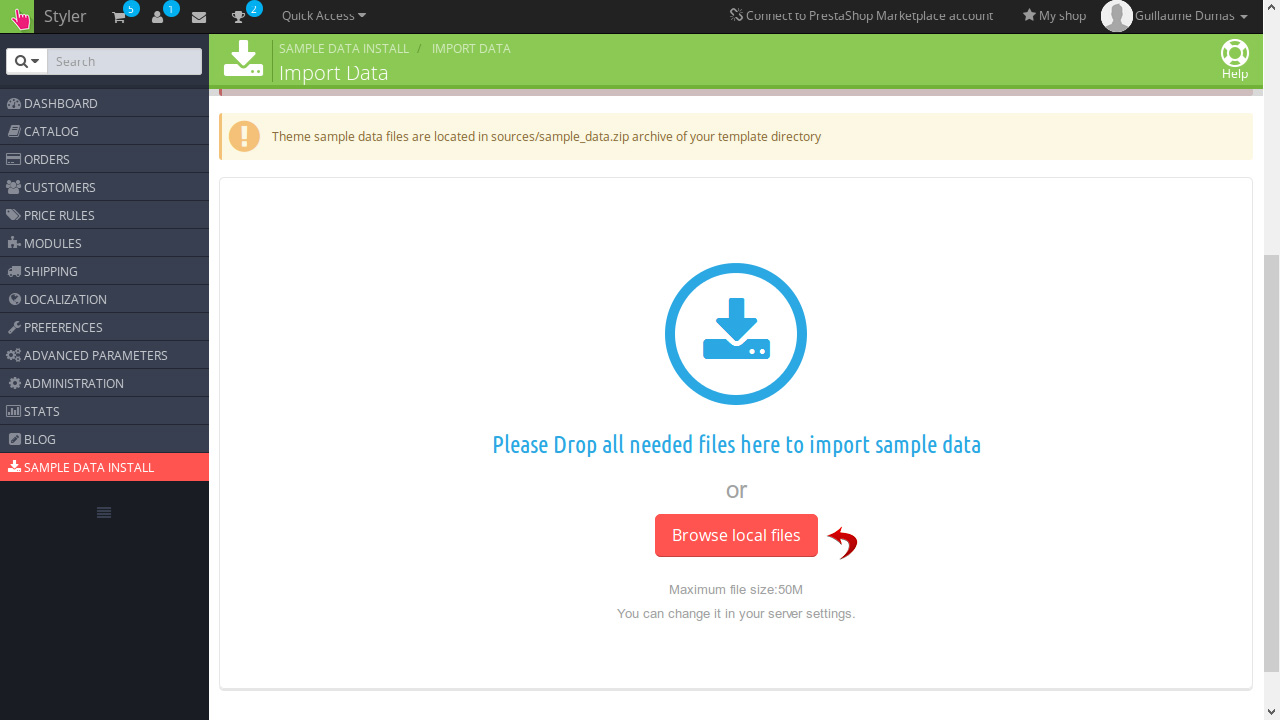
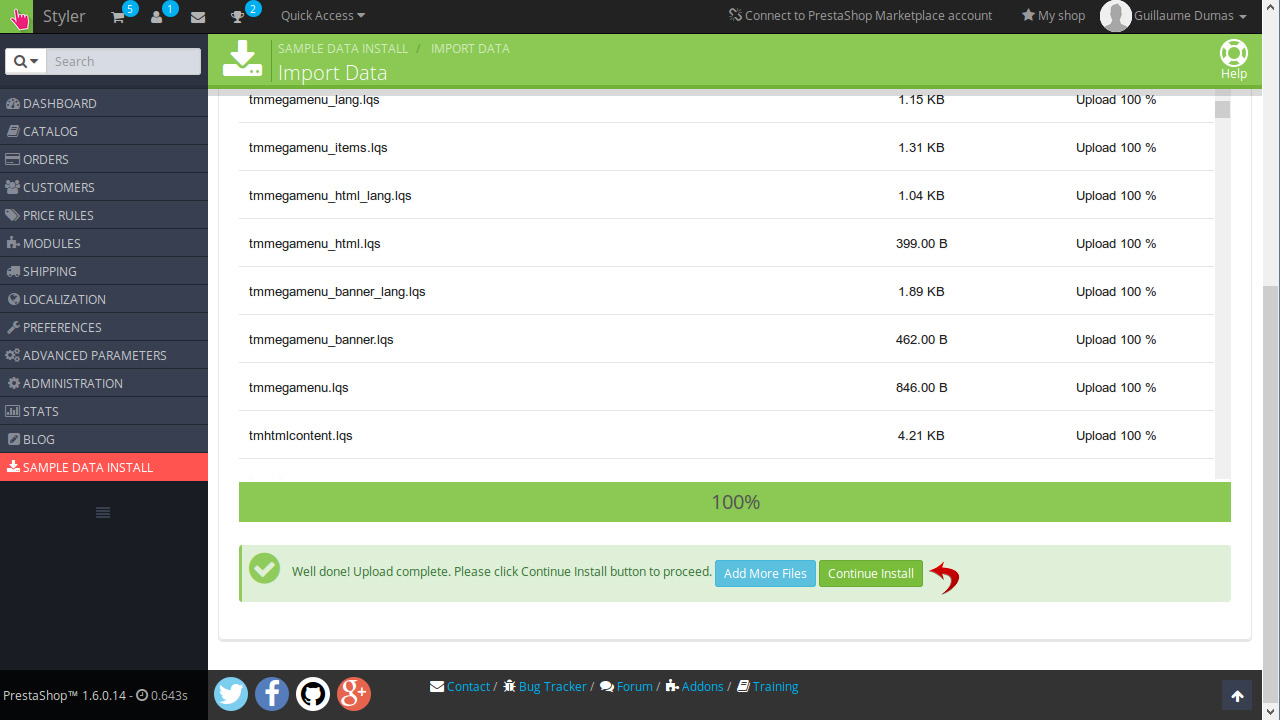
Wait until all files are uploaded.
When upload is complete click the Continue Install button.
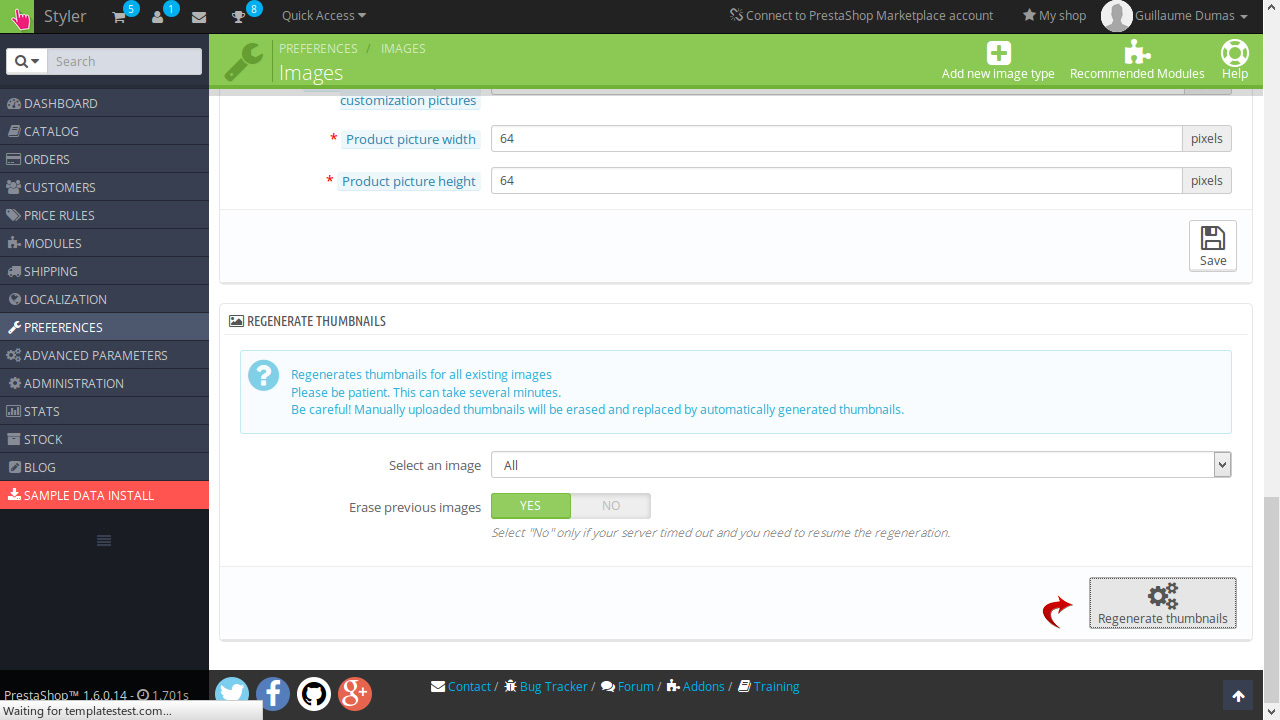
Wait while demo store is installing. When the installation is complete, you’ll be prompted to the Regenerate thumbnails page. Scroll down to the very bottom and click Regenerate thumbnails. The process will take some time.
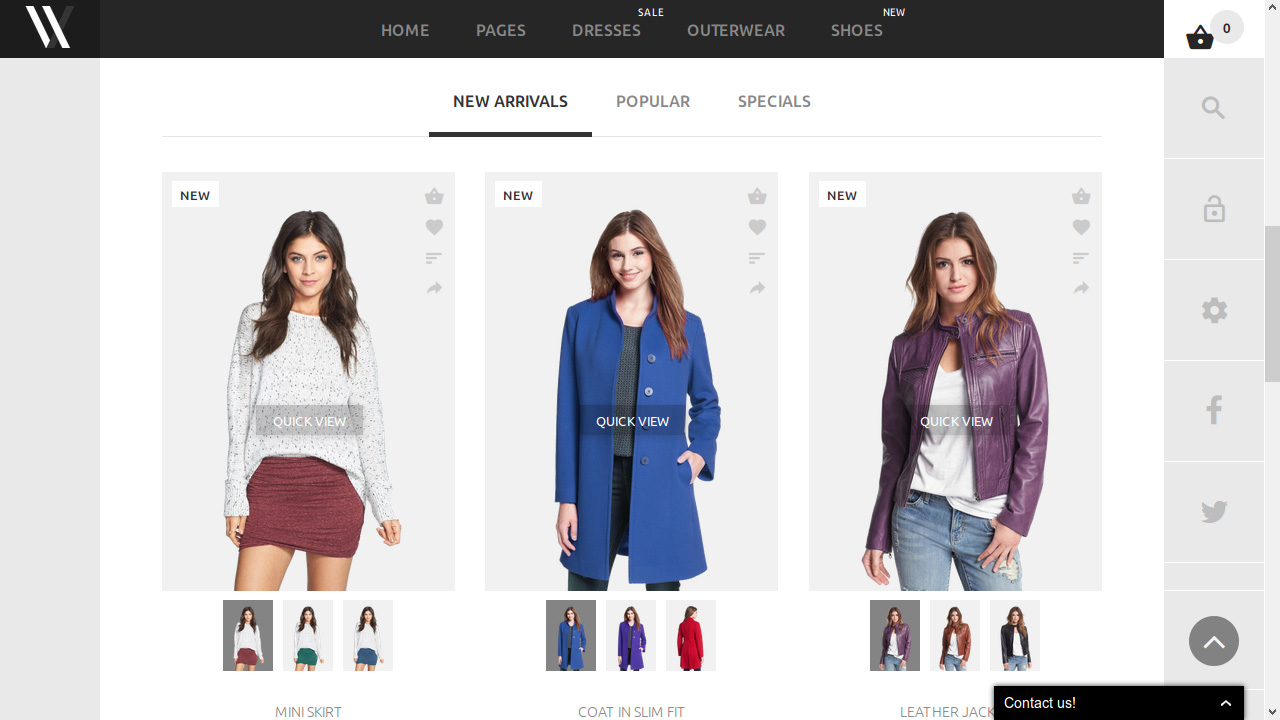
When the operation is finished, you can open the front-end of your store and make sure your website is up and running.
Feel free to check detailed video tutorial below:
PrestaShop 1.6.x. How to install Styler (update packs) from scratch